Hello, friends!
Recently I have been inundated with emails about making the flowers that I make for my projects. I have two tutorials that I made a little over a year ago that will should prove helpful in making your own paper flowers.
Supplies: You need the
ART PHILOSOPHY cartridge or the
Artiste cartridge.
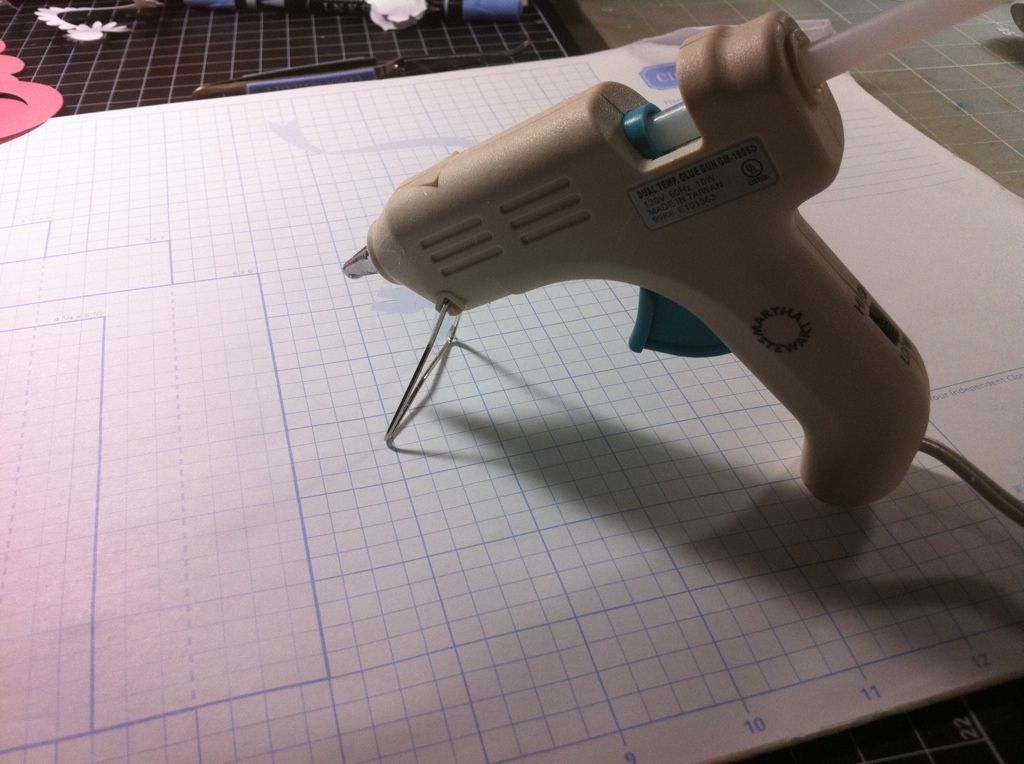
Hot Glue Gun:
I use one that I bought from M's. It is a Martha Stewart and has
settings for low and high temp. You will use the low temp when making
flowers.
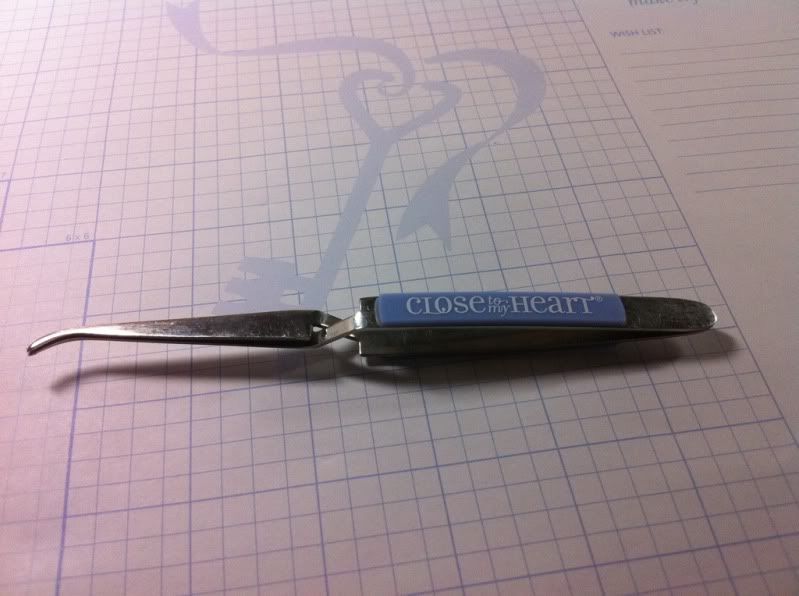
Tweezers:
This is almost as important as the glue! They are invaluable when
making these flowers. Mine are of coarse from
Close To My Heart. I like
that these are long. It is great when getting into tight places.
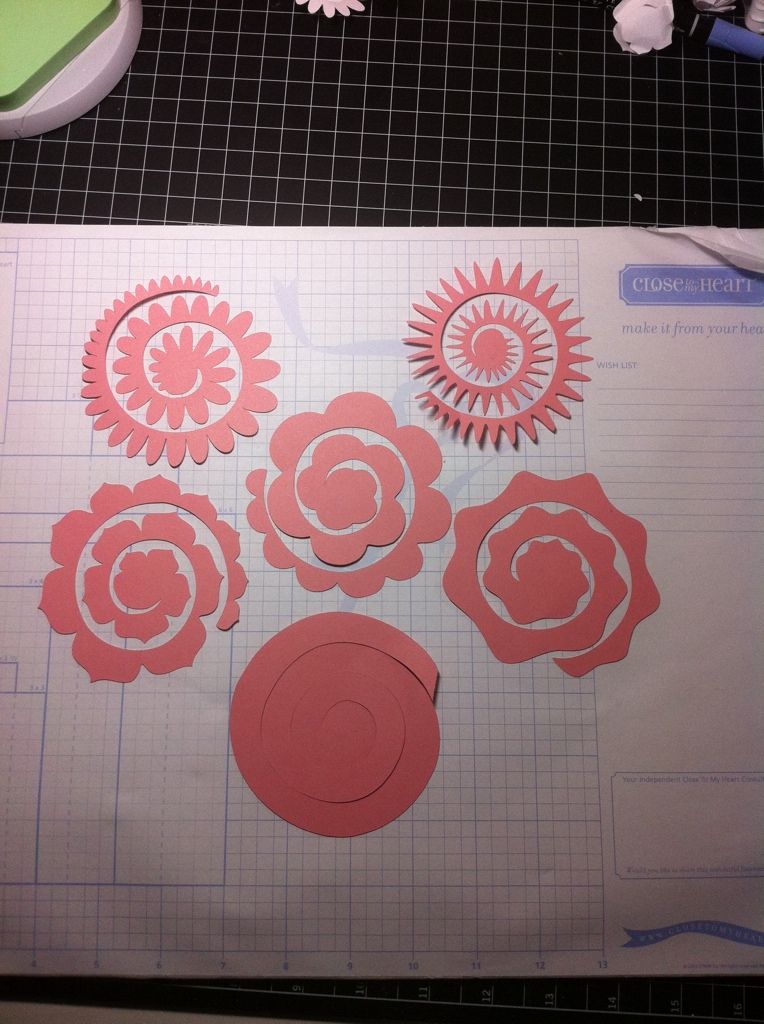
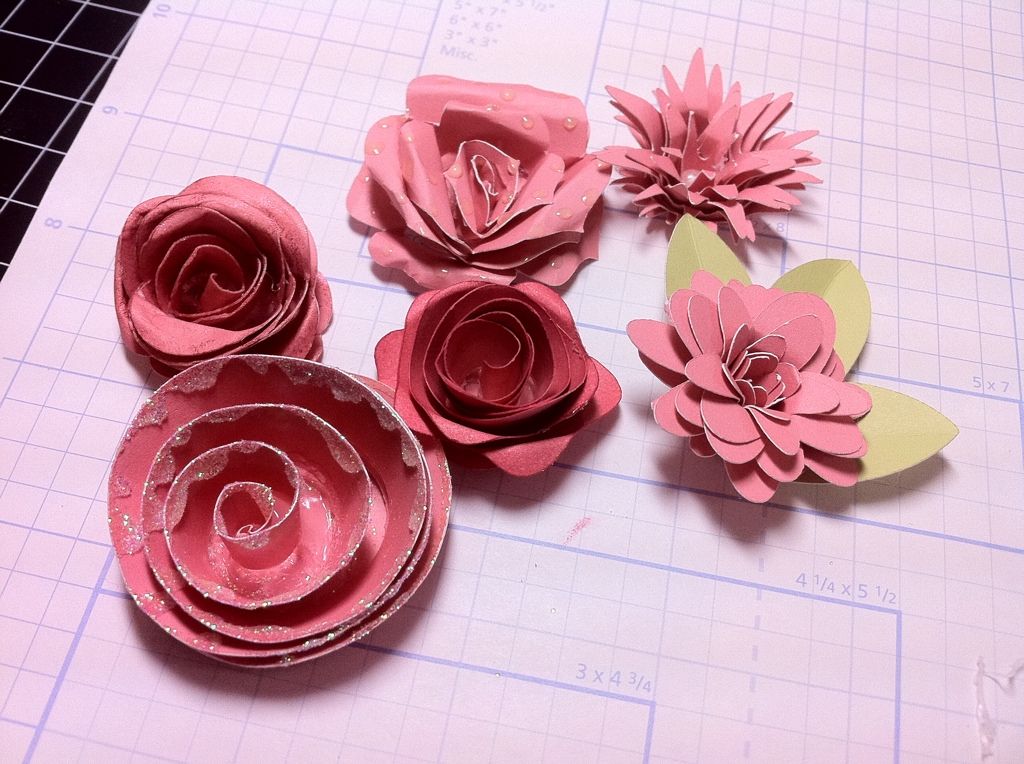
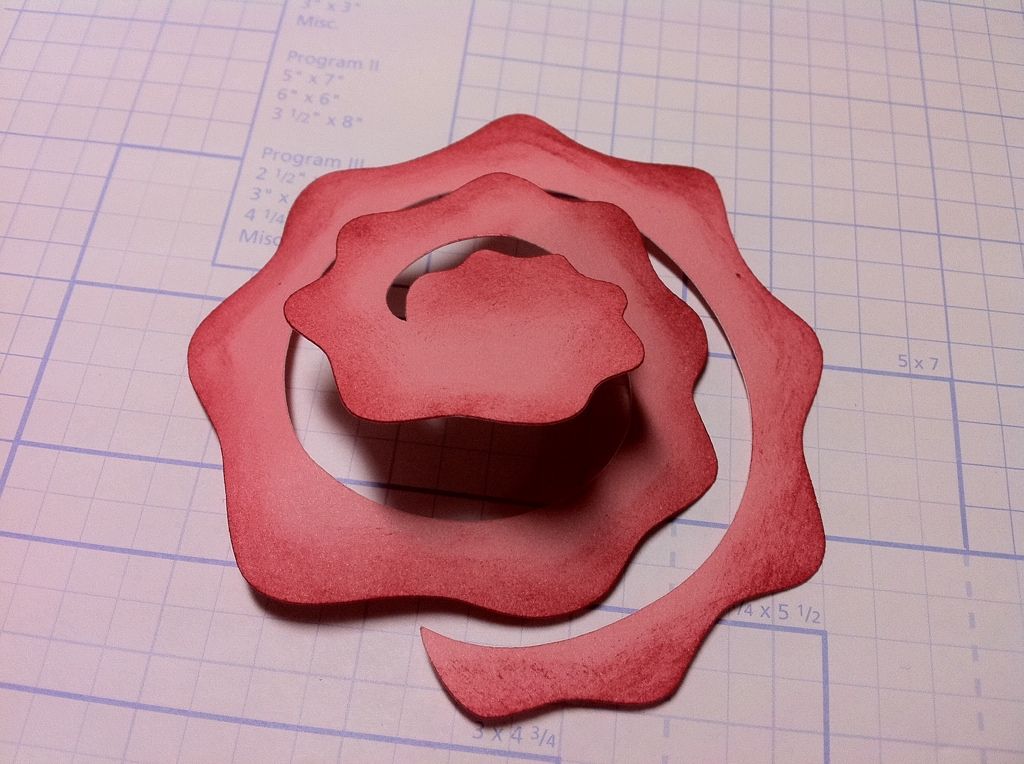
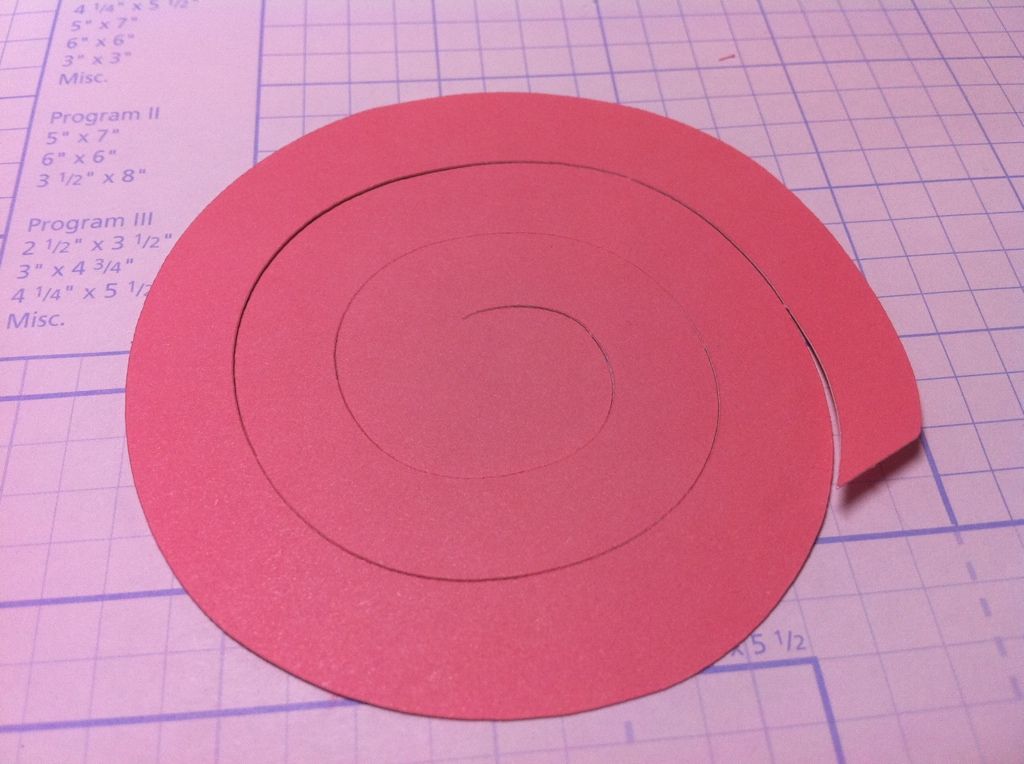
Now lets make some flowers! Here are all six of the different types of
flowers that are included on the Art Philosophy cartridge. I cut them all out at 3
1/2"
I chose the flower on the top left in this photo for this demo. All the
flowers are made this exact way, so once you learn the basics you can
make all 6 flowers! Tomorrow's tutorial will be using the other 5. I
will show you 5 different things to do to the flowers to enhance them.
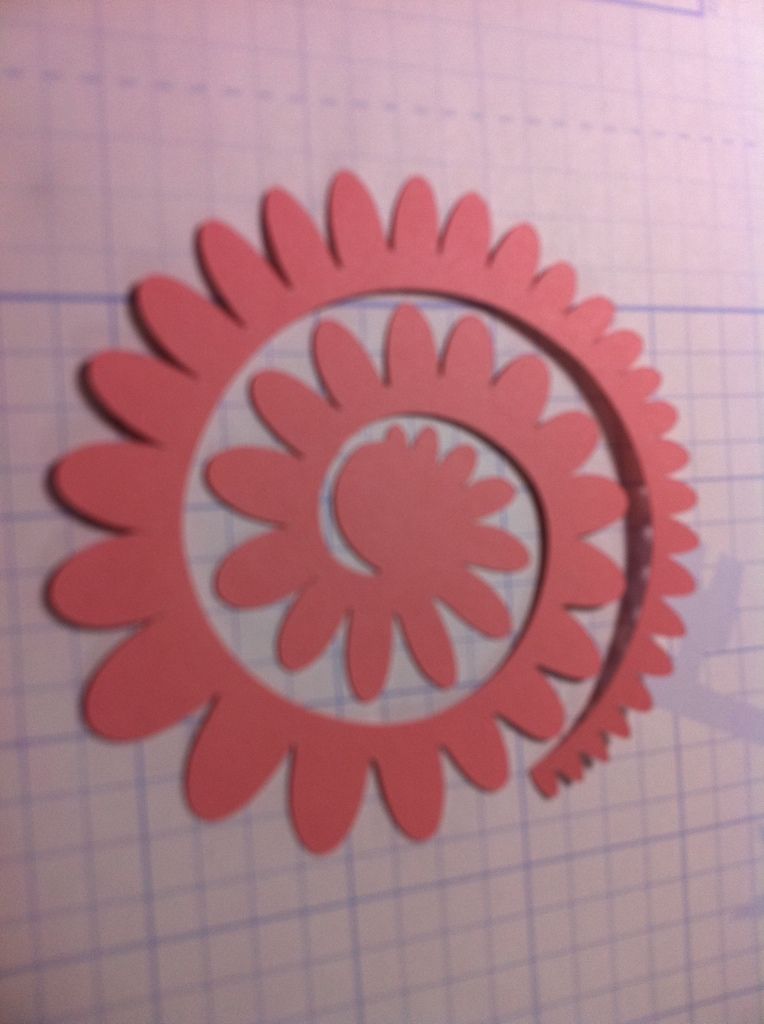
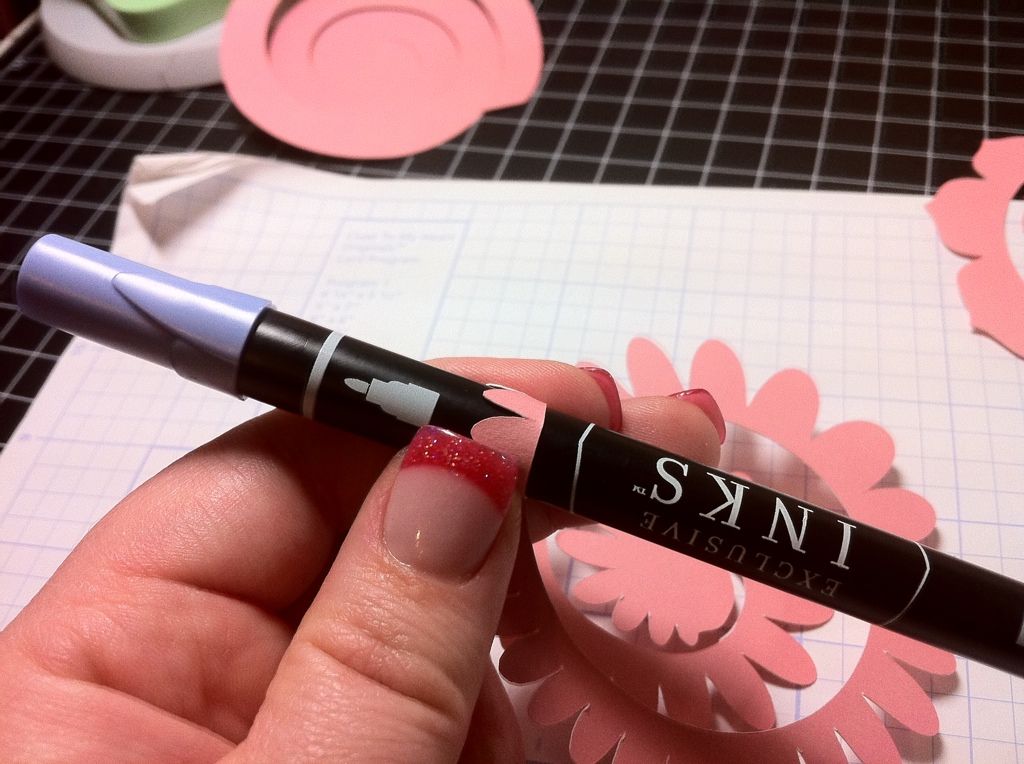
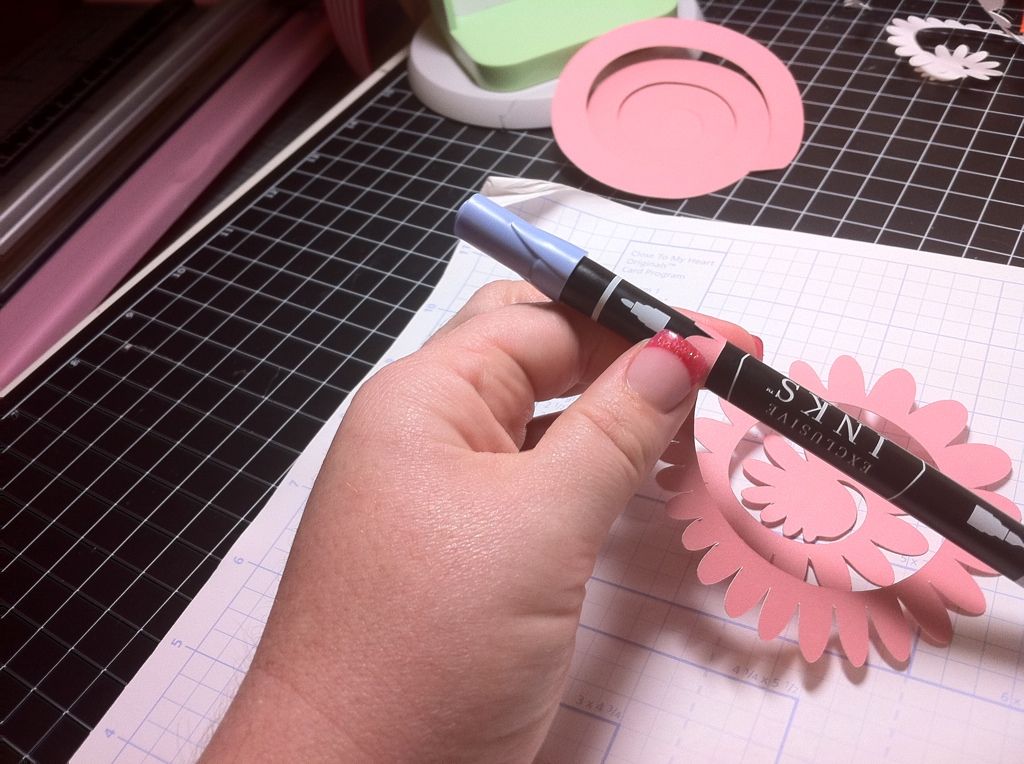
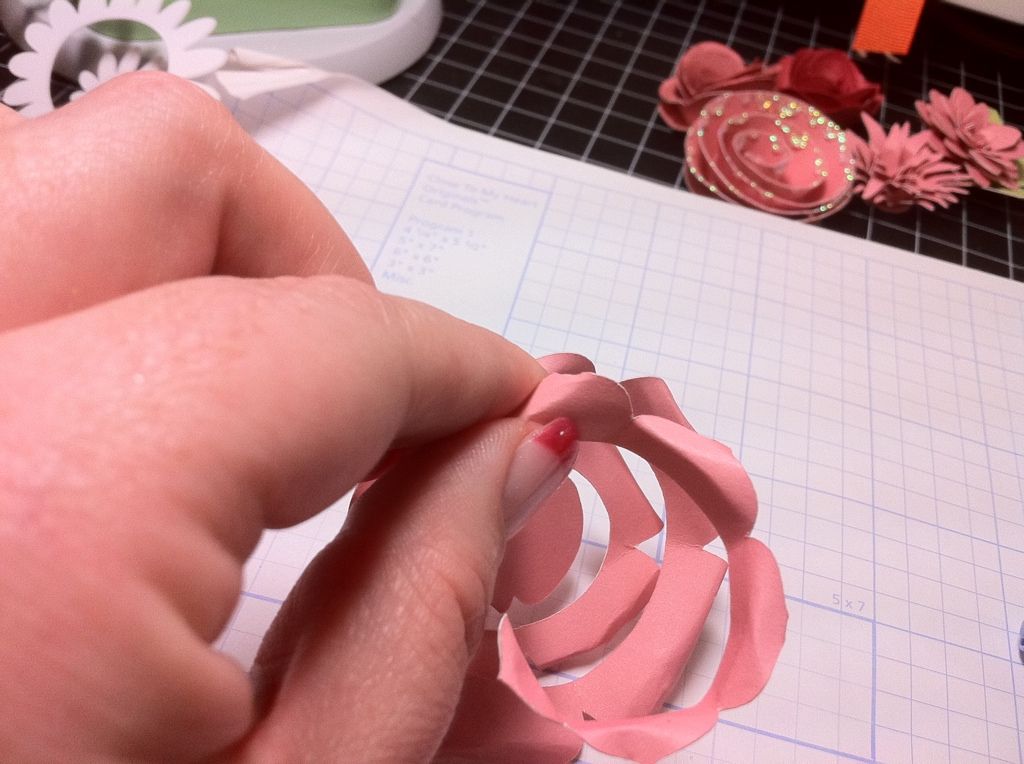
The next step is to roll the spiral up to give it form. I like to do this around a marker. Start using the very end.
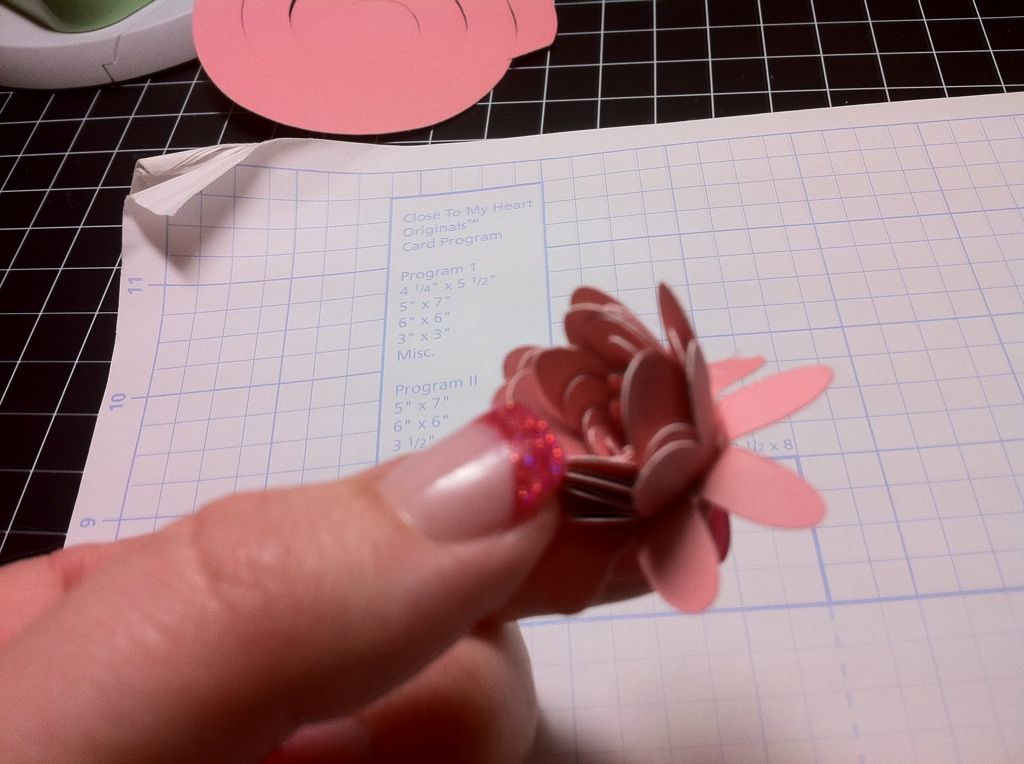
After it has been wrapped completely slip it off of the marker barrel
and grab your tweezers. Grab the center part of the flower with your
tweezers and start twirling. This tightens up your flower, so you can
make it as tight or as loose as you like.
Now it is time to put a small dollop of glue using your hot glue gun on
the big round bit that your flower rests on. Be careful because the glue
is very hot!
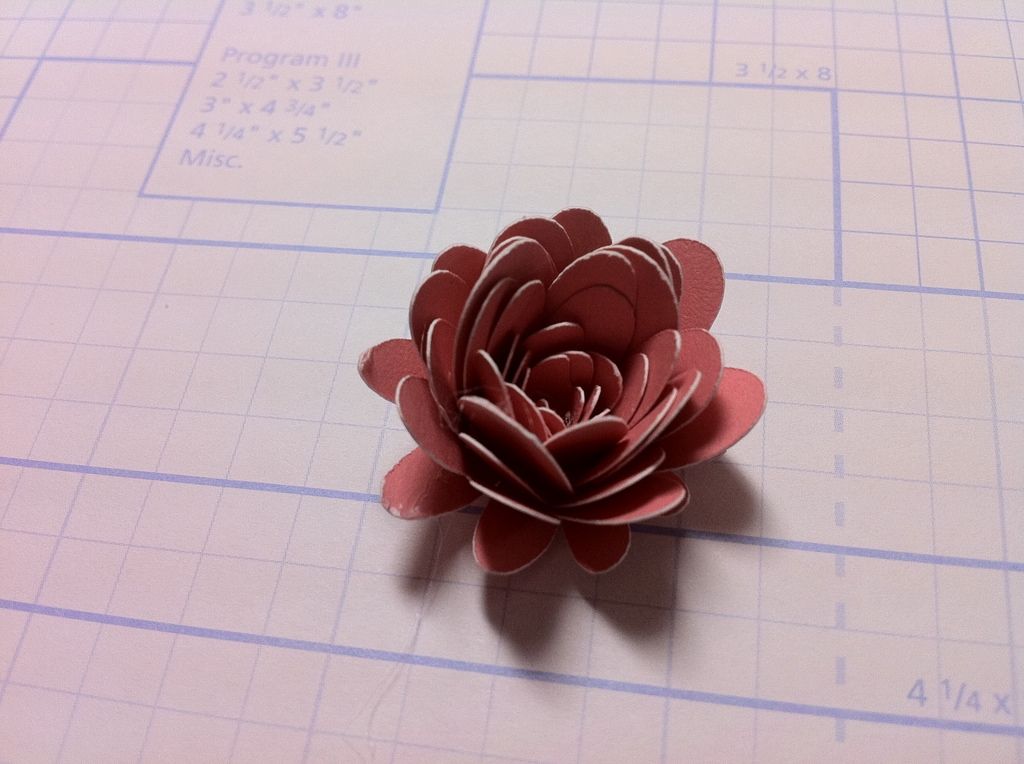
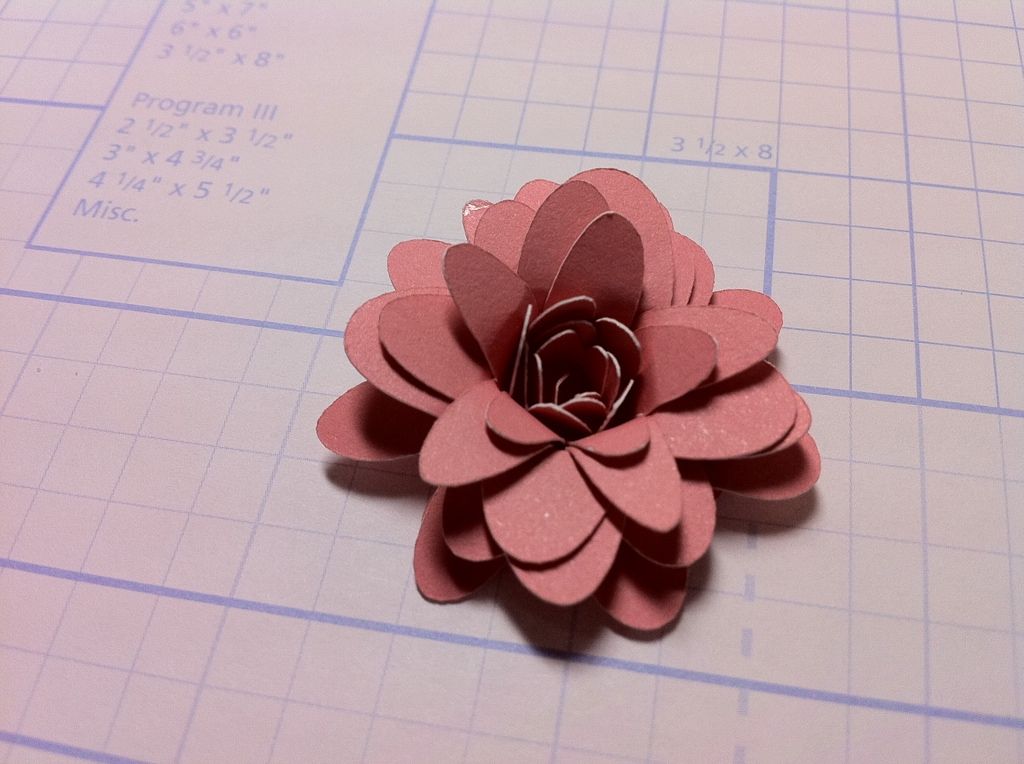
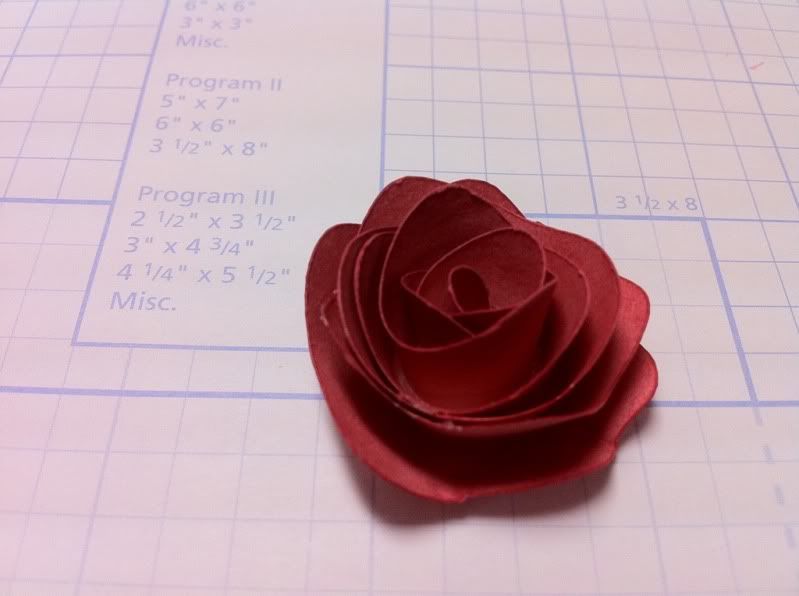
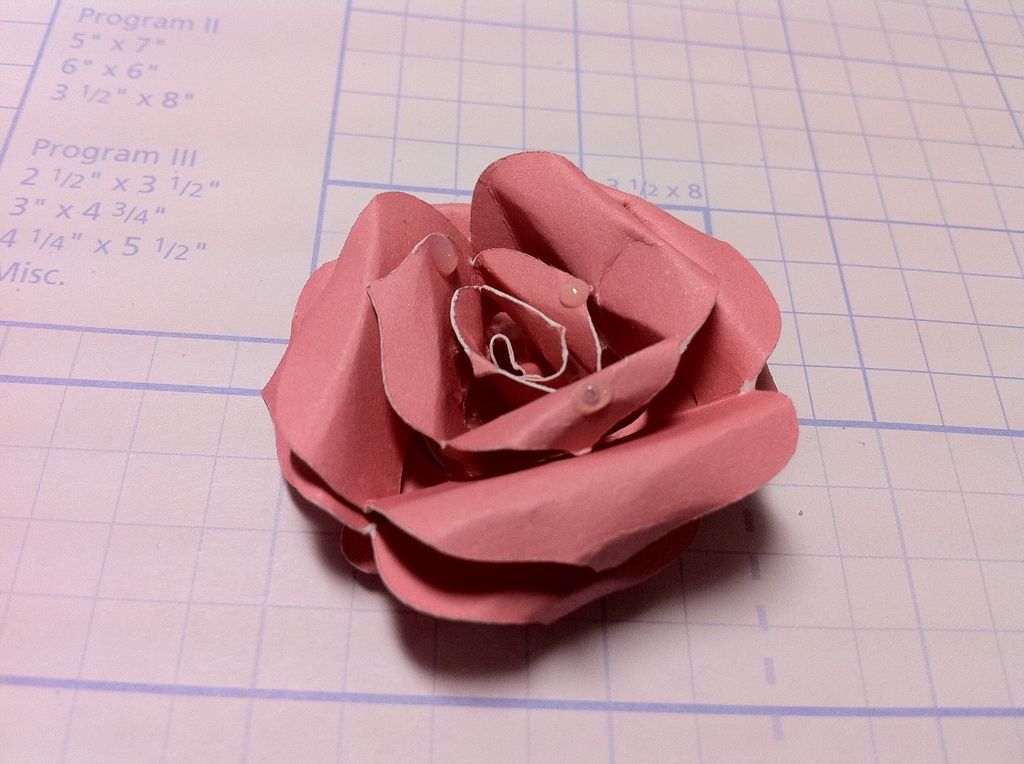
You are left with this little flower. It is pretty and you can left it just as it is or you can tweak it just a little.
I like to gently bend back the petals. This opens the flower up and give it just a little more life.
After you have folded back all of the petals you can you are left with
this. Again it is pretty, but it is missing something. Lets add some
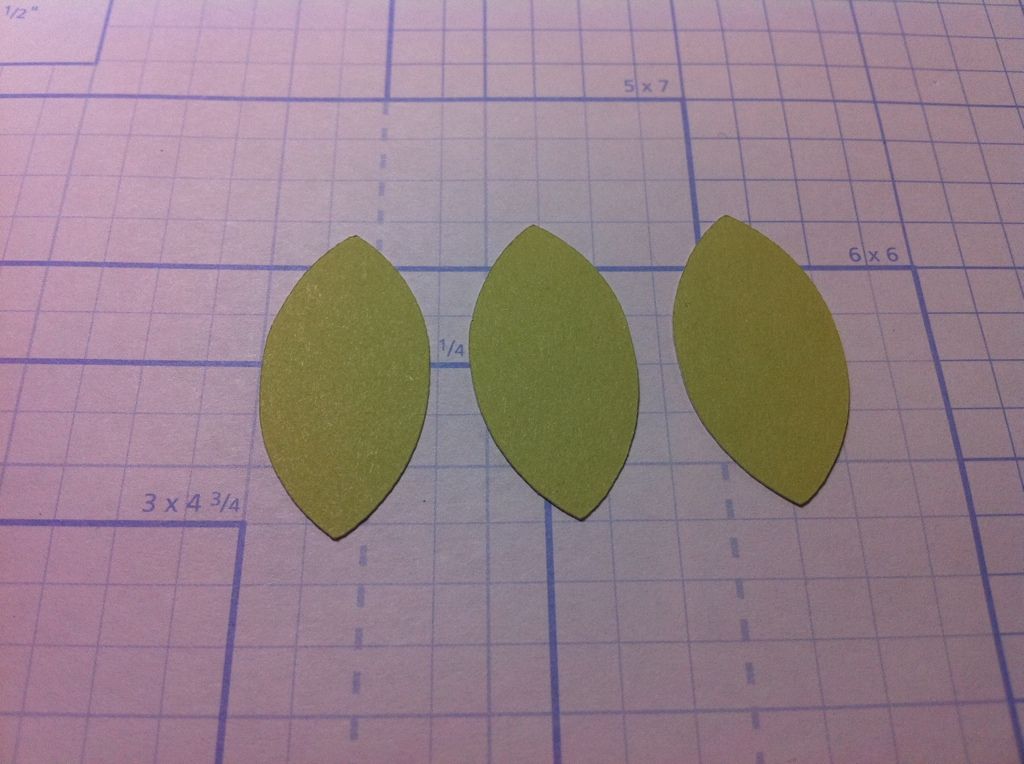
leaves! I like to add leaves because it adds a little more color and it
can hide some imperfections.
I cut the leaves at 1 1/2". Again, these are ok how they are, but with just one little things turn from good to great!
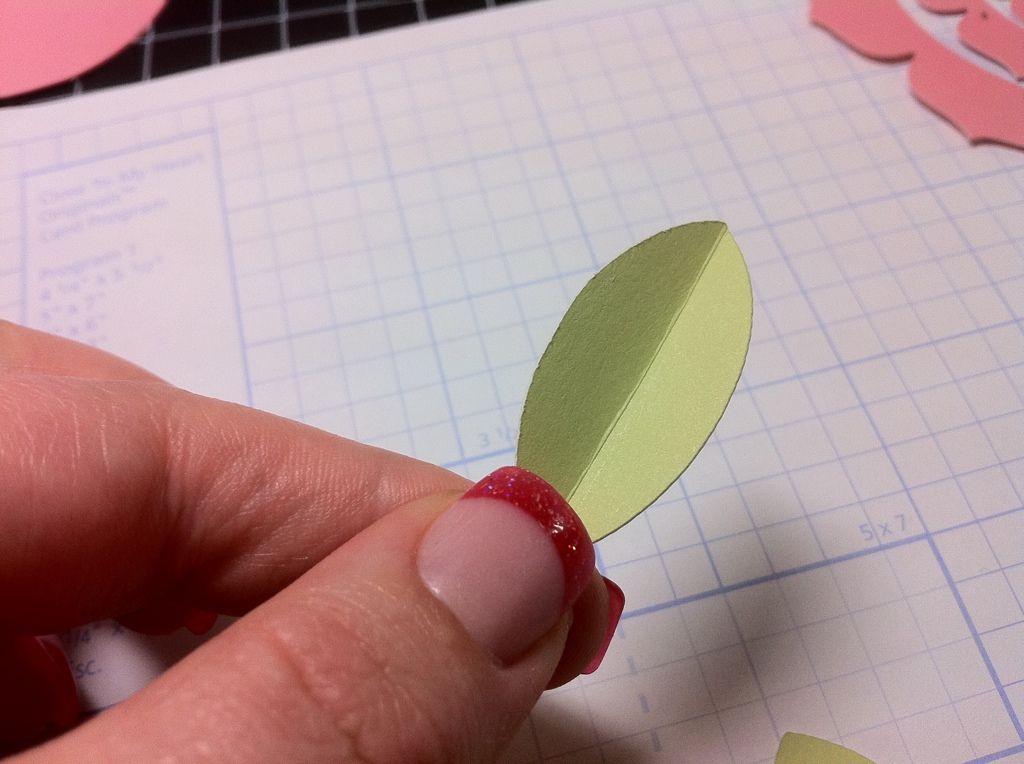
Using my tweezers I scored the leaves down the center and folded them inward. This gives them a more realistic look.
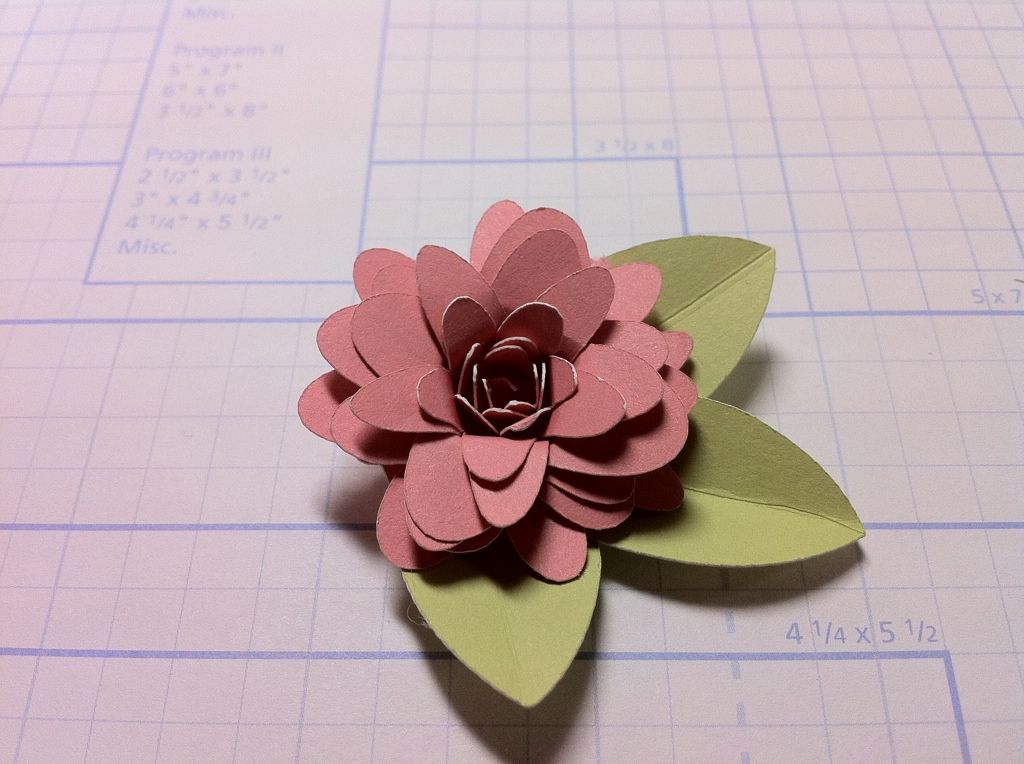
Now you can just glue them to the back side of the flower. VOILA!
Super simple, right! You can add these flowers to frames, cards,
scrapbook pages, wreaths, and bags. I am so into making these flowers at
the moment that I want to stick them onto everything!
Now I have a tutorial on how to give your 3D flowers a WOW factor.
There are several ways to do this and today I am going to show you 5.
Now there is definitely lots more than 5, but this will give you a
starting point.
All flowers used for this tutorial were cut out at 3 1/2" using the
CTMH ART PHILOSOPHY cartridge. You can also you the
Artiste cartridge.
First lets talk about inking. I actually ink all of my flowers.
Inking gives the flower a more realistic look.
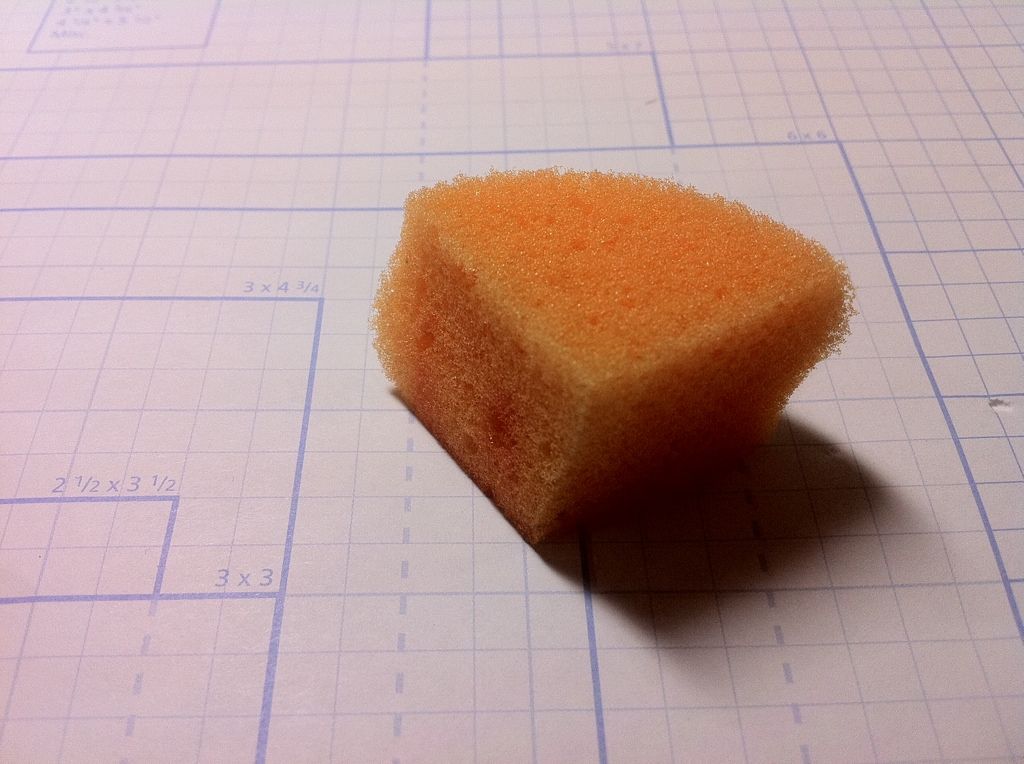
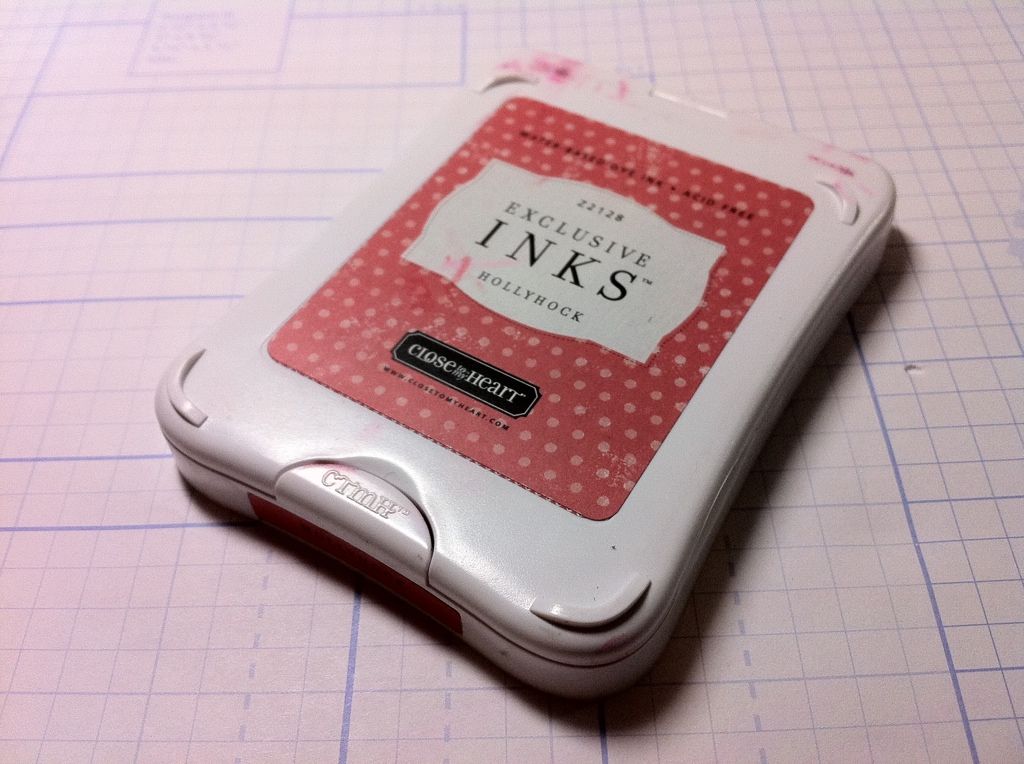
To ink you will need:
a sponge
and some ink
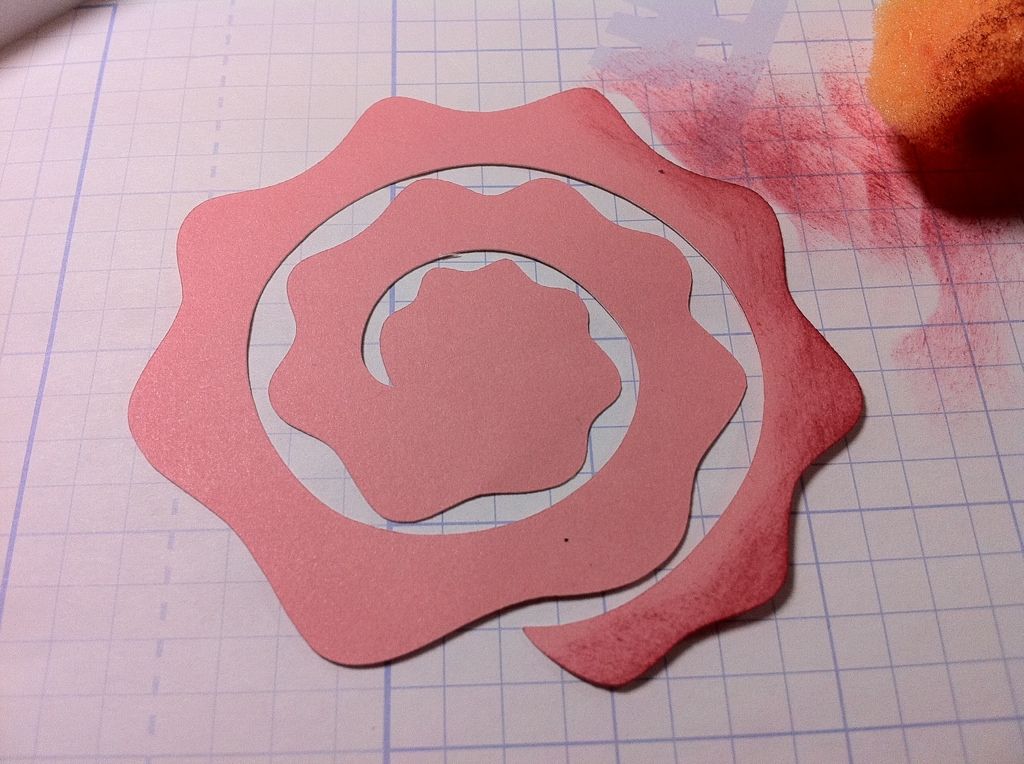
Then all you do is load up your sponge with the ink and darken the edges
of the spiral before you roll it. I recommend inking both sides.
You are left with this which is kind of hard to see in this picture, but it has a nice mix of light and dark shades.
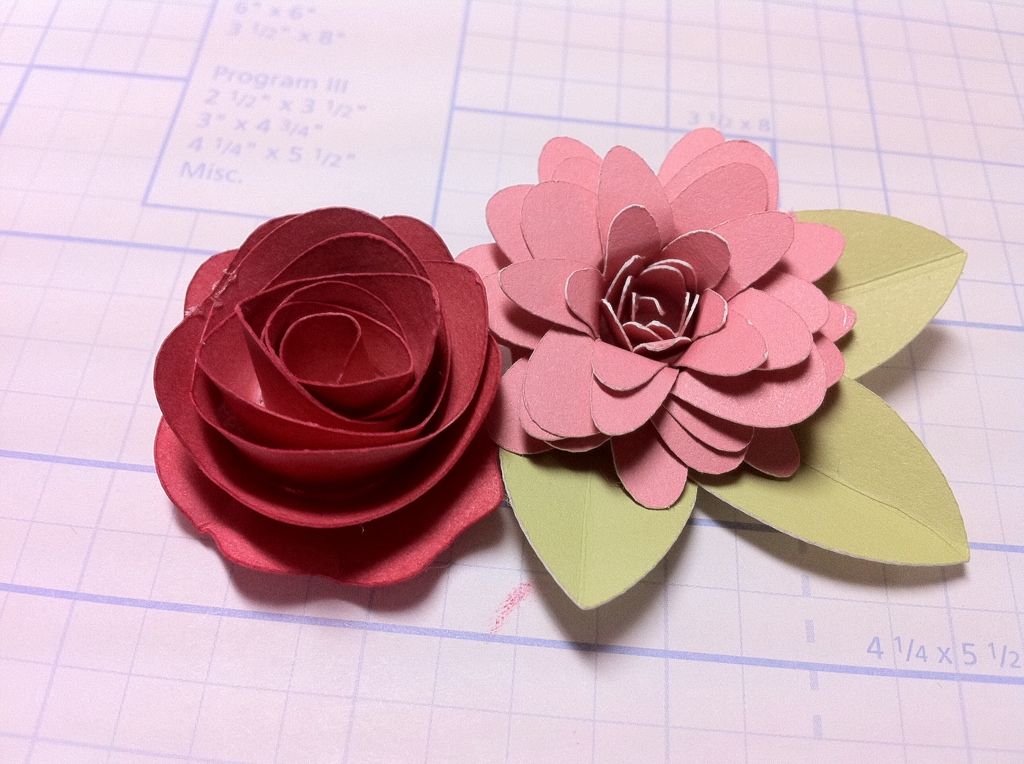
Here is a photo of the flower we made yesterday and the flower we just
made. They are both made using the same color of cardstock. Notice the
color difference?
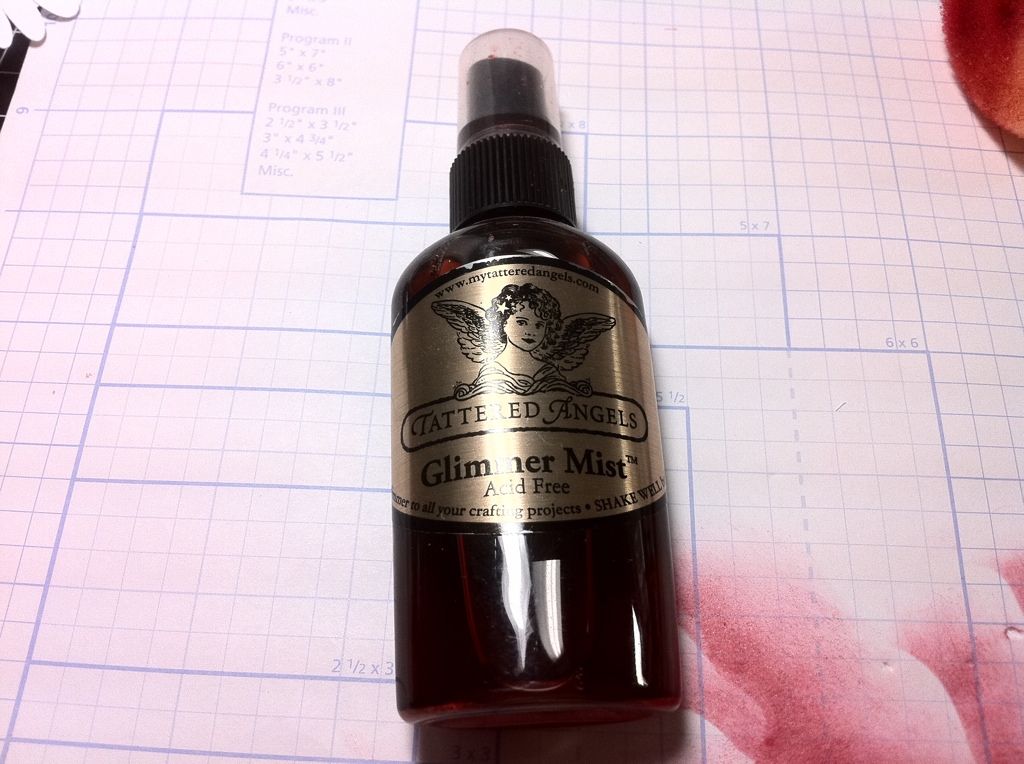
Next tutorial is going to be glimmer misting. To so this you will need some glimmer mist and a flower that is already made.
I like to have a small box lined in paper towels to do my glimmer
misting in. Then I just lay the item in the box and generously spray the
glimmer mist. It will need to dry a bit, but before that it is good to
move the petals around a little more because your flower is very pliable
while it is wet.
Your end result is a slightly glittered flower. The effect is very subtle, but beautiful!
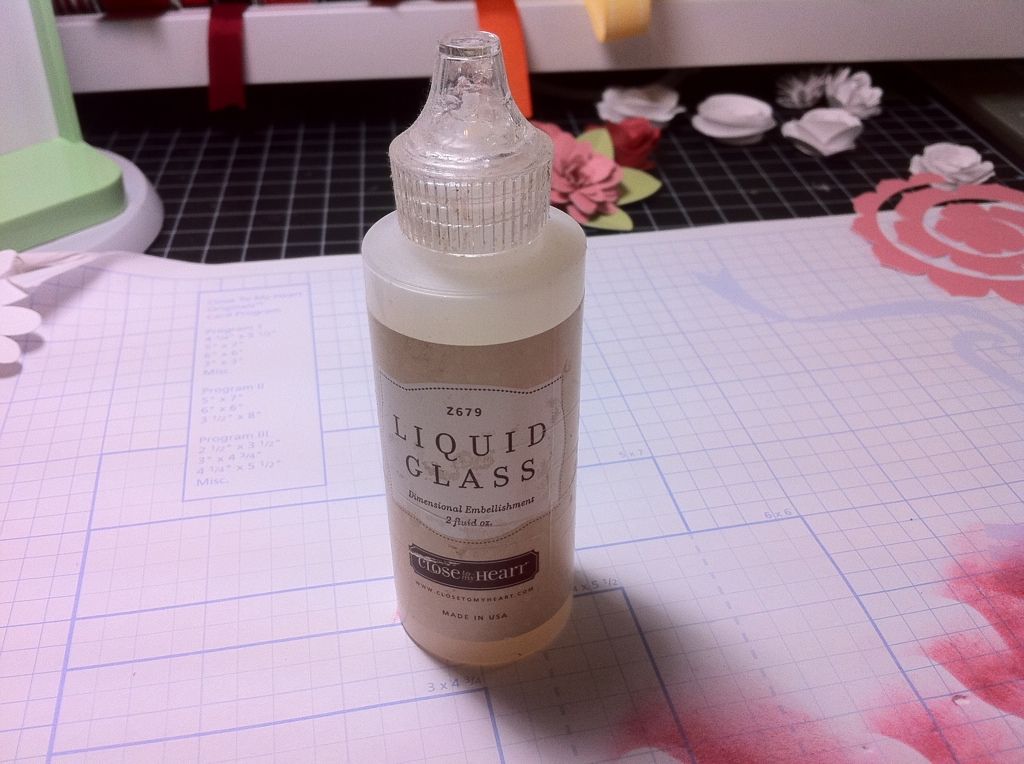
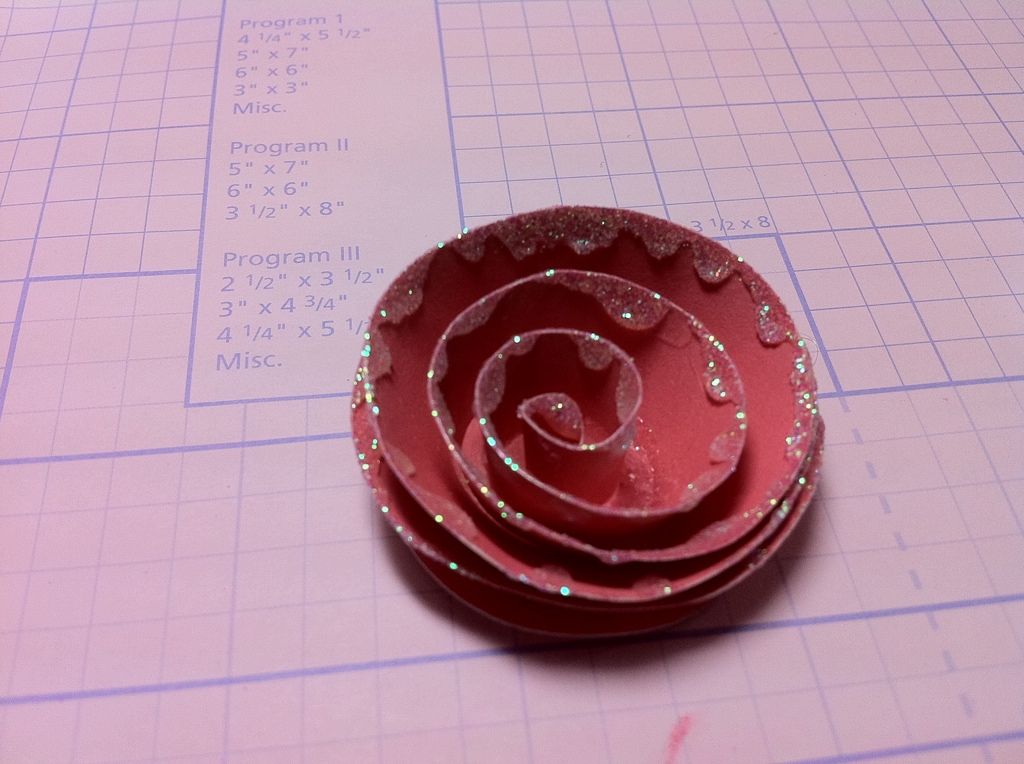
The next tutorial is glittering. Now this can be done many ways for many
different types of effects. For this flower, I simply added liquid
glass to the edges of the flower and then dipped it in glitter.
This is the result!
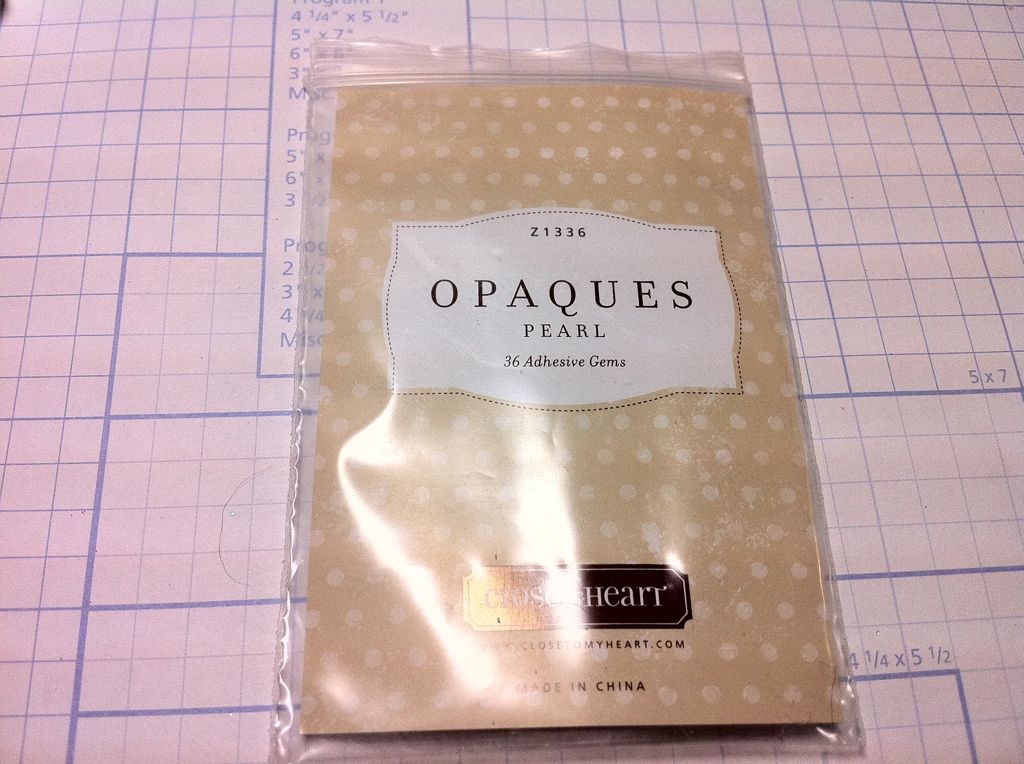
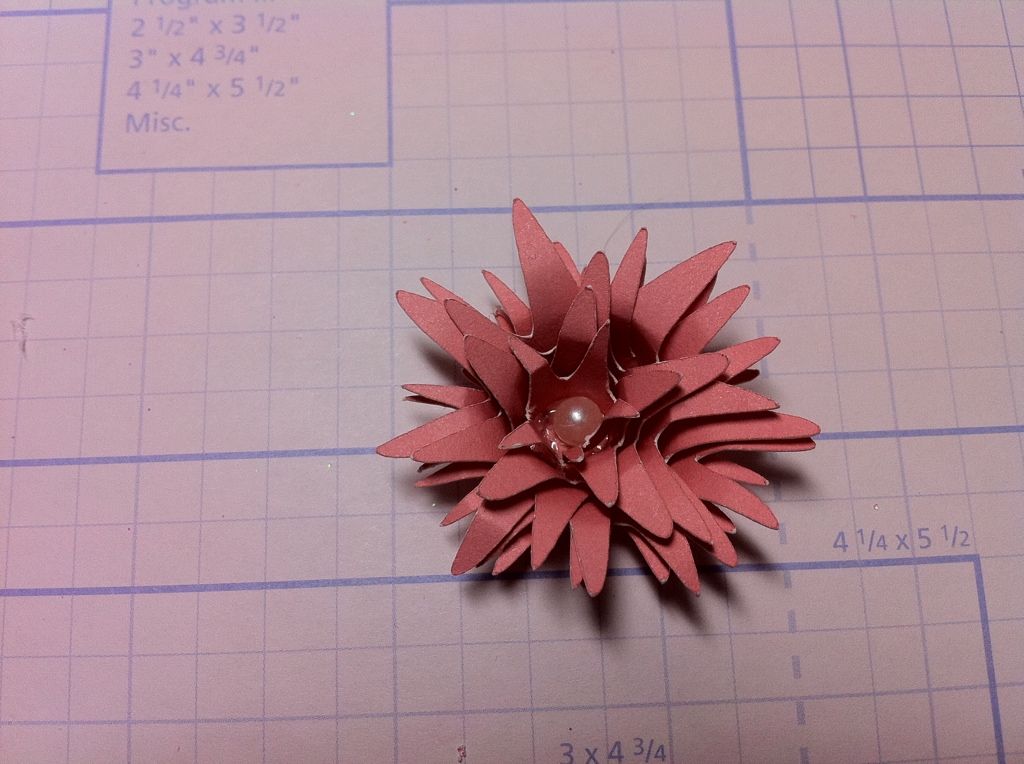
The next tutorial is adding adhesive backed pearls or buttons to the
center of your flowers. You can use anything you have on hand. I used
these pearls from Close To My Heart.
and this is the result...I want to say something else about this
particular flower. If it was cut large it would be an excellent bow for a
gift!
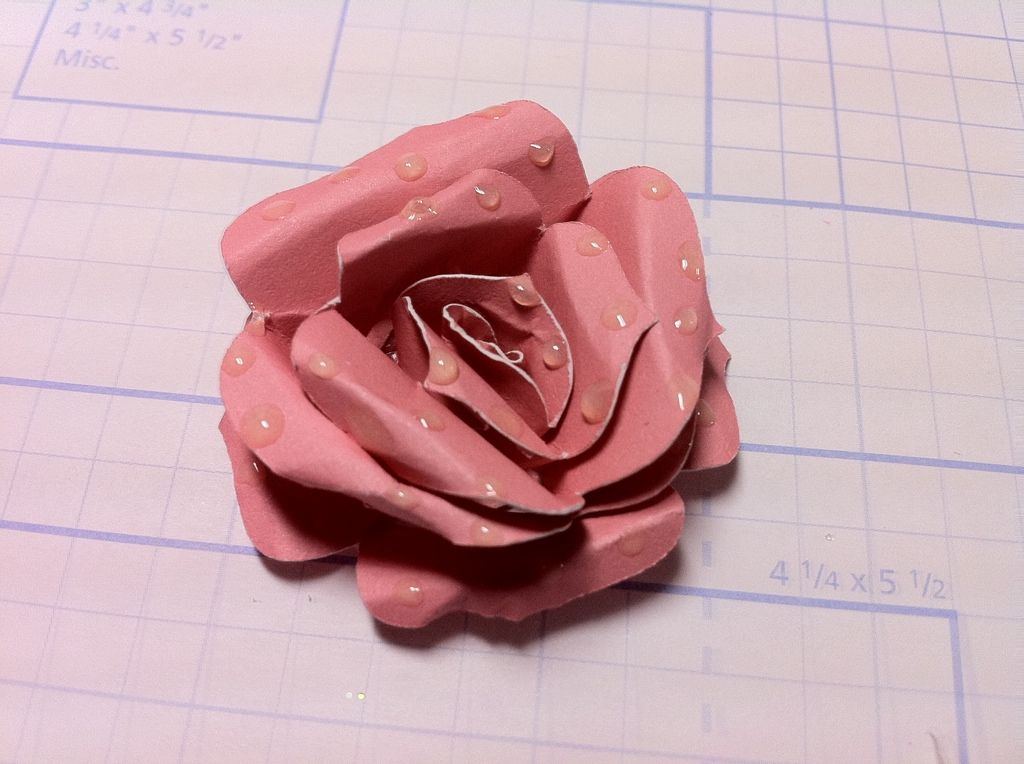
The final tutorial for today is adding dew drops to your flowers using
the liquid glass. This is super simple to do and looks great when it is
dry!
Also with this last flower I rolled the edges with my fingers before it was made.It looks like this.
When you are done this is the result.
and here is the flower with LOTS of dew drops. Perhaps it has just rained ;-)
Thanks so much for stopping by today! I look forward to seeing you all back here tomorrow!
October Specials
Back by popular demand, I am giving away one E2 Cricut machine to
a
lucky customer. To be eligible to win, you have to place an order on my
Close To My Heart website this month. That is it! I will draw a winner
November 1st.
The October stamp of the month is a total must have! It is called
Very Merry Christmas and
coordinates with the Artiste cartridge, so if you have that cartridge
you are going to want to snatch this up! It makes tag making a total
snap!
As always, this stamp set (retail price of $17.95) is only $5 with any order of $50 or more!
Now don't forget that you can still buy the fabulous
Artiste and
Art Philosophy cartridges, so if you have not taken the plunge yet, come on in the water is great!
To order click here ==>
Melanie's Close To My Heart website
Have a MAGICAL Monday!
 Subscribe to Courtney Lane Designs by Email


 Subscribe to Courtney Lane Designs by Email


11 comments:
WOW you sure create the best flowers in the world!!! just an awesome tutorial!!
I agree with Joan. Thanks for the tutorials and the wonderful ideas to make the flowers really POP! I finally found time to play with this cart and I'm having a Ball! Please eel those ideas coming.
This is an amazing tutorial!! Thank you so much. It makes me want to jump up and try my hand at these flowers again! Thanks :)
Tianna
Thanks so much! Your flowers look amazing! It's so wonderful that you share how you make them!!! Someday, maybe I'll take the plunge and make some...
WOW your flowers are beautiful!!! Thank you so much for the tutorial
rosiemini@gmail.com
www.scraplovingminis.blogspot.com
Your flowers really turn out nice. Thanks for the ink and faux water drops ideas too!
This is a great tutorial! Flowers have always scared me. You make them look easy! Thanks!!!
I just have to say I "Heart" you and Joy. You have not lost interest in Cricut as others I follow have. thanks for all you do and the great inspiration.
Maureen Sala
Your flowers are always beautiful! Thanks for the mini tutorials on using these techniques to make them extra-special!
Thanks for the tutorial; your flowers are so pretty. Gee; I need a few supplies so will order from you...and I'd love to be lucky enough to win an E2. Time will tell.
Wow, your flowers rock!!! I learned a different way to roll the flowers but your way makes them look some much better!!! Can't wait to give your way a try!!! Thanks!!!
Post a Comment