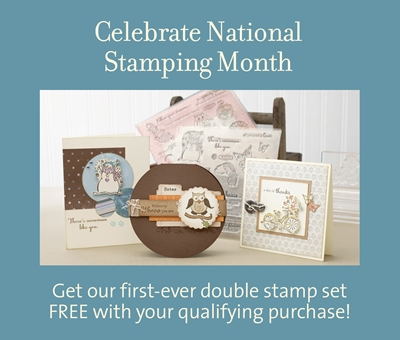
This week I will be doing a different tutorial everyday showing you how to assemble and decorate the bags and boxes included on the ART PHILOSOPHY cartridge. However, first off I wanted to tell you that starting today there is a NEW special that Close To My Heart is running in tandem with the bonus stamp set pictured below.

Starting today not only do you get the free 'Typeset' stamp for any order over $50, but if you spend over $75 you will also get a double stamp set!
That means that if you buy the ART PHILOSOPHY cartridge you will get the three stamp sets that come with the ART PHILOSOPHY bundle, but you will also recieve a TYPESET stamp set, a DOUBLE stamp set, and then you can get the STAMP OF THE MONTH for $5. That is a total of 7 STAMP SETS for just a little over $100! This is perfect for those people who are new to stamping and need some stamps to start with or even those who just want to build on what they already have! If you were looking for an excuse to get this bundle here it is!
Now If this comes off as totally confusing to you let me break it down:
Between August 15-31, get your Cricut Art Philosophy cartridge for $99.00. The Cricut Art Philosophy bundle includes:
* Cricut Art Philosophy Cartridge, Three Stamp Sets (retail value of $17.95 each), & Three Dimensional Element chipboard sets (retail value of $4.95 each)
- Because you spent over $50, you can now purchase the August Stamp of the Month for $5.00 a value of $17.95!
- Now you also qualify for the Typeface mini alphabet set a $6.95 value for FREE!
- Since you spent over $75, you’ll also get the Pair-a-Phrase double D-size stamp set a $35.90 value for FREE!
To order click here ==> Melanie's Close To My Heart website
*edited to add these orders cannot be places until 9am mst to receive the Pair-a-Phrase stamp set*
Now on to the tutorial...
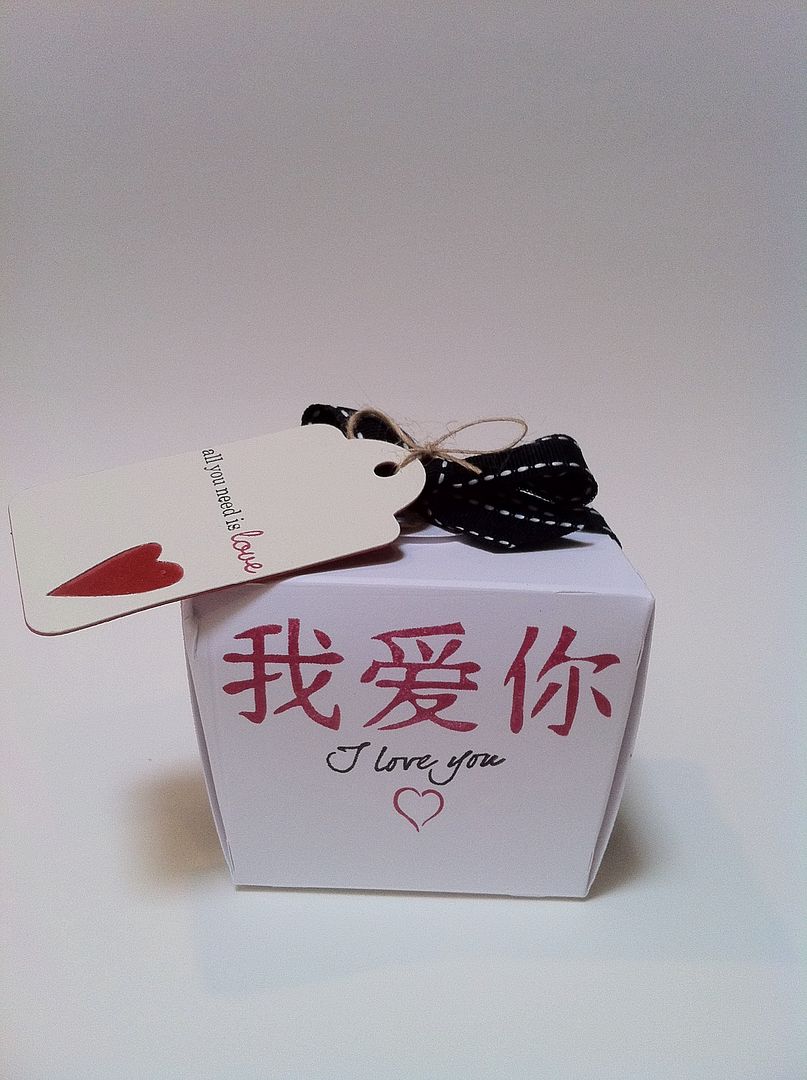
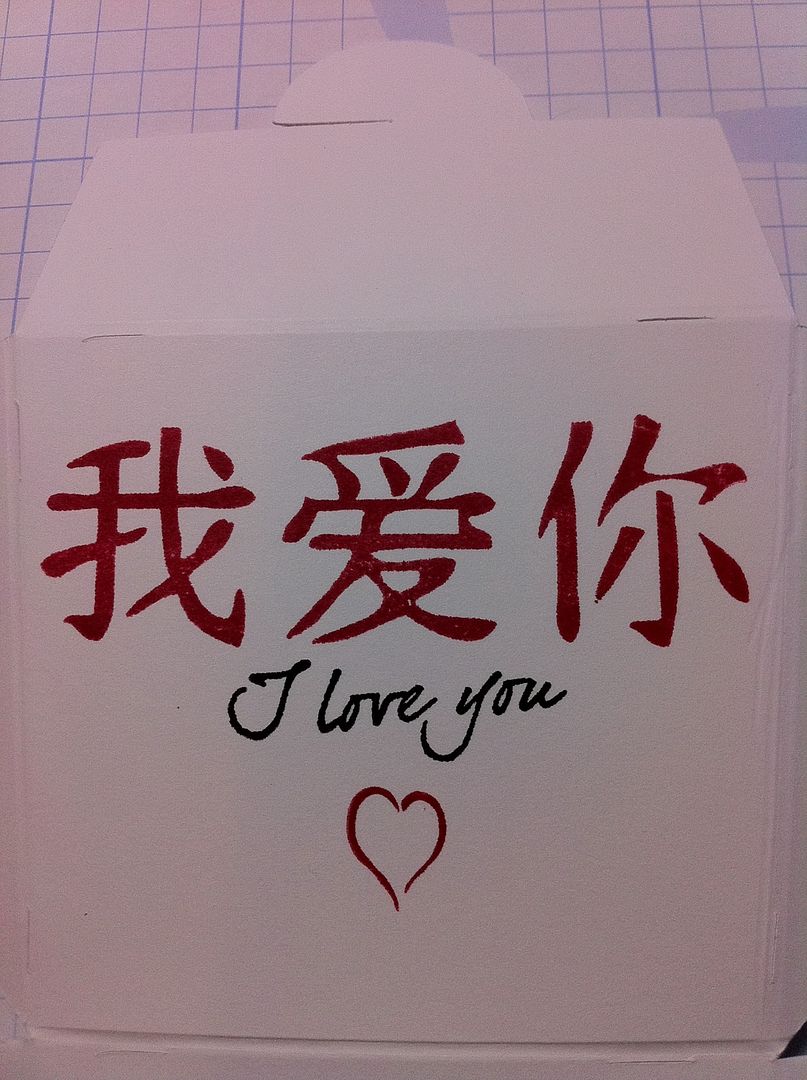
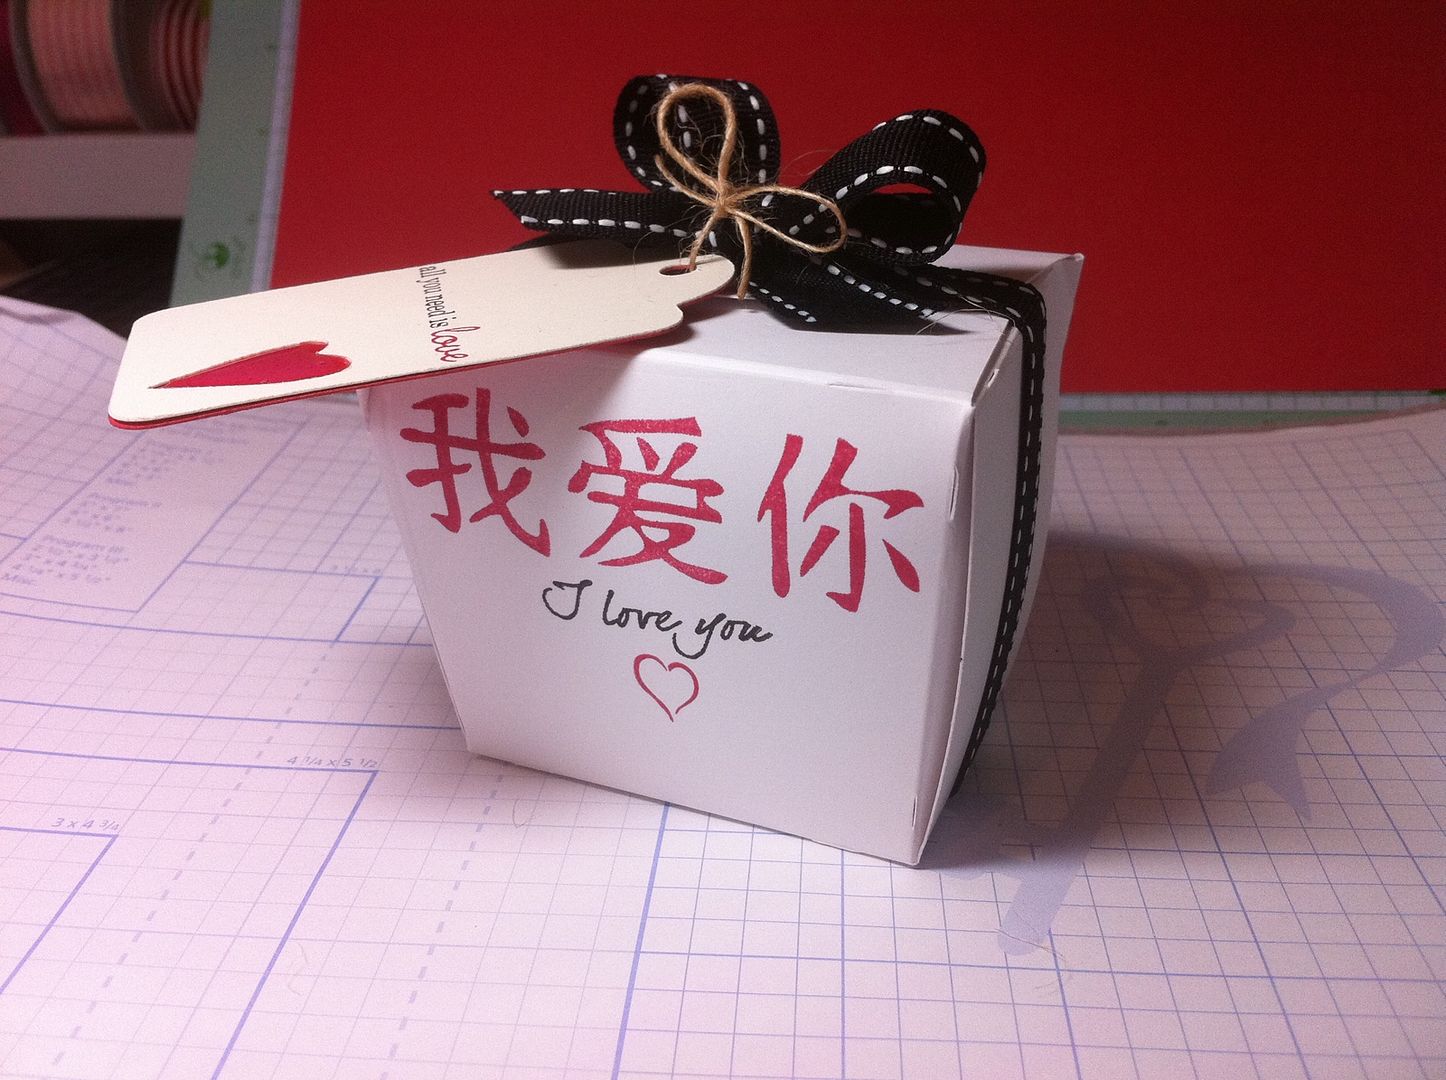
This is the box that I will be showing you today is from the ART PHILOSOPHY cartridge. It is the Chinese take out box, which is one of my favorites. It has so many uses and there is only one other cartridge that has anything similar. However, that box is far more complicated to assemble than this one. In fact, this one is SUPER simple once you know how!
 |
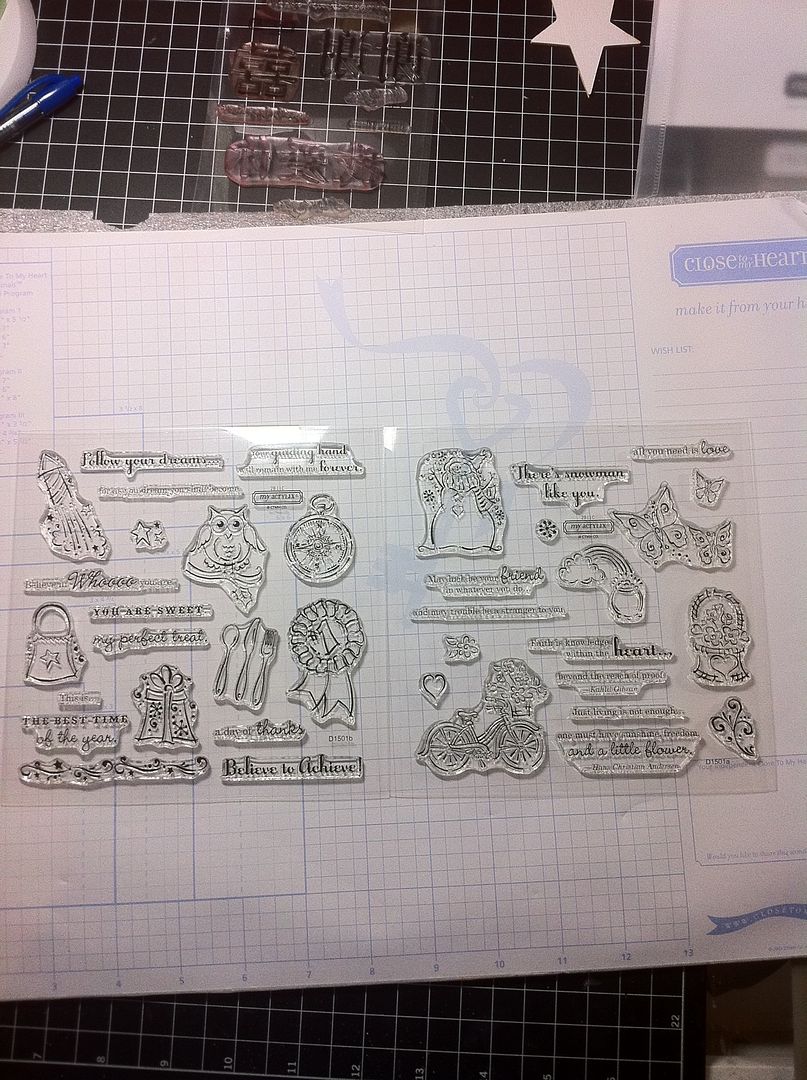
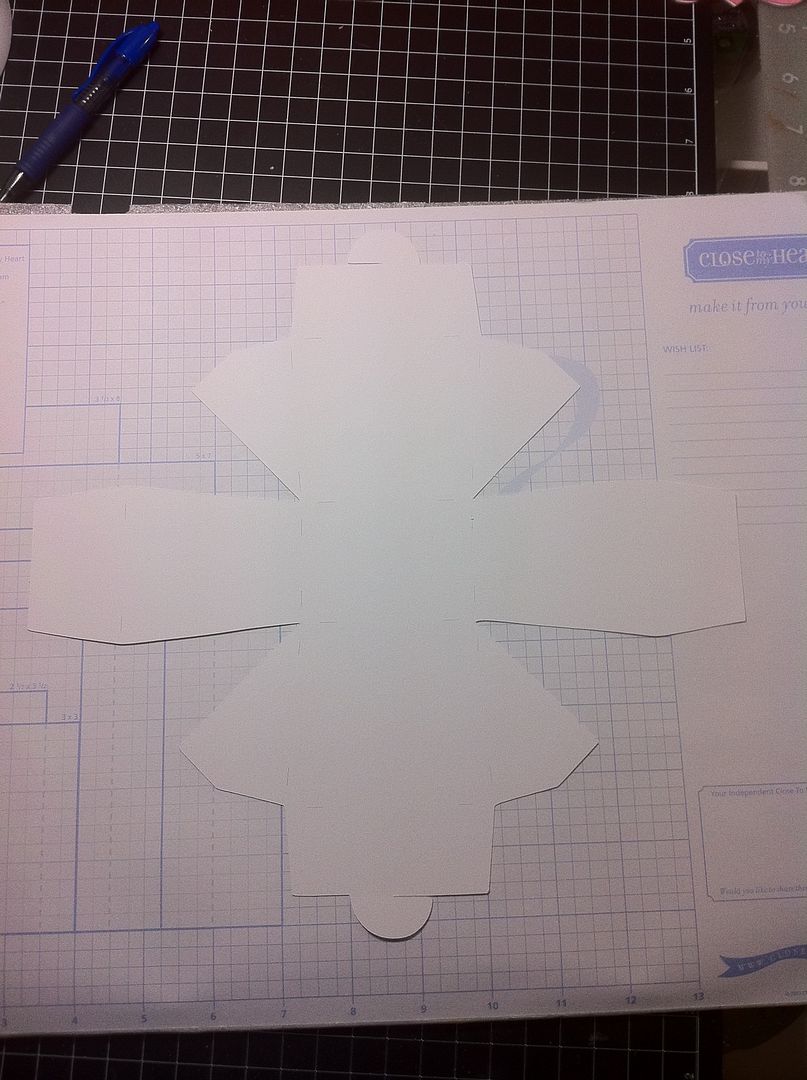
| I used just plain white cardstock from Close To My Heart. The ribbon is from Papertrey Ink and the stamps are all from Close To My Heart. |
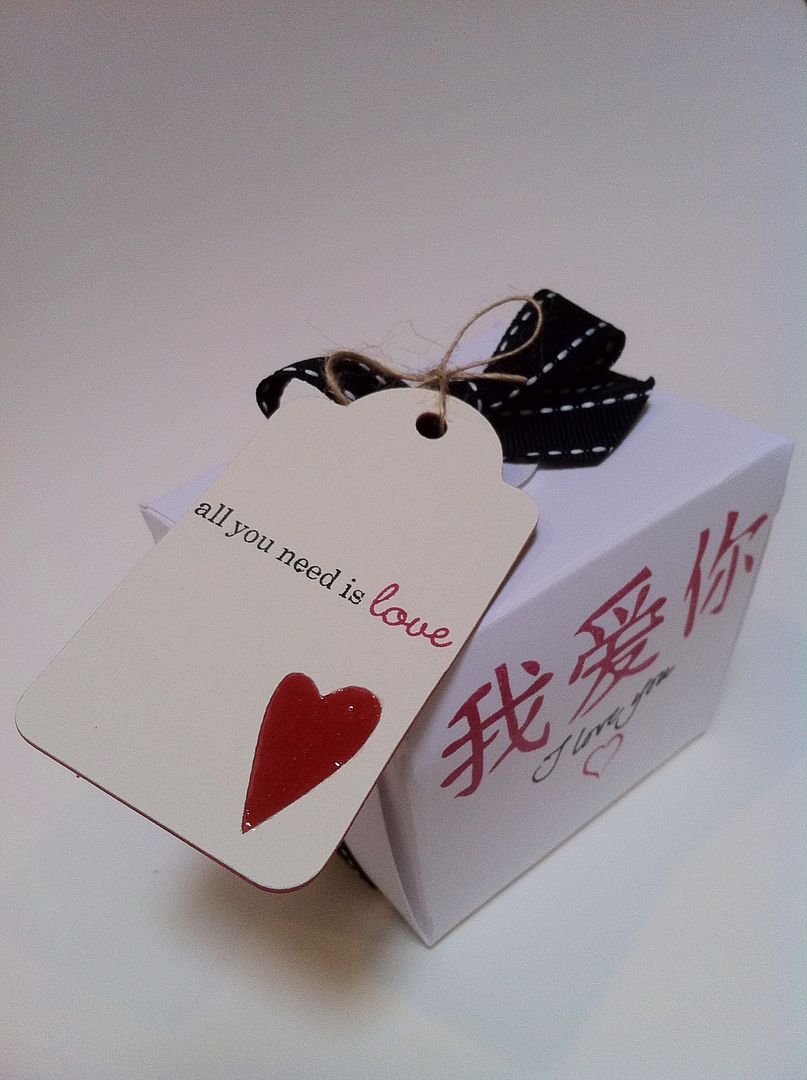 |
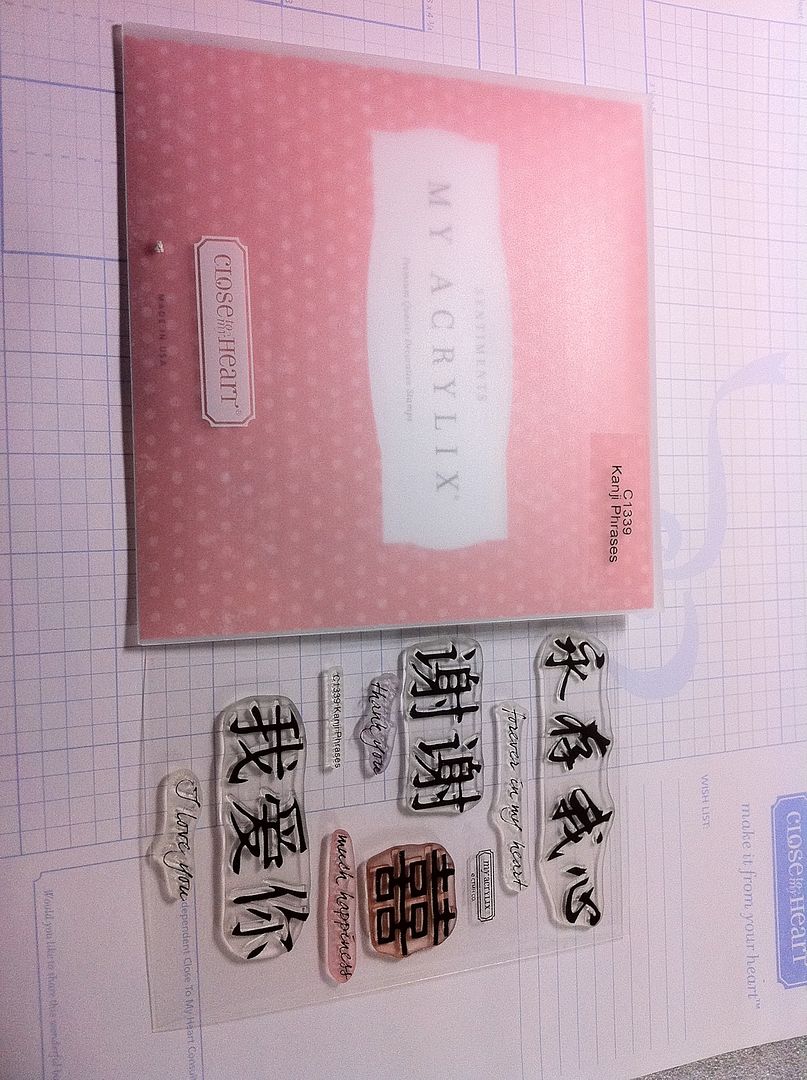
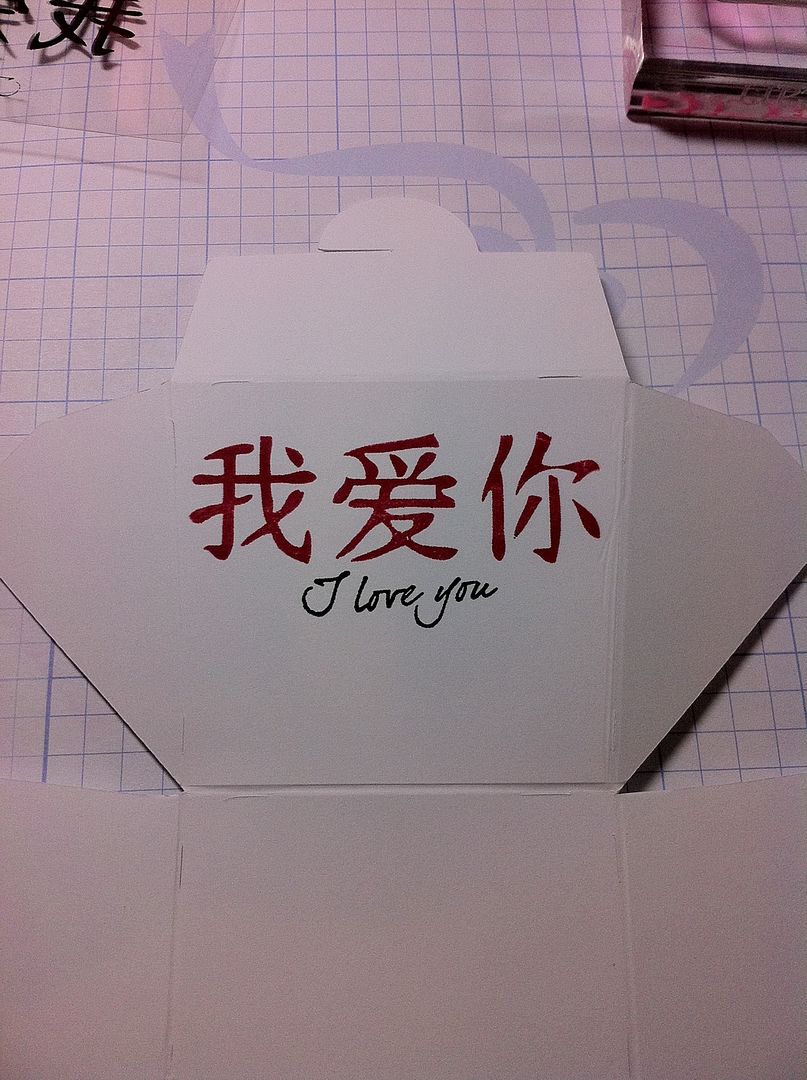
| This sentiment along with the heart on the box are from the DOUBLE STAMP SET that I mentioned earlier in the post! |
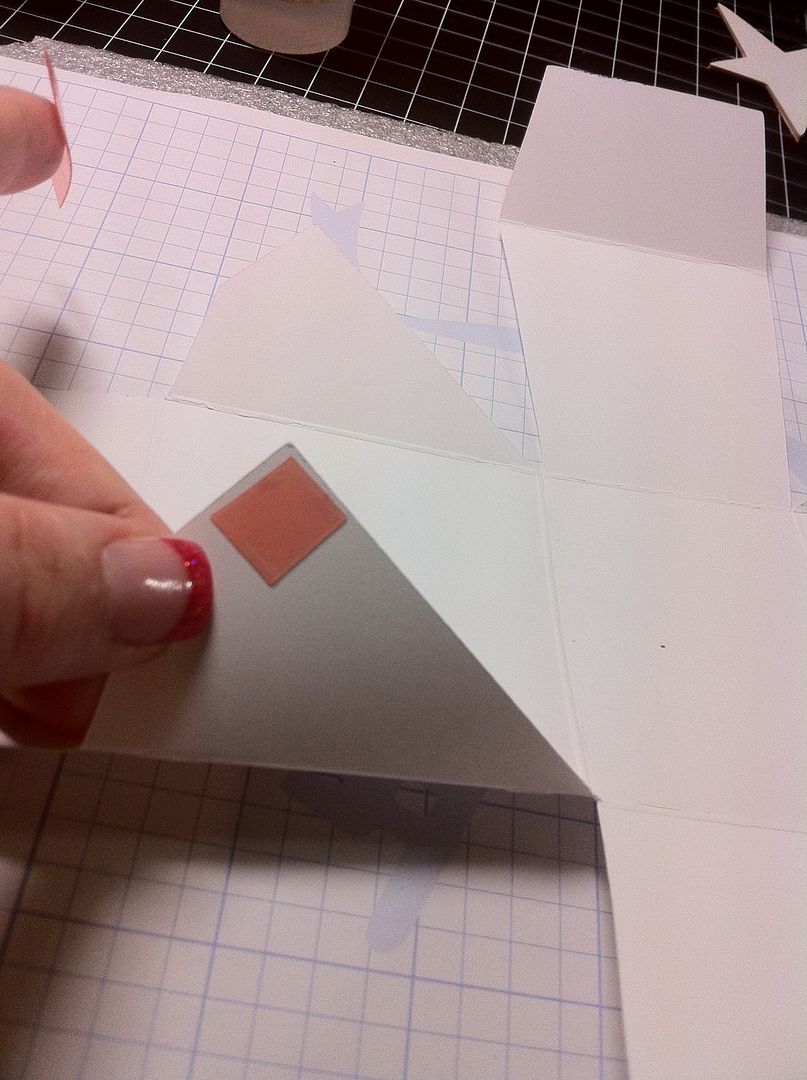
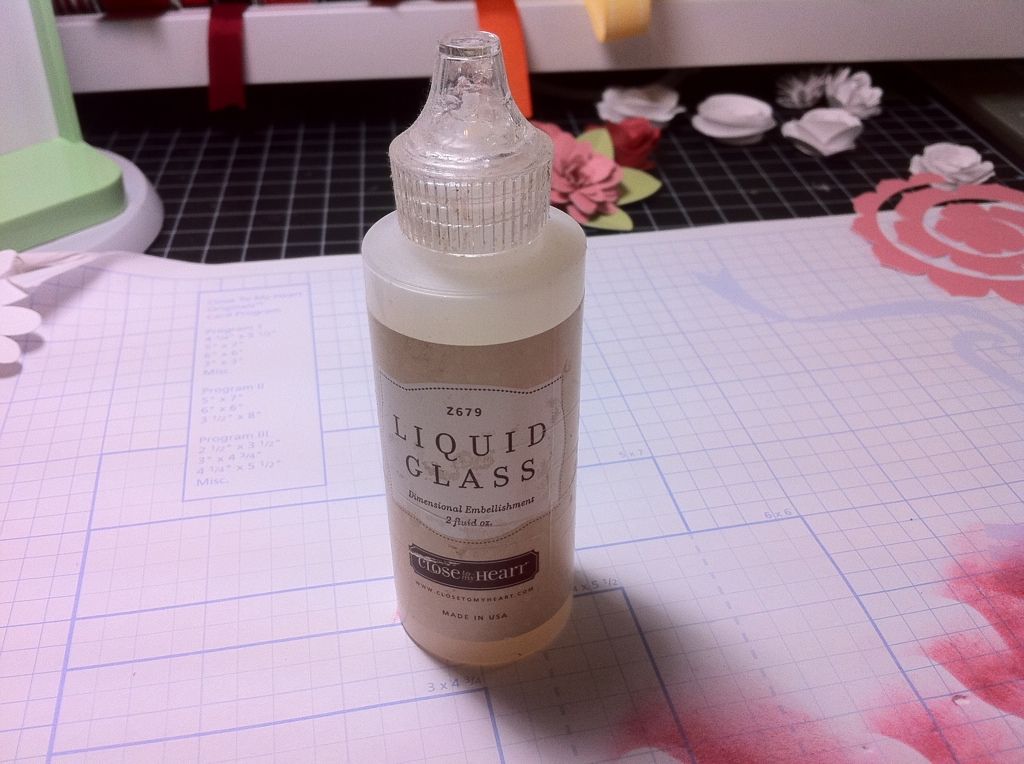
First, you need a good adhesive. I like to use Terrifically Tacky Tape from Provo Craft.

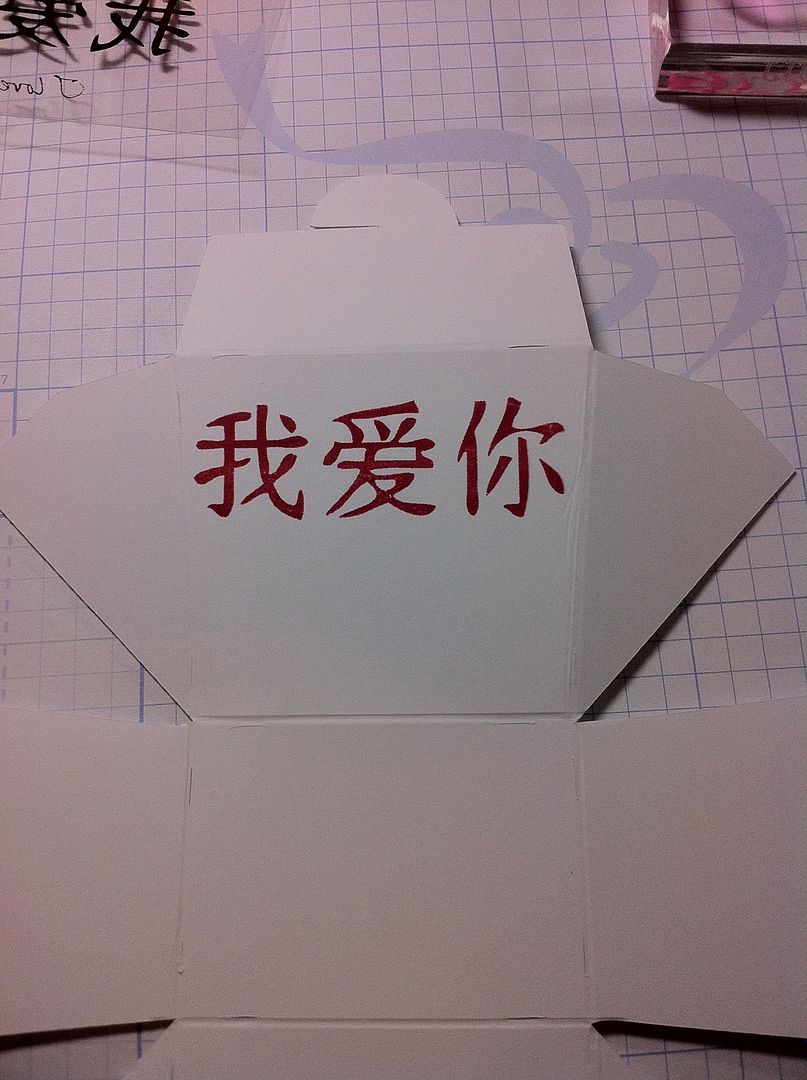
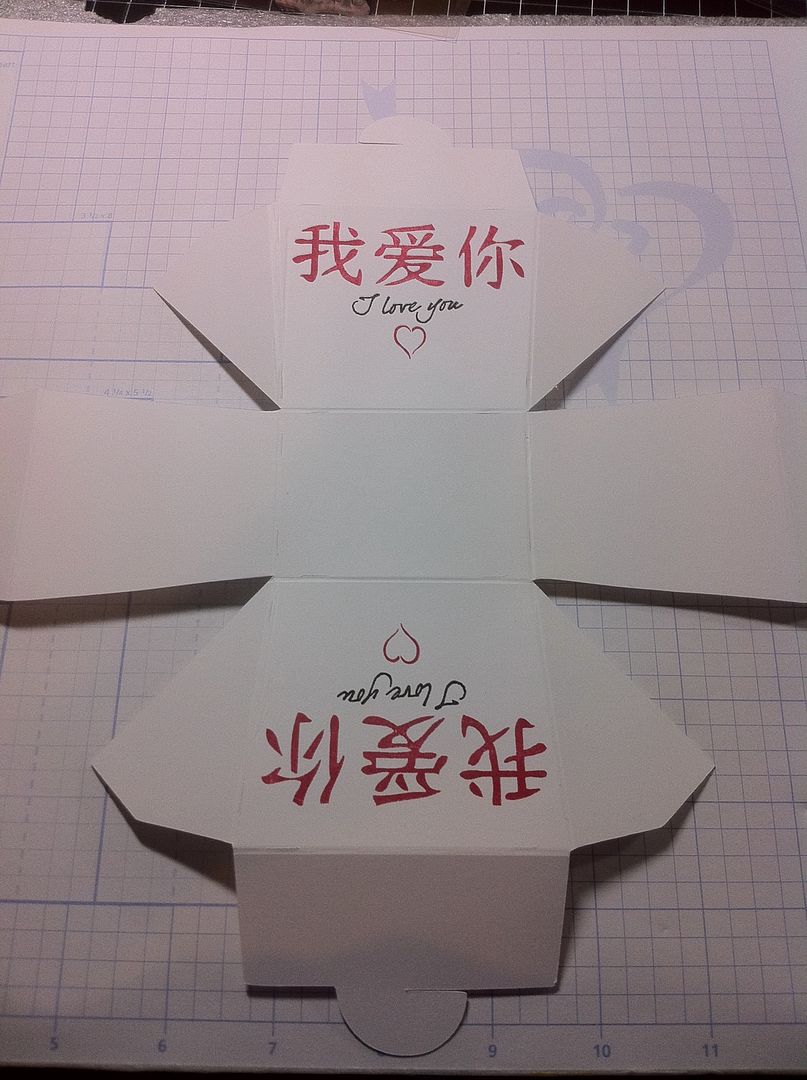
When I cut the box this is what I got.
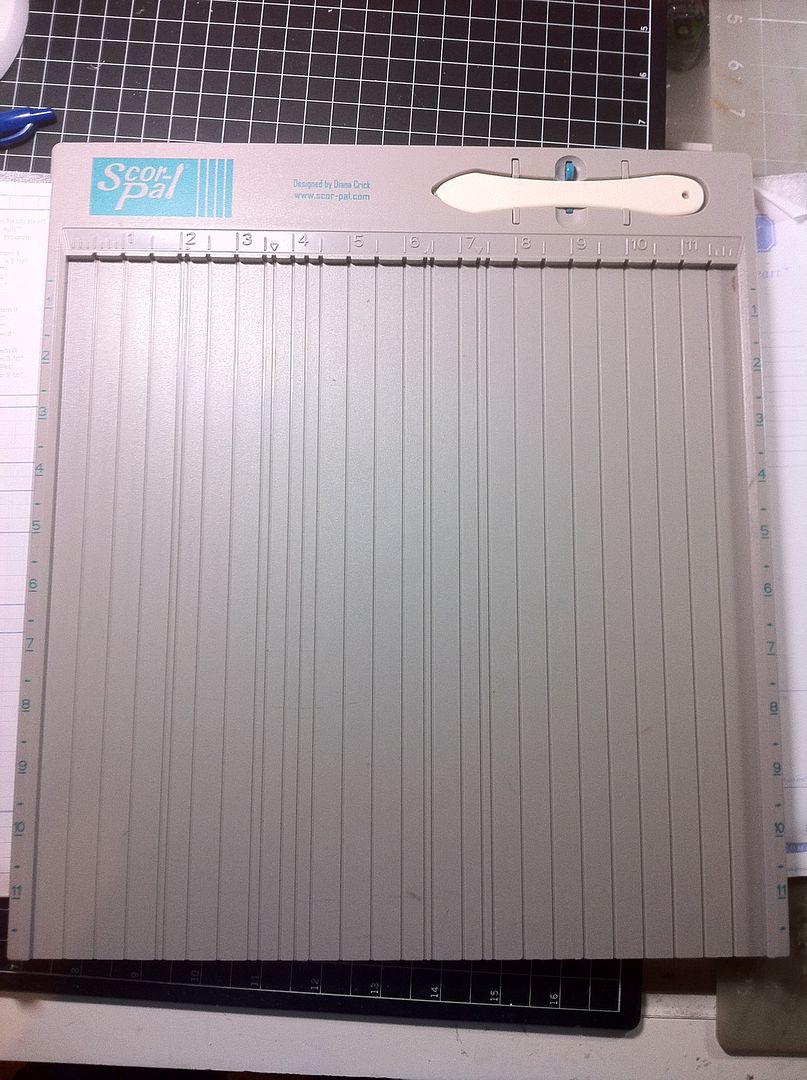
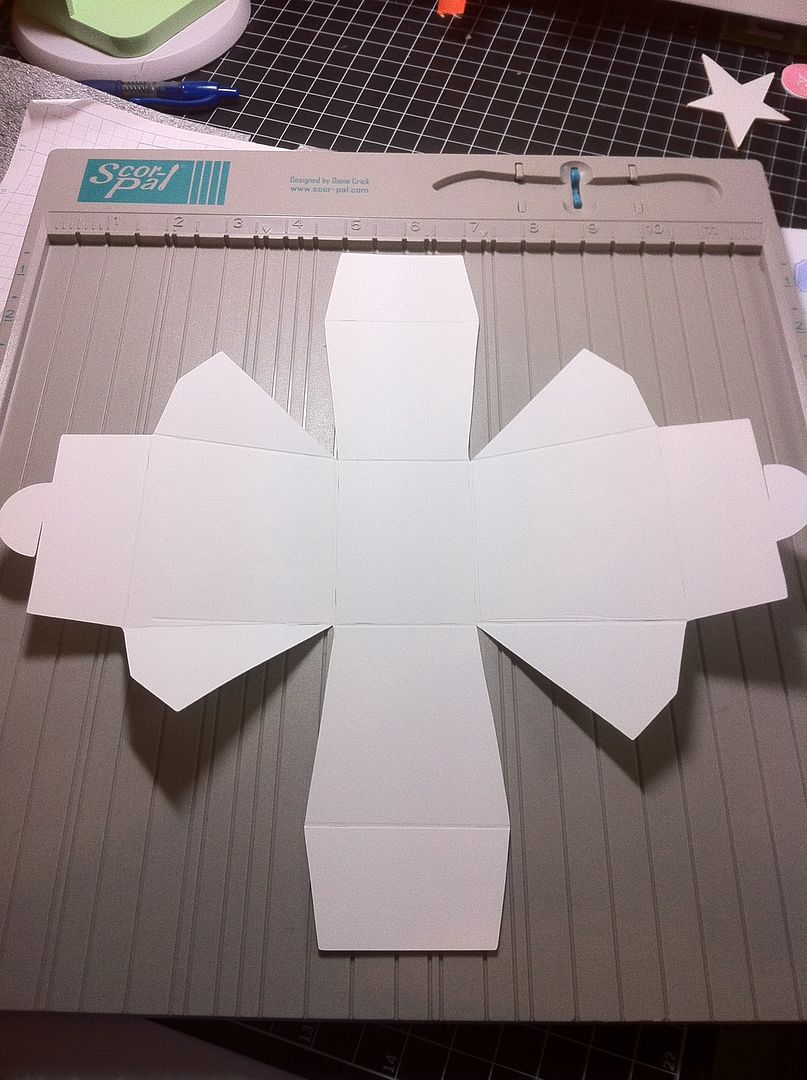
Then I scored the the box using my Score Pal.
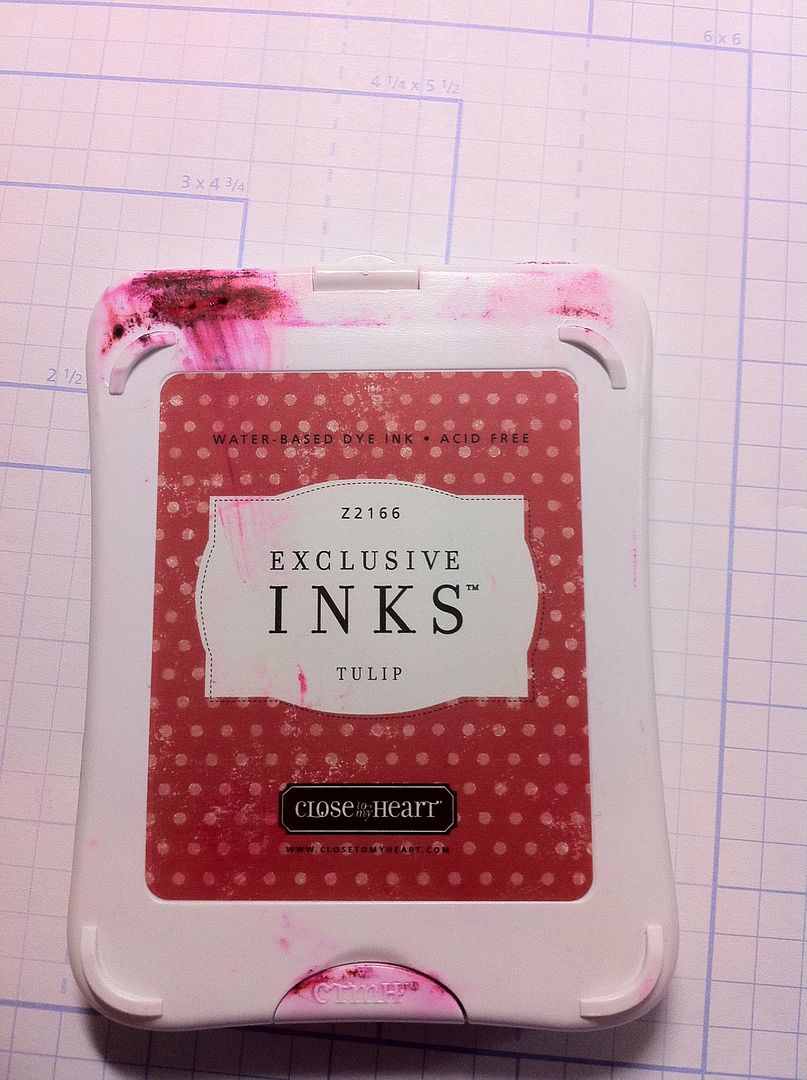
I used the Tulip red ink from Close To My Heart. It is my favorite shade of red!

and repeated the process on the opposite side.
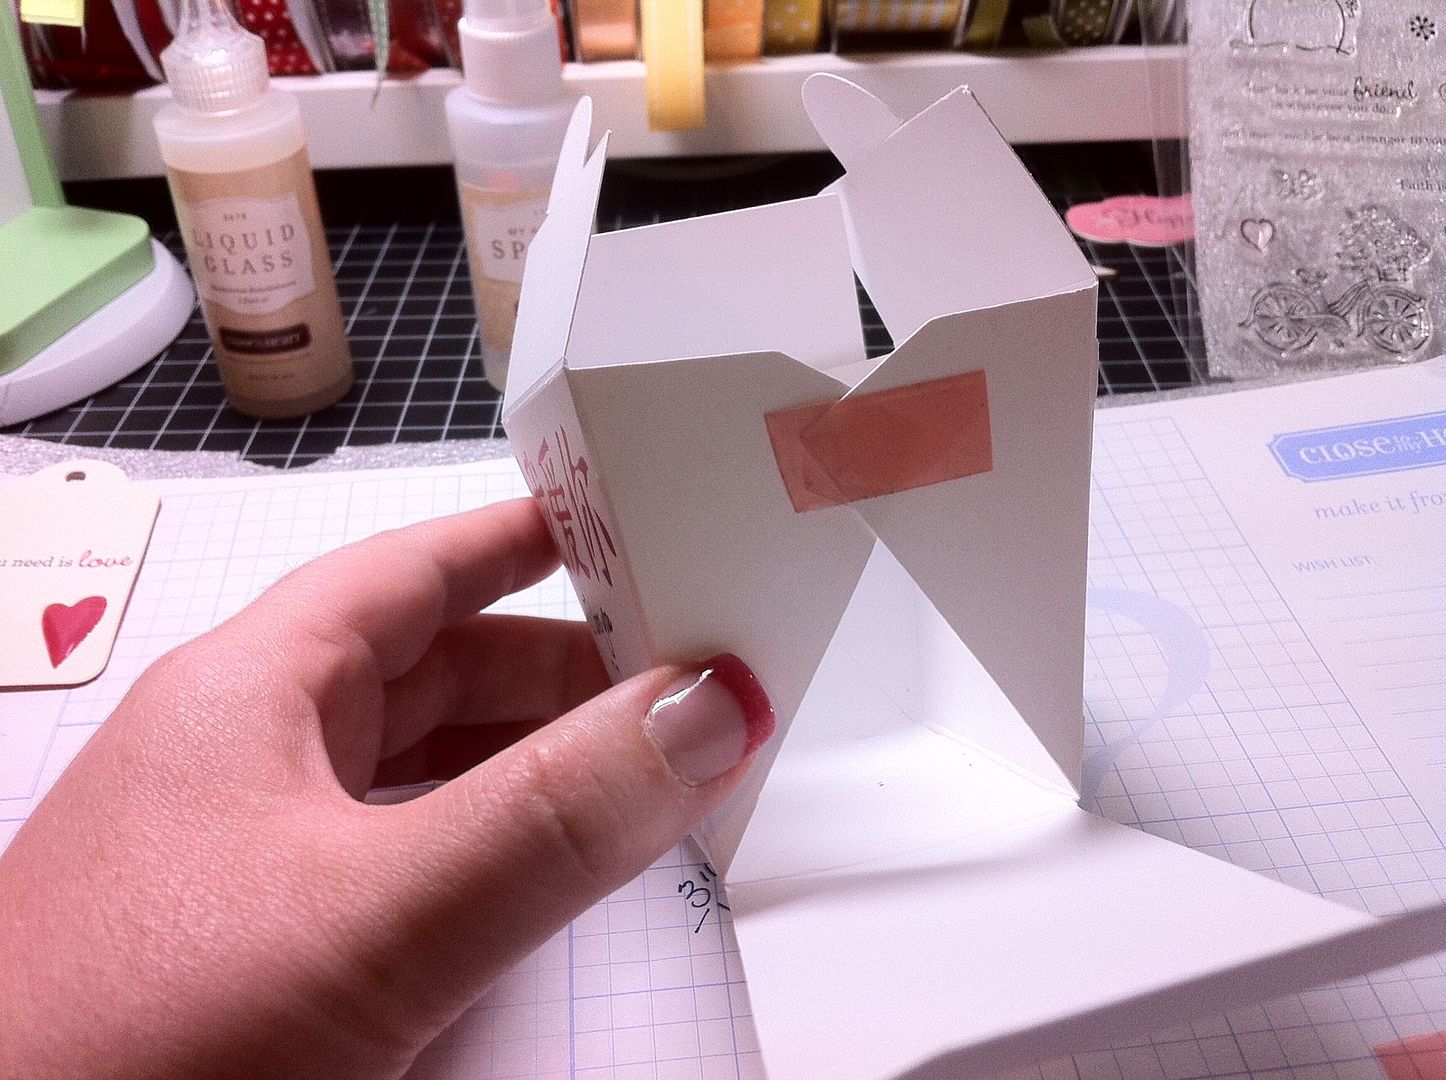
Then using the Terrifically Tacky Tape, I taped the box as shown.

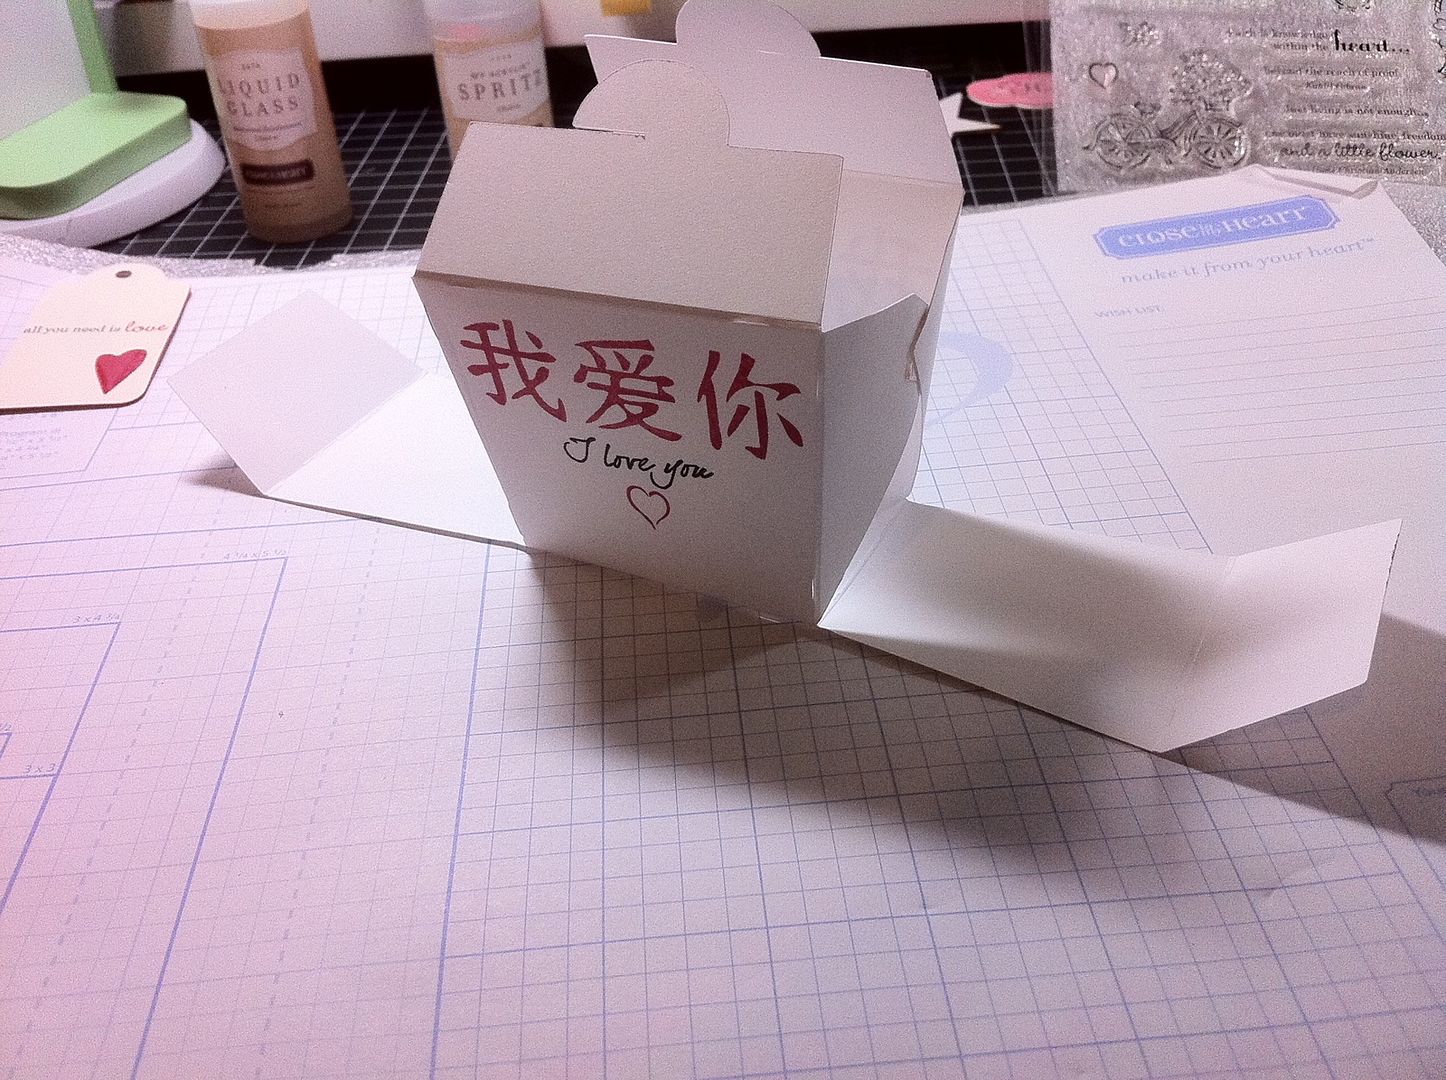
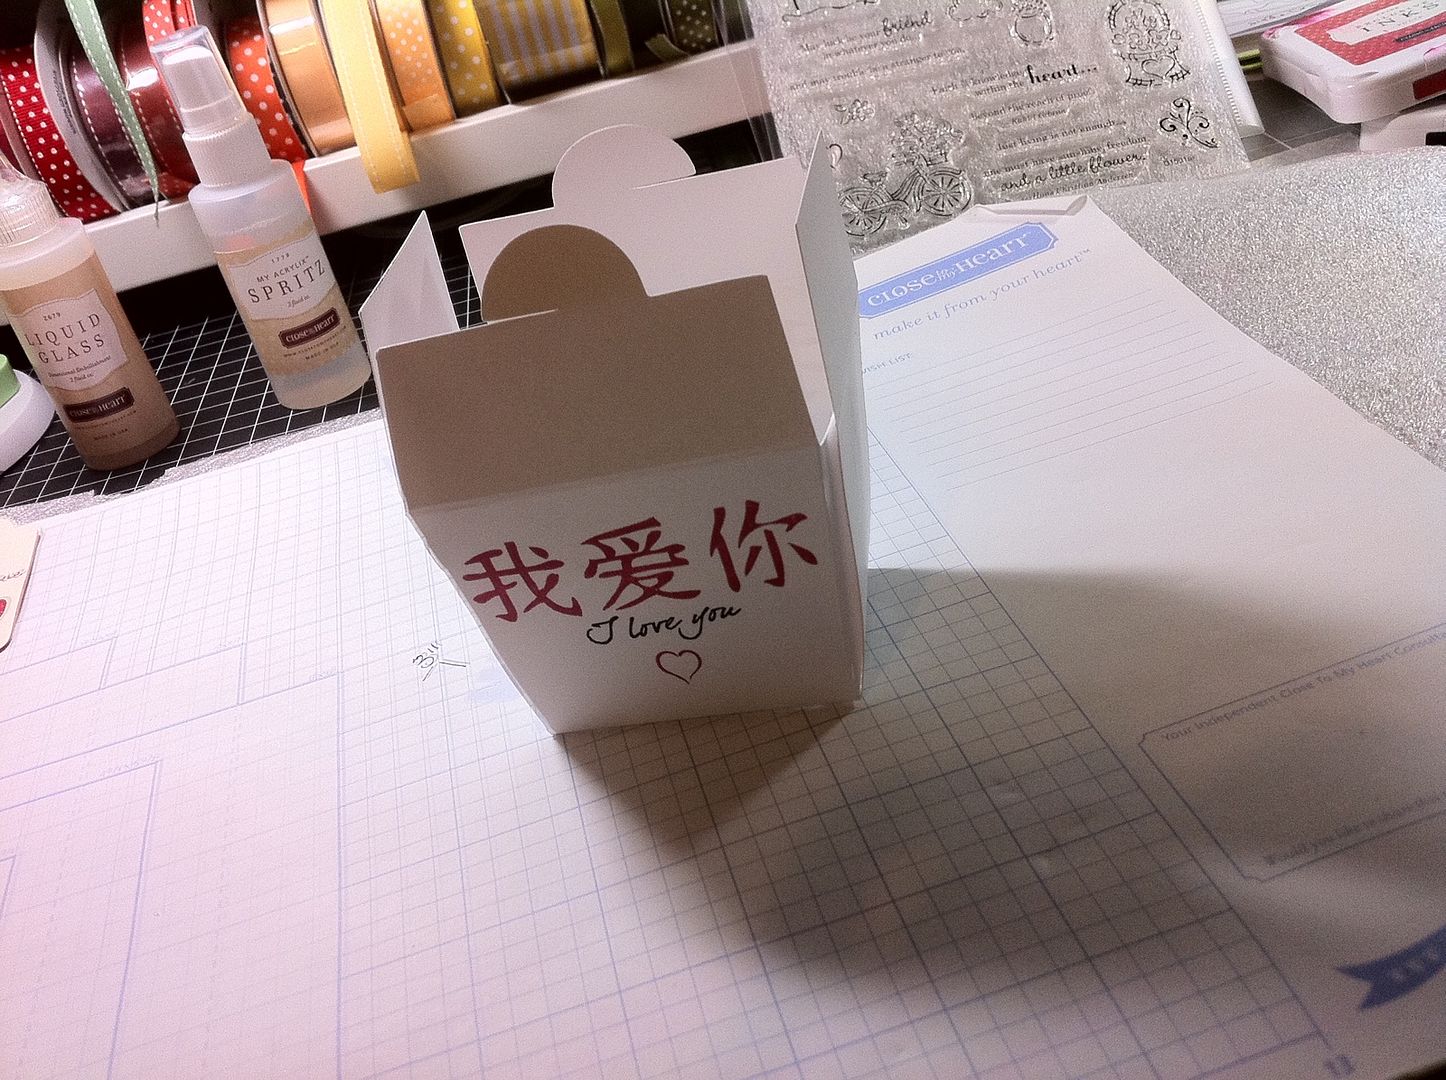


Then I used the DOUBLE STAMP set Pair a Phrase to stamp the sentiment. One really great thing about this stamp set is the sentiments! Also, how many seasons it covers.


WHEW...We're done! I'm so sorry this post was so long. I hope you guys got a lot out of it. I will be back tomorrow with another box/bag tutorial! See you all back here then!
Have a MAGICAL Monday!
 Subscribe to Courtney Lane Designs by Email


32 comments:
Great box!
It would make a great favor box for any occasion.
Carol
Post is not too long. Thanks for the info. I need all the details. lol
Don't care how long the post is ~ especially when it is so "teachin'."
Love when you can learn ~ you do such a wonderful job. Cute box!
Mstgane
Ann
I really like the box! It can be used for lots of different ideas.
Terrific idea for so many different occasions! Thanks so much for the tutorial ~ beautifully done!
susanJ in Atlanta
I love this tutorial. I so wish I had the money right now to take advantage of this. Oh well, I will just wait patiently. It is awesome to see your tutorials. Very helpful!
Love this little box! Would be a cute party favor!
Wish I would've waited until this week to order my Art Philosophy set. :o(
Great idea for a wedding shower favor for a neice who is a teacher in China. Love that red ink too!
Super cool project--thanks for the tute!
Melanie, this box is adorable! This is one of the reasons that I bought the Art Philosophy cartridge. Your stamping on it is so striking!
Wow! Loved every bit of your tutorial!! Great job! Wanting this but putting 2 sons thru college, so will have to wait...
Love the treat box, and thanks for the tutorial. Details are good!
Post not to long at all, loved the box, way too cute. Wish I had waited until this week to order for the 2 extra stamp sets, but not biggie, mine should arrive on Wednesday, so excited!!! Thanks
Kimberly
bsketmom at tampabay dot rr dot com
Thank you for taking the time to show us how to create this great take out box.
Great box. Can't wait to place my order this month!
love the box, thank you for the tutorial
Well, now I super excited to get my cartridge!! Great box...TFS!
very cute box..I hope that some time in future I will be able to buy this cart. Thank you for a chance to win
very cut.
mema
This is something I want to try. So cute!
Love this box! One of the many reasons I'm counting the days until I can order this set!!
~Tracy
blue.tacs at yahoo dot com
Awesome tutorial!! I can't wait to get this whole set! I see that good things come to those who wait! :-) Thanks for all you do!!
Adorable box!! I placed my order today for the cart bundle and the bonus stamps, can't wait for it to get here!! Thanks for all the great tutorials on this cart!!
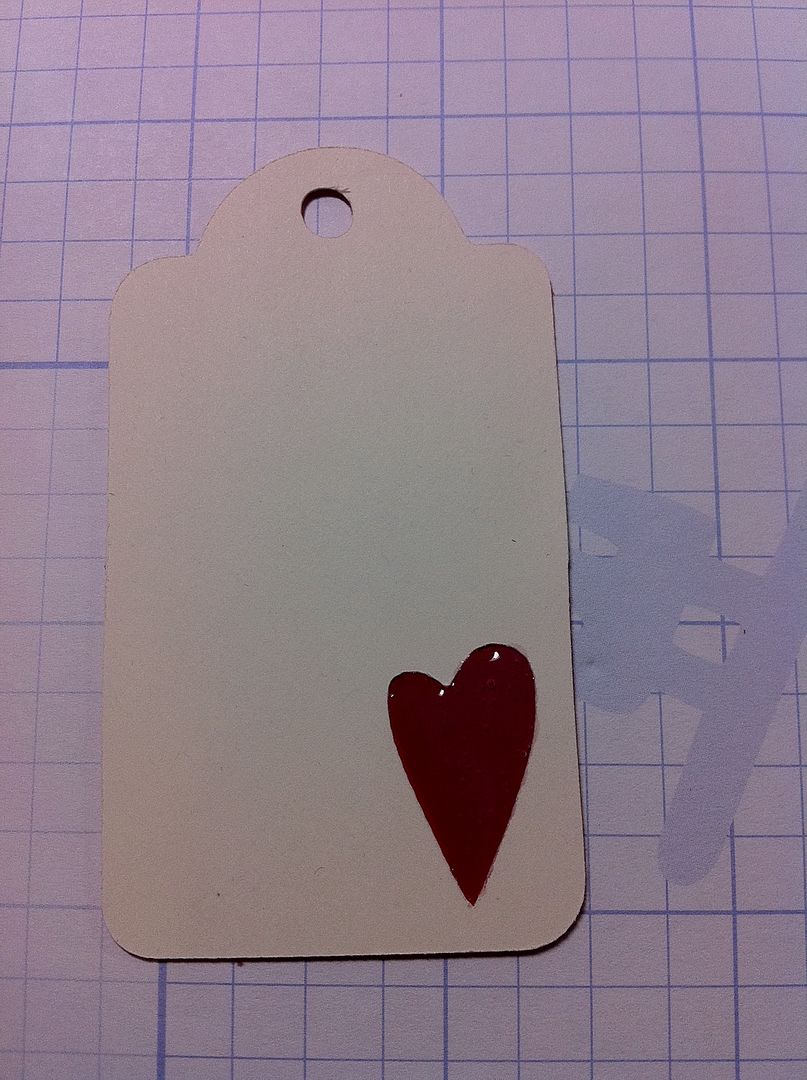
I absolutely LOVE this box creation! That shiny heart really clinches the deal! And your post is just fine ... there can never be too little or too much information! Keep up the fabulous work!
too cute! love the box.
OK, this post sold me! I placed my order and can't wait to get this set!!! Will be starting on Christmas with all these cute boxes!! Thanks so much for showing us step by step. Being visual, I need this!!! Thank you - thank you- thank you!
jdwlo
Very cute box.
GloriaH
Thanks for the great directions for the take-out box. I love the way it looks with the kanji words. I purchased this cart a week or so ago and now wish I had waited so I could have gotten the double stamp set. Oh well...I'm just happy to have the cart.
Love this box! Thanks for sharing! I love your tutorials!
rissaflor atyahoo dotcom
I love your tutorial and I really appreciate the step by step pictures. I can't wait to tune in each day.
Love the takeout box. Can be used for so many things. I'm thinking- Christmas cookie exchange.
This is a lovely box and great tips on making them.
Kim xXx
Post a Comment