I hope you all had a wonderful holiday weekend! I know I did! My husband has been working very late nights as of late, so a four day weekend with him was great!
Well, today I have the 3D Bow tutorial conclusion with the most festive bow of the set! Now this bow can be easily duplicated many times and with a little adhesive popped on the back you'll have yourself some beautiful custom bows!
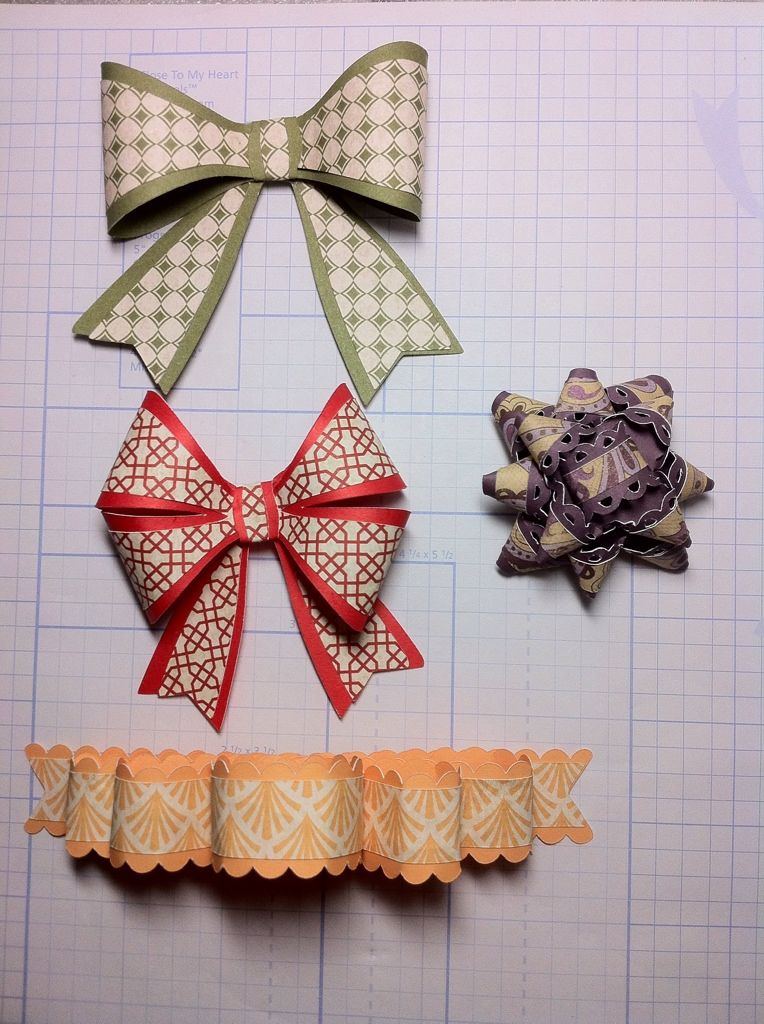 |
| The bow I will be showing you today is the purple one on the right. I used Close To My Heart cardstock and patterned paper. |
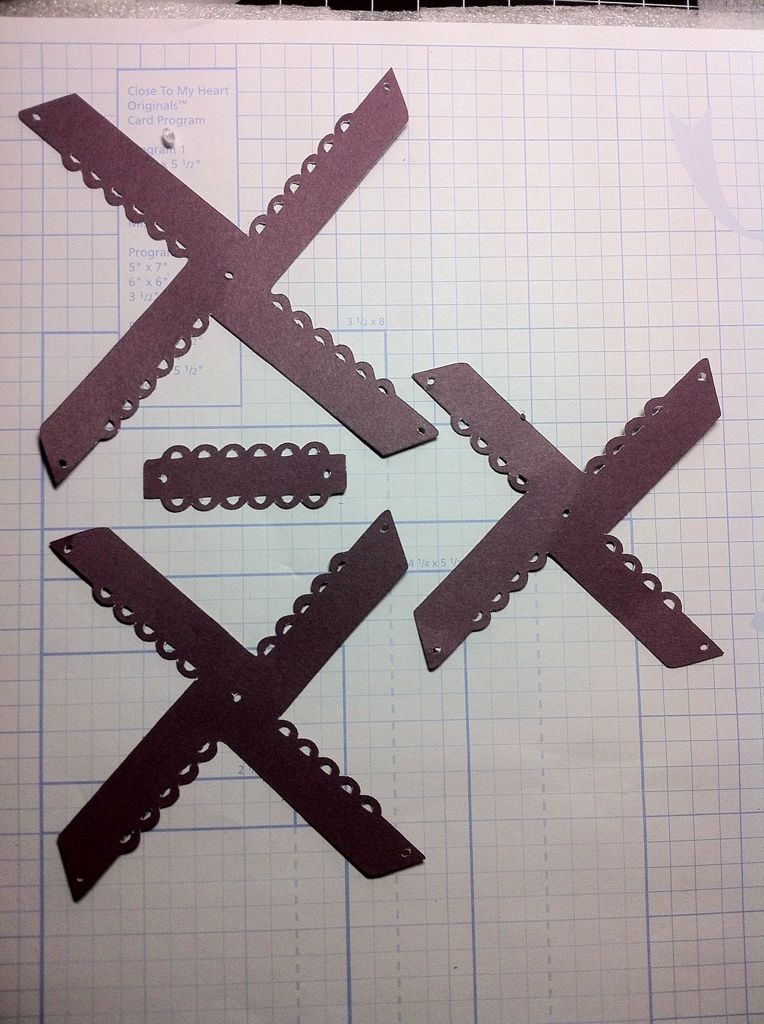 |
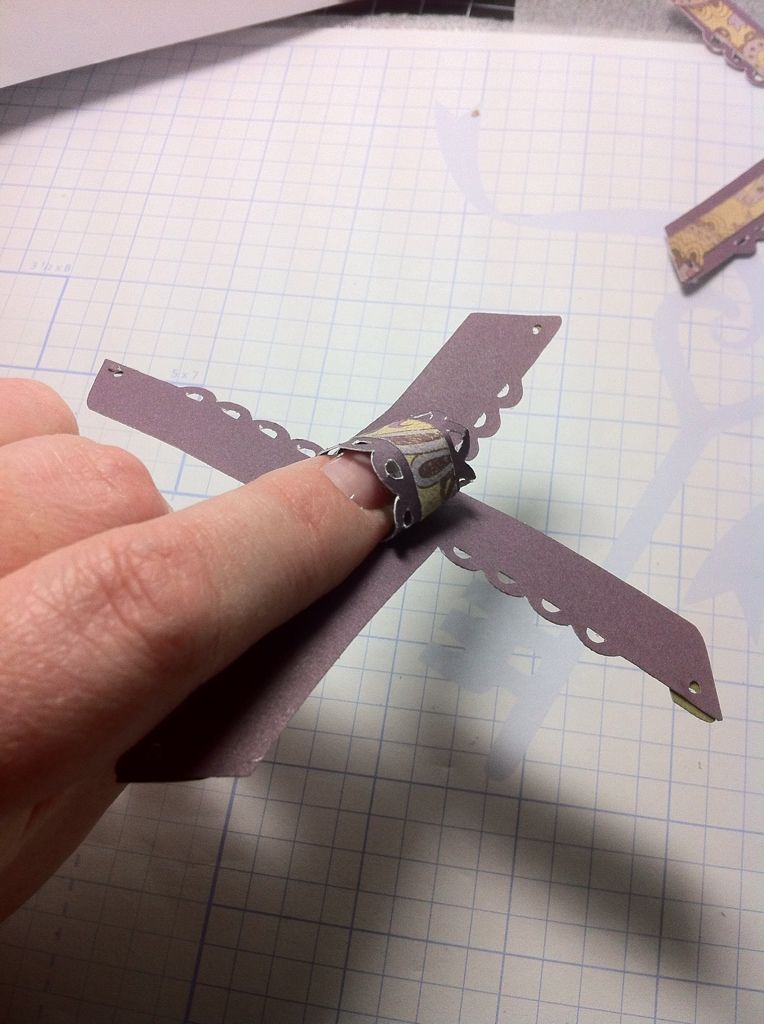
| I cut the base out at 4". |
 |
| The shift layer was also cut out at 4". |
 |
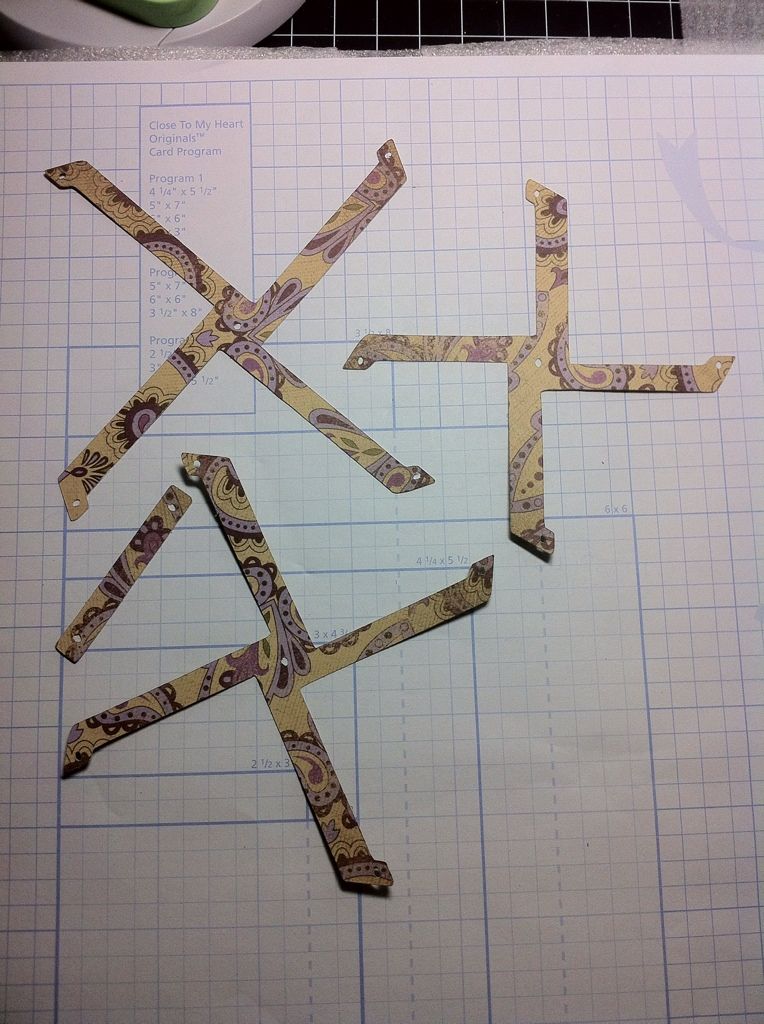
| I adhered the pieces together. |
 |
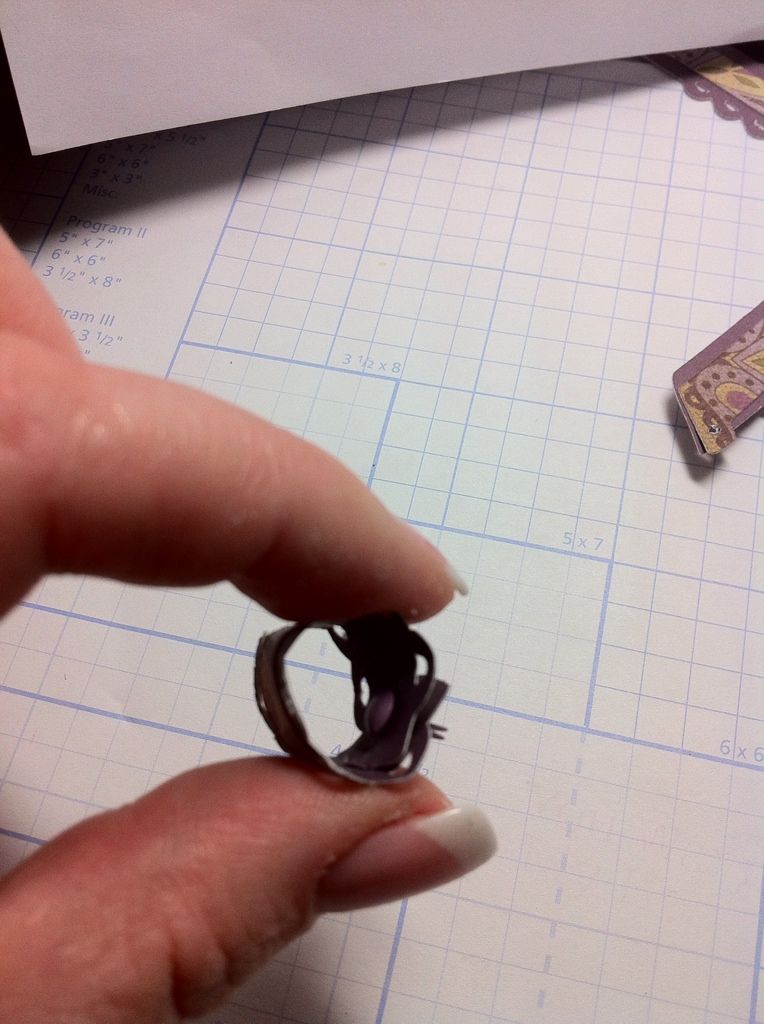
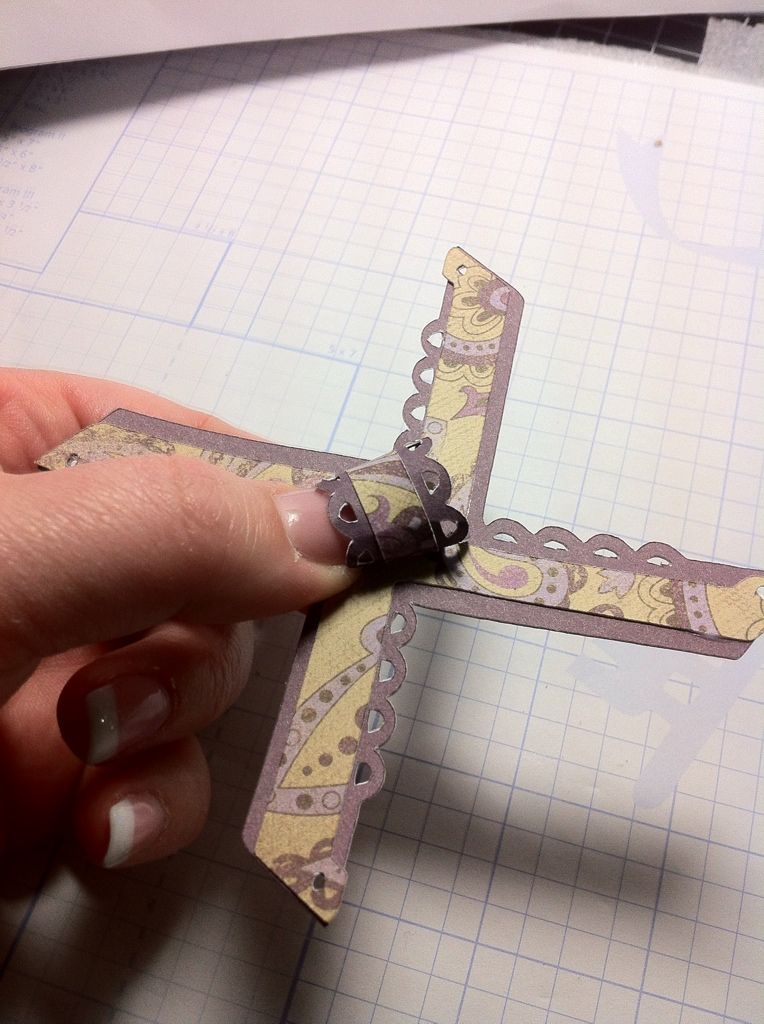
| Then took the smallest piece and brought the ends together with a brad. To use the same brad for the entire bow you MUST use a brad with long legs. I could not find one that matched, so I used three different brads and then adhered the pieces together. |
 |
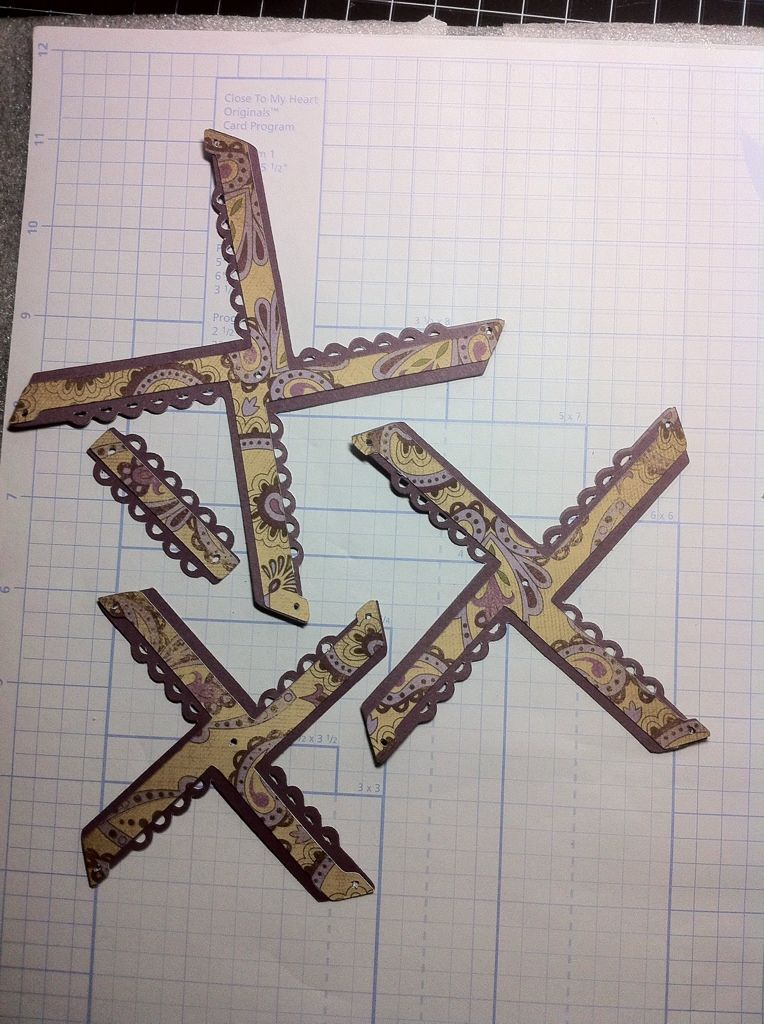
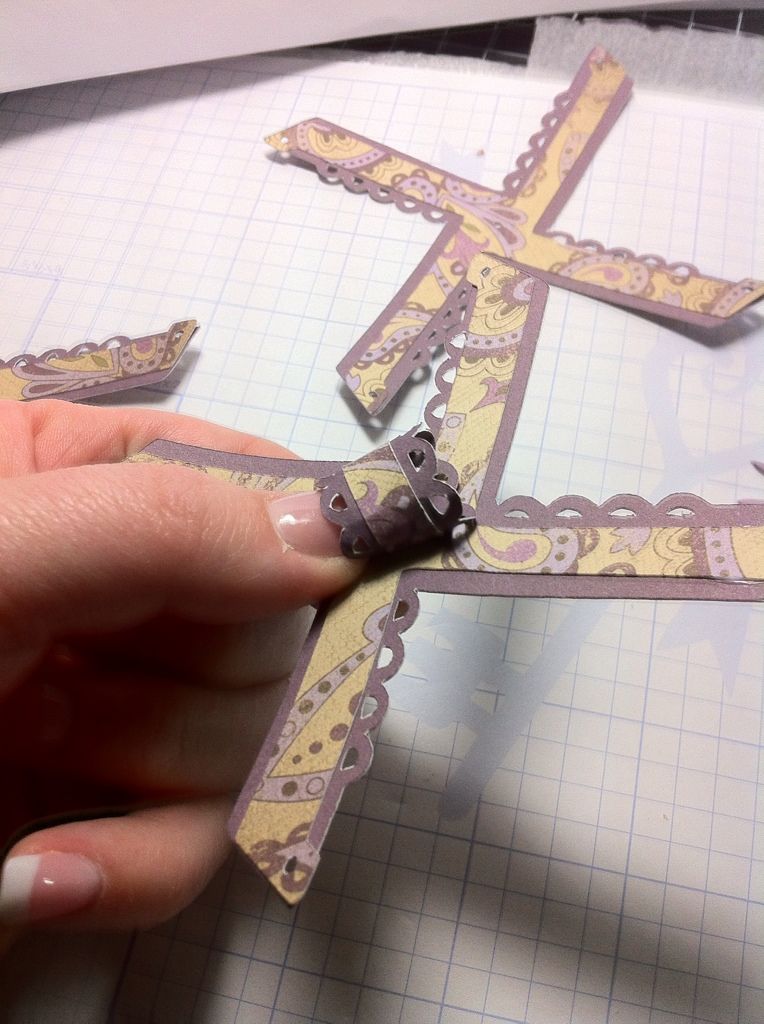
| After flipping over the cut, I then stuck the brad through the center of the smallest 'x' like shown. |
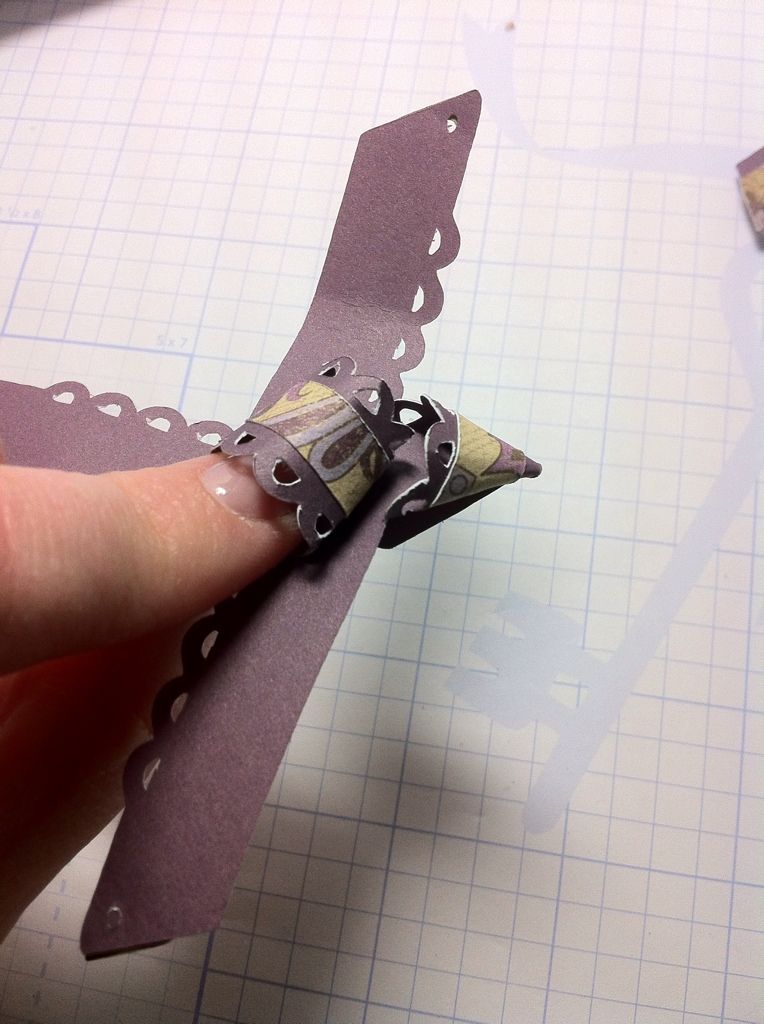 |
| then I brought one of the ends around and put the legs of the brad through hole. |
 |
| I repeated this process three more times. |
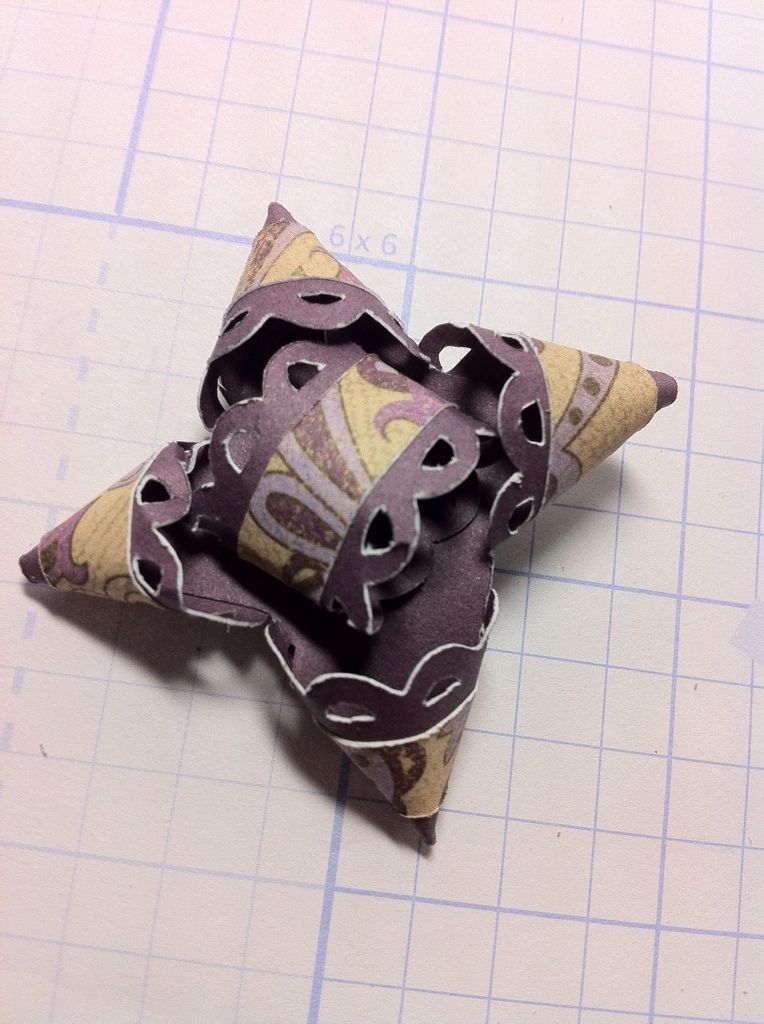 |
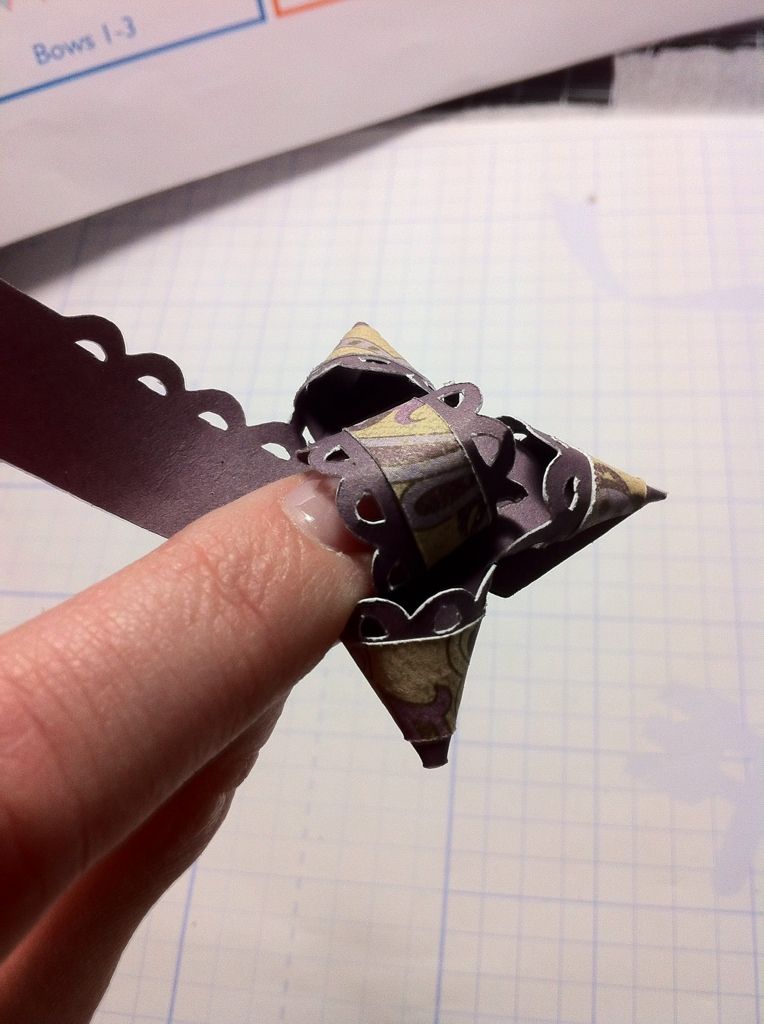
| This is the end result. |
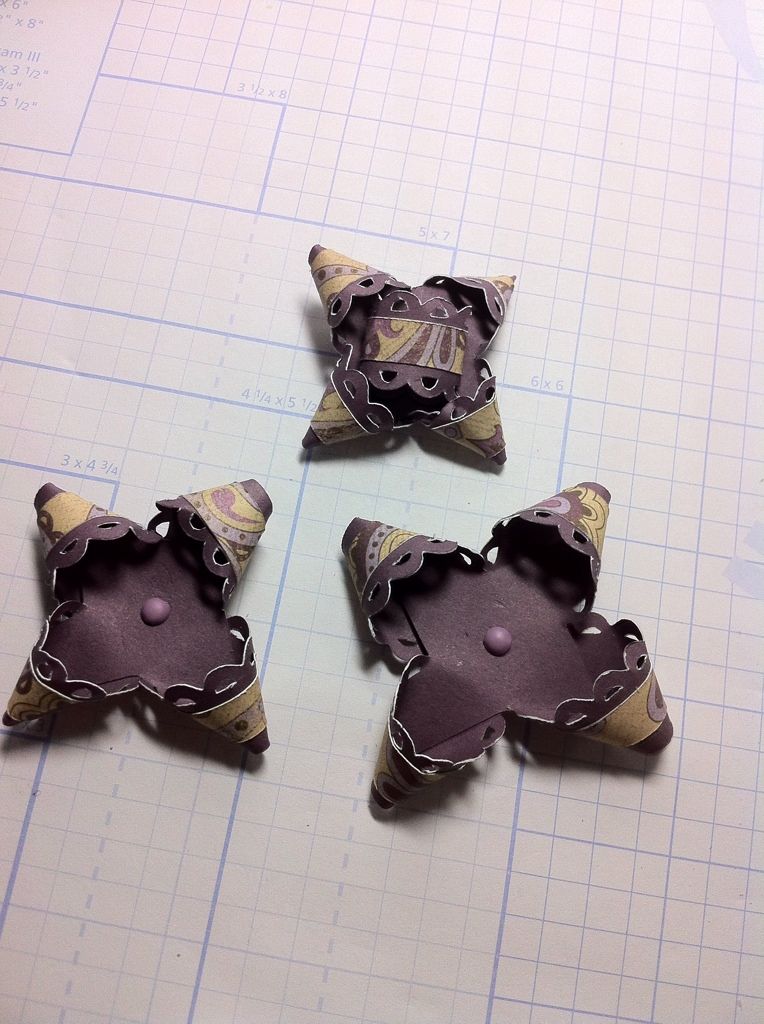 |
| I repeated the process two more times with the other cuts. |
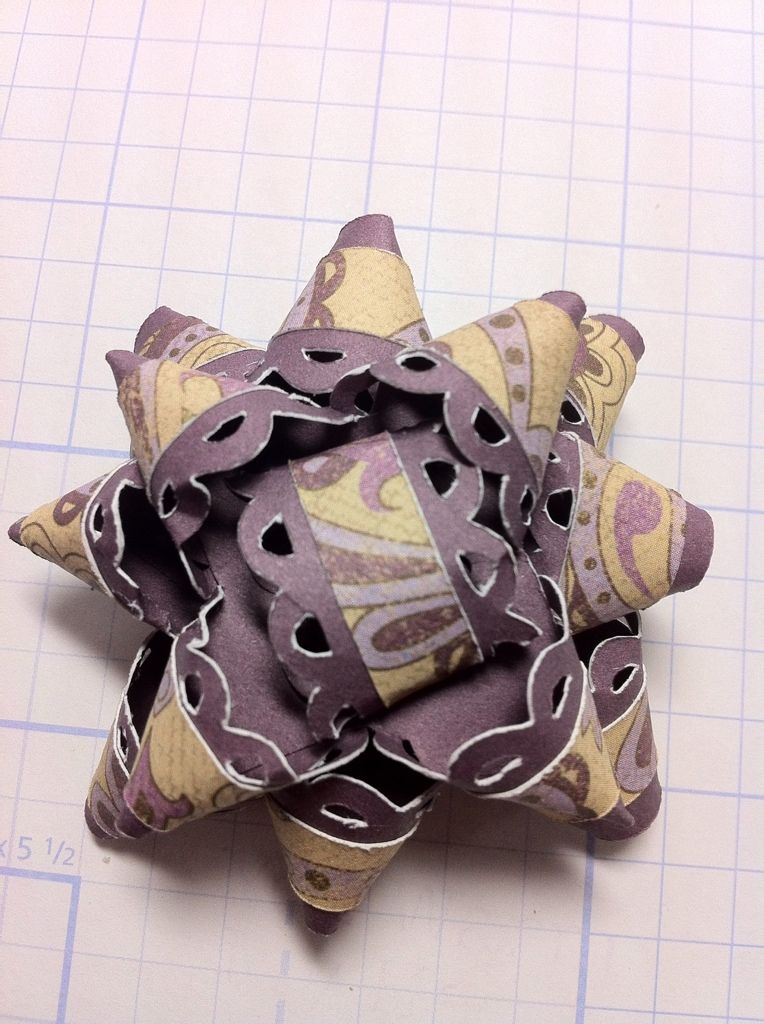 |
| Then I adhered the together making sure I staggered them as I stacked them. |
November Specials:
November stamp of the month

Holiday Wishes stamp set that is only $5 with a $25 stamp purchase.


When you place a minimum order of $25 in My Acrylix® stamp set starting today (until November 30th), you can purchase a new D-size Holiday Wishes stamp set for only $5 (Stamp of the Month, K-size customized name stamps, Cricut® Art Philosophy collection, and Workshops on the Go™ kits do not count
toward a qualifying purchase.)! That’s significant savings off the full
retail value of $17.95 US / $19.95 CAN. And here’s a bonus: many of
the images in the set coordinate with our Cricut® Art Philosophy cartridge for added cutting and stamping fun!
So to break it down,
-If you spend $25 in stamps, you get the Holidays Wishes stamp set (retail price $17.95) for $5 (Stamp of the Month, K-size customized name stamps, Cricut® Art Philosophy collection, and Workshops on the Go™ kits do not count toward a qualifying purchase.)!
-These two offers can be combined. For example, if you spend $25 in
stamps and an additional $25 on anything else in the catalog you will
get both stamp sets for a total of $10 ($5 per set).
You save $25.90! Which means the stamps practically pay for themselves!
*note* You MUST add discounted stamps to shopping cart when prompted
by the system during checkout. Stamps cannot be added after the sale
is complete and finalized. Also, adding the stamps to your cart
BEFORE being prompted by this system will result in being charged full
price for promotional stamps.

Have a MAGICAL Monday!
 Subscribe to Courtney Lane Designs by Email


20 comments:
What a cute bow...well, your 3D bows class was great...I've printed it all out....bought the cartridge and I'm ready to rock & roll...thanks Mel!!
Thanks for this session on bows. Very nice!
Wow, this is my favorite bow! Thanks for the tutorials!
thanks for sharing the bows. It sure beats cutting bows by hand which I used to do years ago.
Thanks for the bow tutorials. You can take a regular office supply brad, hold it by the legs with a pair of pliers, heat it with your heat gun, dip the top in a jar of embossing powder, then heat again enough to melt the powder. Now, you have a brad to match - no adhesive/ink required. (I learned this from the PK Glitz guys)
so cool how it all comes together...
DawnRI
Thanks for sharing. The pictures really help a lot. I have saved to refer back to.
well Mel - you did it this time. Watched all your videos and now have purchased the 3D bows. Have been practicing. Can't make them as pretty as yours but practice makes perfect.
Very pretty. Thanks for this great tutorial.
Awesome tutorial. I was just looking at this last night. You saved me the hassel of figuring it out! Thanks!
These are great! Thanks so much for sharing! Can't wait to make some for Christmas presents!!!
WOW, I have got to try this. THANKS!!
Another beautiful bow :-)
I really like the classic bow and now I can make these to match the wrapping paper. Thanks for all your tutorials!
You have turned something complicated into something very easy. Thanks
looks so easy, I think I could do it!
Love this bow! And it's not nearly as difficult as it looks like it would be! Thanks for the bow lessons!
ribbons and roses- sew much fun
Have a happy week
those are really great tutorials on the bows great job and very use full. thanks for all you do and share. 1205love@gmail.com
I'm gonna have to get this cart. Too cute and functional to pass up :)
Post a Comment