Hello, friends!
Today I have another 3D Bow tutorial using the
3D Bows cartridge that is exclusive to the Cricut Craft Room. Now a few people wanted to know if they can transfer this cartridge to their Gypsy. From what I understand that capability will be possible, but the CCR is not quite there yet. However, at some point in the near future it will be. If you guys hear anything different or things change be sure to let me know!
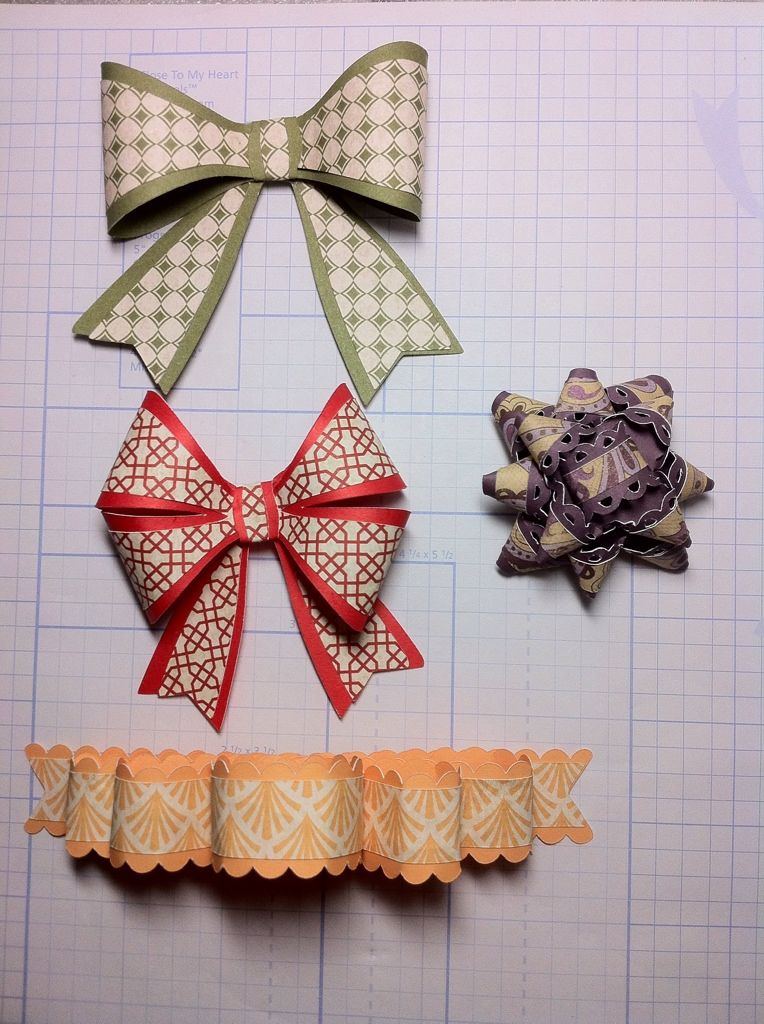
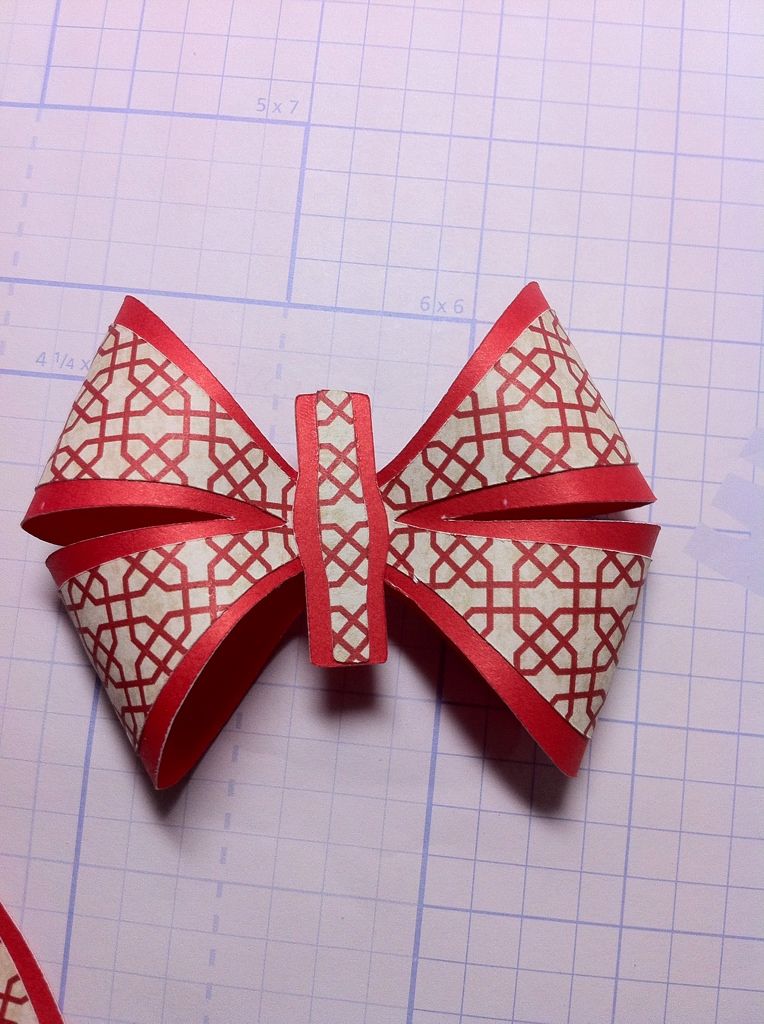
Today's bow tutorial will be the double looped, red one above.
 |
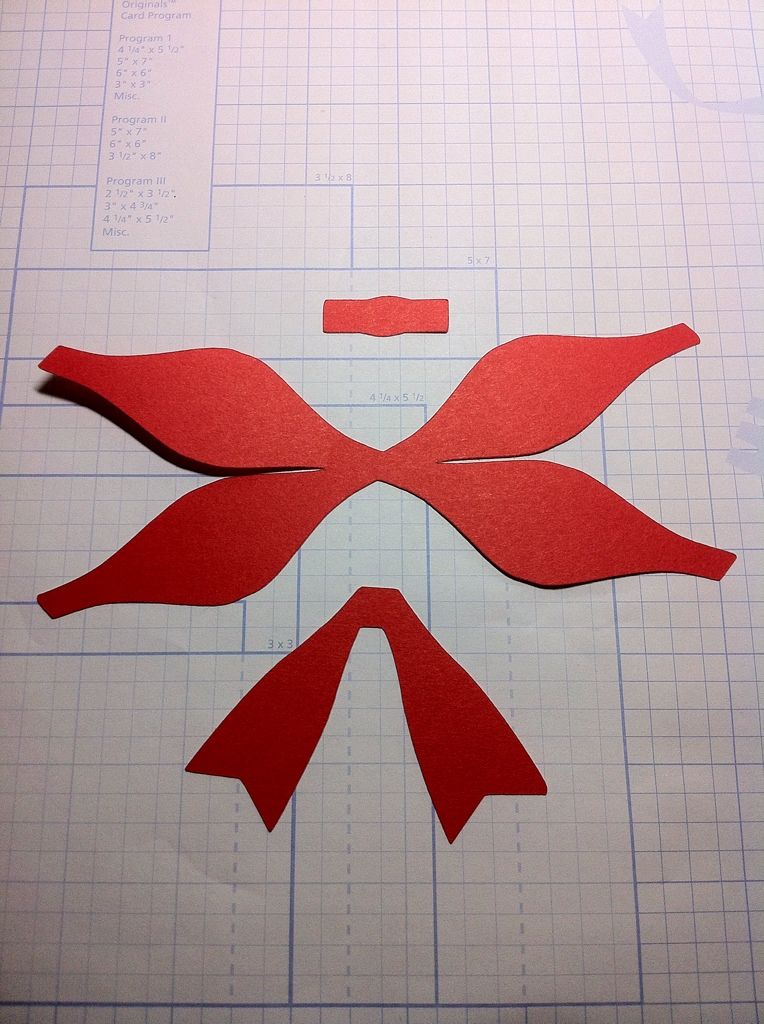
| This bow was cut out at 4". |
 |
| This is the shift cut. |
 |
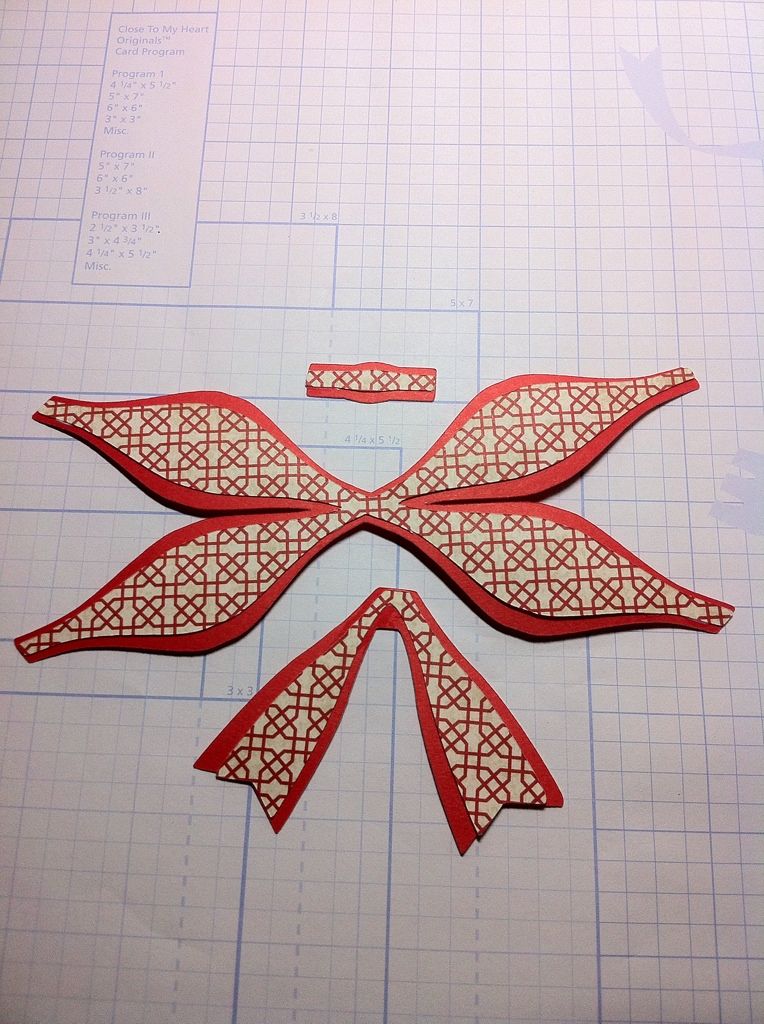
| I adhered the two layers together. |
 |
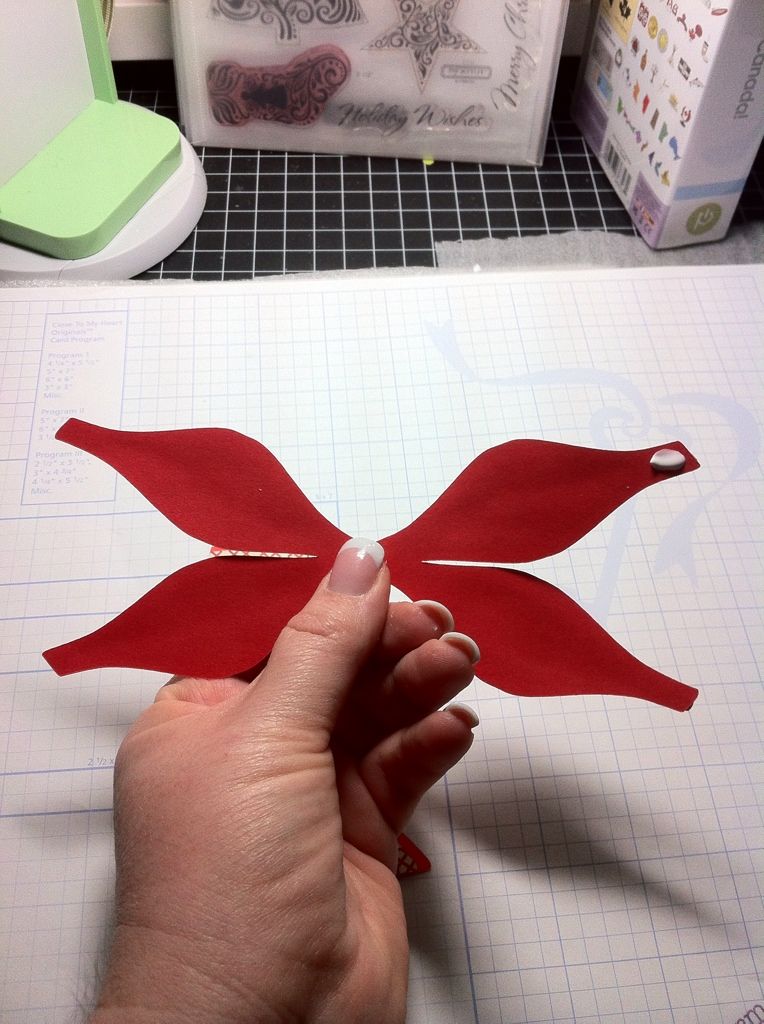
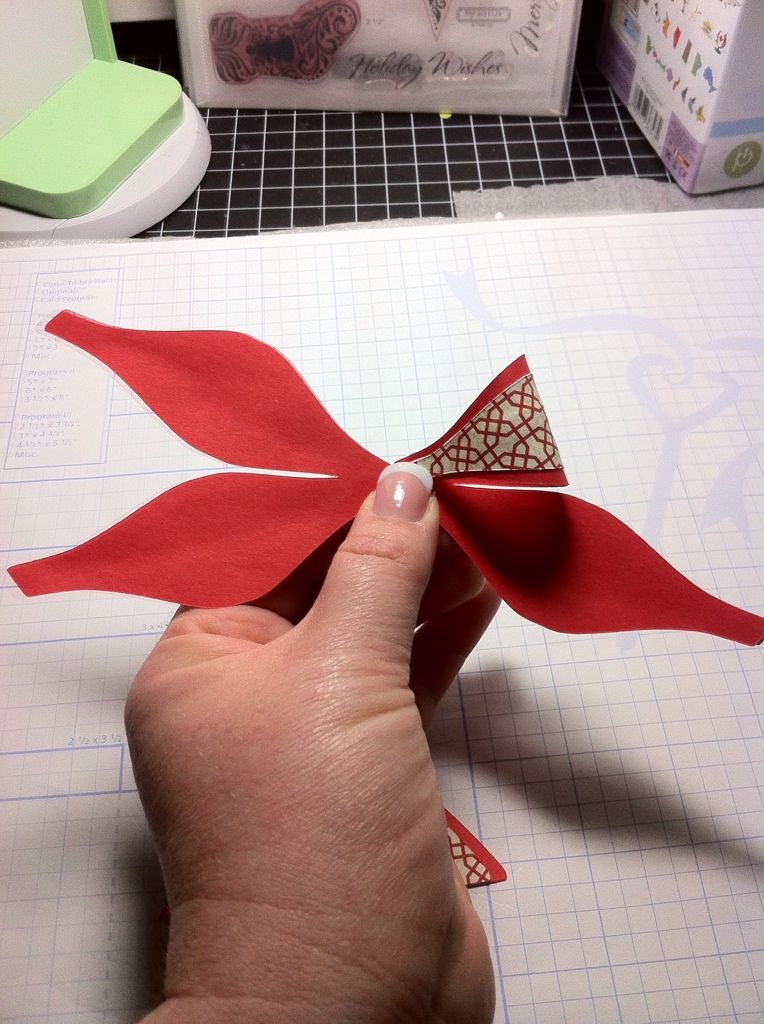
| Turn over the cut so it is face down. Add a little bit of glue to the end of one of the loops like in the picture above. |
 |
| Then fold it to the center. |
 |
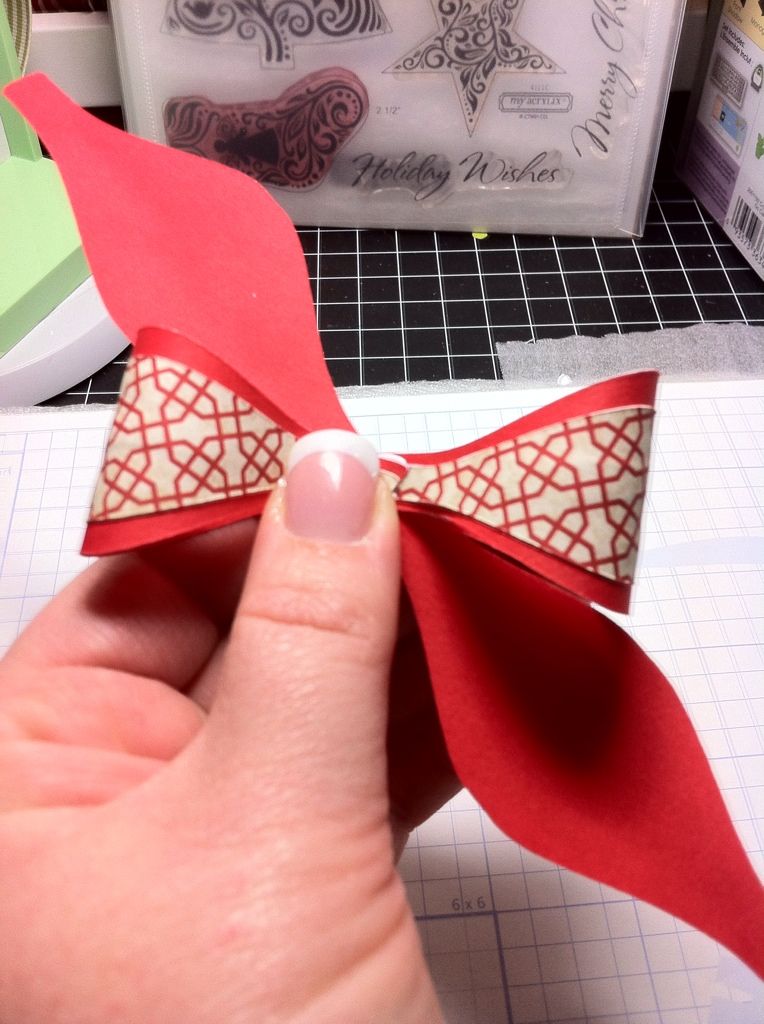
| Repeat the process with the opposite corner. |
 |
| again.. |
 |
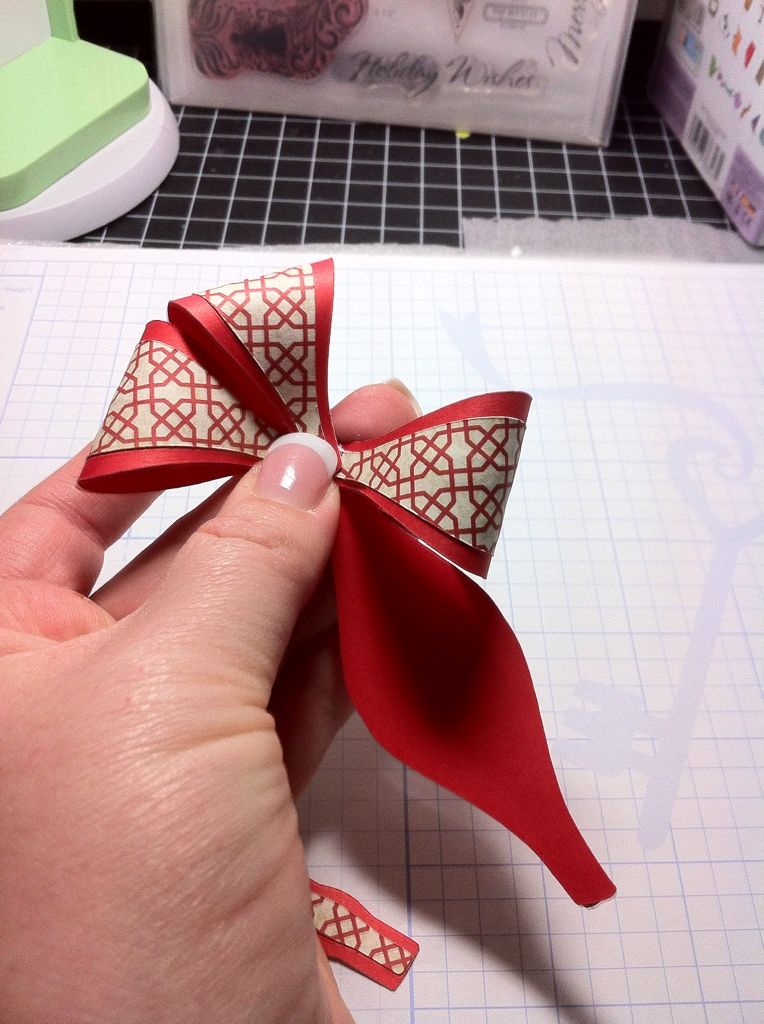
| and again. |
 |
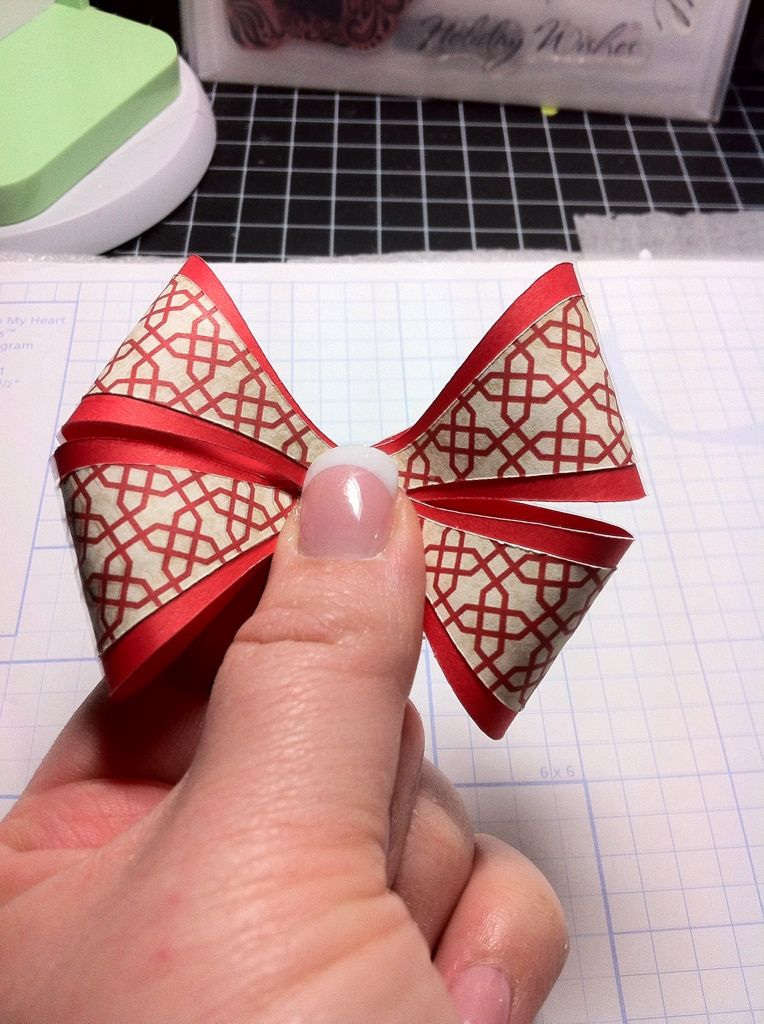
| Then take the center piece and wrap it around the center. |
 |
| This is what is will look like from behind. |
 |
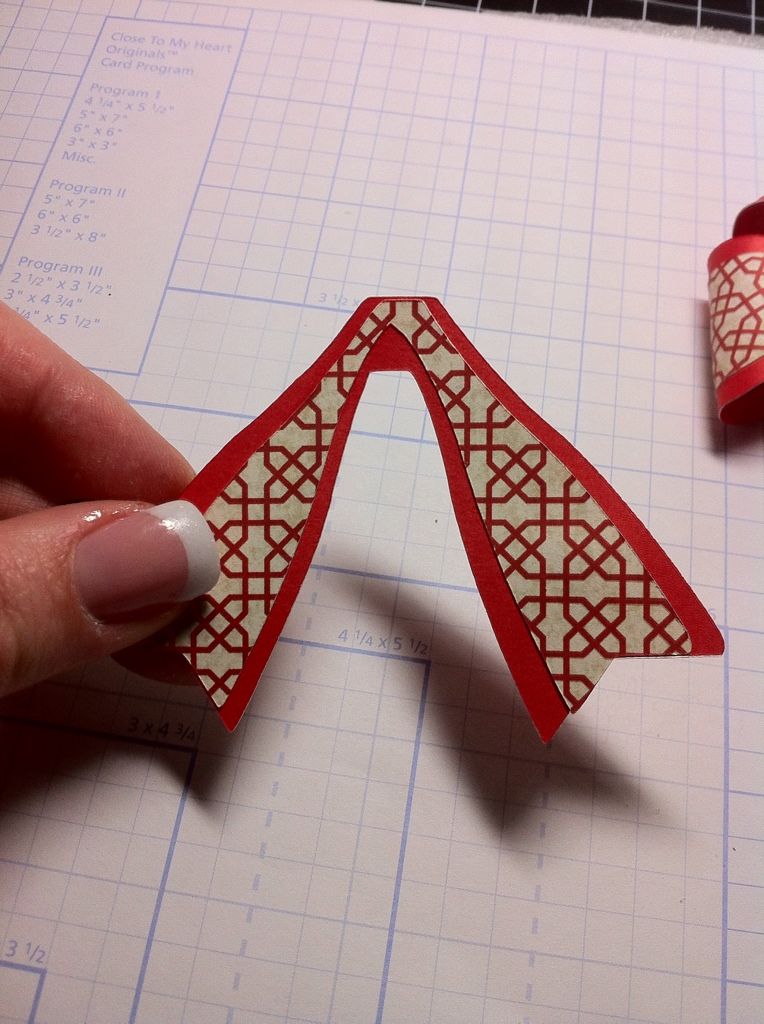
| Here is the bow's tail. |
 |
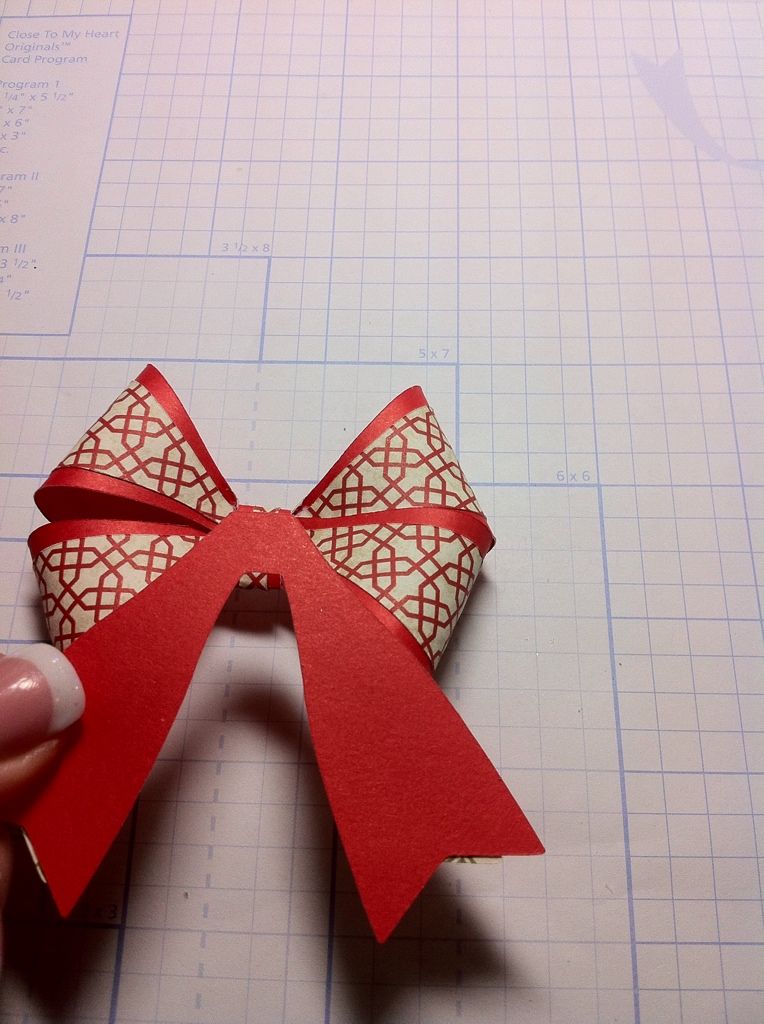
| Glue it to the backside of the bow. |
 |
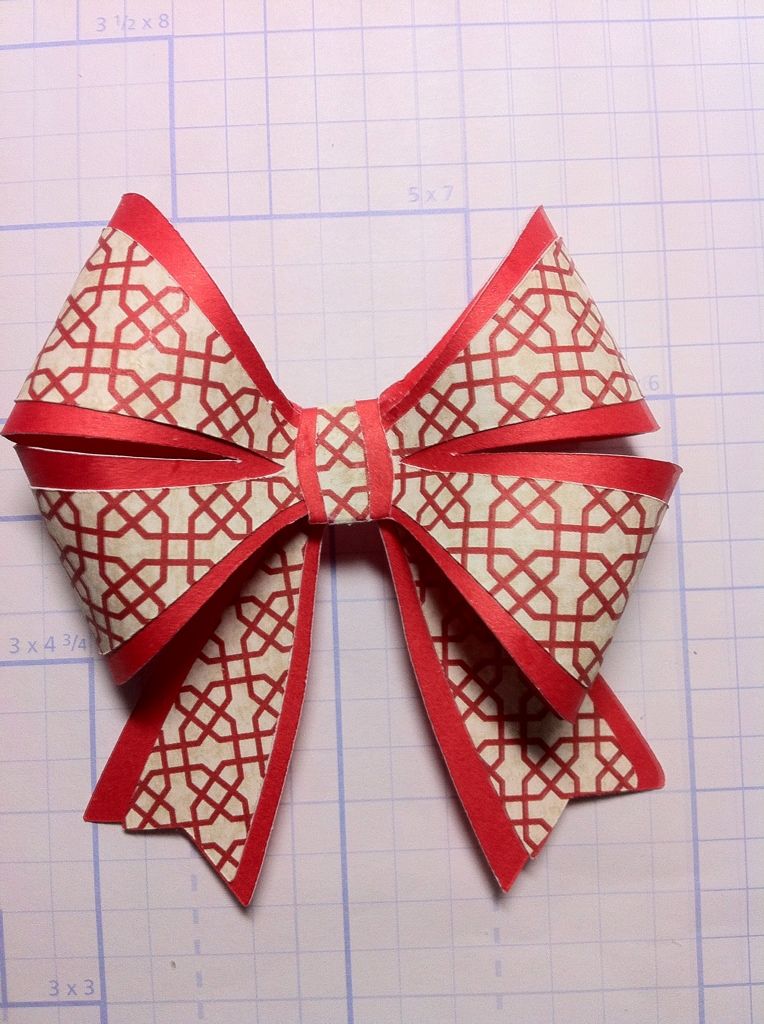
| This is the end result! |
Thanks for stopping by. See you guys back here tomorrow with another tutorial!
November Specials:
November stamp of the month
Holiday Wishes stamp set that is only $5 with a $25 stamp purchase.
When you place a minimum order of $25 in My Acrylix
® stamp set starting today (until November 30th), you can purchase a new D-size
Holiday Wishes stamp set for only $5 (Stamp of the Month, K-size customized name stamps, Cricut
® Art Philosophy collection, and Workshops on the Go™ kits
do not count
toward a qualifying purchase.)! That’s significant savings off the full
retail value of $17.95 US / $19.95 CAN. And here’s a bonus: many of
the images in the set coordinate with our Cricut
® Art Philosophy cartridge for added cutting and stamping fun!
So to break it down,
-If you spend $25 in stamps, you get the
Holidays Wishes stamp set (retail price $17.95) for $5 (Stamp of the Month, K-size customized name stamps, Cricut
® Art Philosophy collection, and Workshops on the Go™ kits
do not count toward a qualifying purchase.)!
-These two offers can be combined. For example, if you spend $25 in
stamps and an additional $25 on anything else in the catalog you will
get both stamp sets for a total of $10 ($5 per set).
You save $25.90! Which means the stamps practically pay for themselves!
*note* You MUST add discounted stamps to shopping cart when prompted
by the system during checkout. Stamps cannot be added after the sale
is complete and finalized. Also, adding the stamps to your cart
BEFORE being prompted by this system will result in being charged full
price for promotional stamps.
Have a TERRIFIC Tuesday!
 Subscribe to Courtney Lane Designs by Email




 Subscribe to Courtney Lane Designs by Email
I love the 3D Bows!! I need to try using CCR to see if I can do it so I can try those bows out.
ReplyDeleteVery pretty!
ReplyDeleteYou are a great bow maker....they turned out really pretty...I guess I know who's going to have beautiful packages this Christmas....
ReplyDeleteVery pretty bow, they look easy enough and they can really dress up a package and they won't look like every other package under the tree!
ReplyDeleteThank for your tutorials on the bows. They are so cute and I can't wait to get started making them for my gifts!
ReplyDeleteDO YOU HAVE TO BUY THE $9.99 DOWNLOAD IN ORDER TO USE AND CUT THE BOWS? I AM A LITTLE CONFUSED ABOUT CCR. COULD YOU PLEASE EXPLAIN IN A FUTURE POST. THANKS.
ReplyDeleteMSTGANE
ANN
Fabulous bows. Love the 3D bow. TFS
ReplyDeleteSeriously loving your bows! Can't wait to try this out! Thanks so much...
ReplyDeleteWhat a great tutorial. I love that cartridge!
ReplyDeleteI wasn't too crazy about these bows initially, but now that I have seen your tutorial...I ABSOLUTELY LOVE THEM! I am hooked!
ReplyDeleteI love this bow! Such a classic look! Thank you for your tutorials.
ReplyDeleteThis comment has been removed by the author.
ReplyDeleteGORGEOUS bows! Thanks for the tutorial!
ReplyDeleteLOVE that card! Just commented on your other blog about the card!!
Happy Thanksgiving to your family!!!!!
Thanks for the tutorial, I just love these bows and they seem pretty easy to make.
ReplyDeleteThanks for another great tutorial - and thanks for the time and effort you've put into it! I'm LOVING the bows!
ReplyDeleteDo you happen to know if the digital cartridges are part of the Cricut rewards program? Thanks!
Kate
Small Bits of Paper
smallbitsofpaper @ hotmail.com [remove spaces]
Love this bow! Thanks for sharing.
ReplyDeletelove the bow. It would make a neat cartridge for cricut rewards. Hopefully I will learn how to make these. You make it look so easy.
ReplyDeleteThanks for the turtorial!! You make
ReplyDeleteit look so easy.
Gorgeous bows, lovely papers for them too!
ReplyDeleteAnother great bow. Thanks for showing how to make these.
ReplyDeleteI just love this bow. I cant wait to get my cricuts back.
ReplyDeleteDawn RI
Thanks for another awesome step by step tutorial. Makes me want to sit in my craft area and make a bunch of these all day.
ReplyDeleteTTFN
WOW! Another BEAUTIFUL BOW! Can't wait to see tomorrows! :o)
ReplyDeleteWhat a neat bow. Thanks!
ReplyDeleteI love this cart. I will have to get it soon. Thank you for this tutorial.
ReplyDeleteWOW! LOVE THE BOWS! And really, really, really want SNOW DAY cartridge! Just love all your work! Tutorial is fantastic!
ReplyDeleteI love these bows and will patiently wait until I can download the files to my Gypsy!! Thanks for the information!
ReplyDeleteThanks again...these bows seem self explanatory, but I'm looking forward to your tutorial of the "multi=pieced" bows on the cartridge!! They seem kind of scary!!!
ReplyDeletepeifert88@gmail.com
Thank you so much for the tutorial! I love these 3D bows! Thanks so much for sharing! lindagk23
ReplyDeletelove the 3D bow, love the colors, thank you for the tutorial
ReplyDeleteYUP... so want this added to my collection!! awesome bows! doris
ReplyDeleteparkernana5@ cox. net
This bow is beautiful. I usually don't even put bows on packages but may have to get busy and make my own. Thanks for the lesson.
ReplyDeleteI love this awesome bow!
ReplyDeleteI am loveing the bows made with this cartridge. I may never buy bows again.
ReplyDeletethats a very nice bow. i like the colors you used in it together. thanks for all you do and share. 1205love@gmail.com
ReplyDeleteI was wondering if you could do a tutorial on how to cut fabric with your cirut. Its something I've always wanted to try and I've tried (and failed) with other people's tutorials and I just want to know the right way. Thanks!
ReplyDeleteThanks for the tutorial! If you need longer matching brads, just get utility brads and use paint pens or acrilic paint to match. I tried to make an order, but the Stamp of the Month show up full price in the shopping cart.
ReplyDelete