Hello, friends!
Today is the last day of the box,bag, envelope tutorials using the
CTMH Art Philosophy cartridge. I have not figured out what I am doing next week yet, so in the comment section tell me what you want to see. Do you want to see more tutorials? If so what tutorials would you like to see?
Today's tutorials are not full projects. I am going to show you how to assemble the envelopes, what size to cut out your envelopes, and a few things you can do to dress up your envelopes.
*edited to add: I used
Close To My Heart white cardstock to make these envelopes. It is a medium cardstock. Not too thick, not too thin. It works really well for making envelopes!
 |
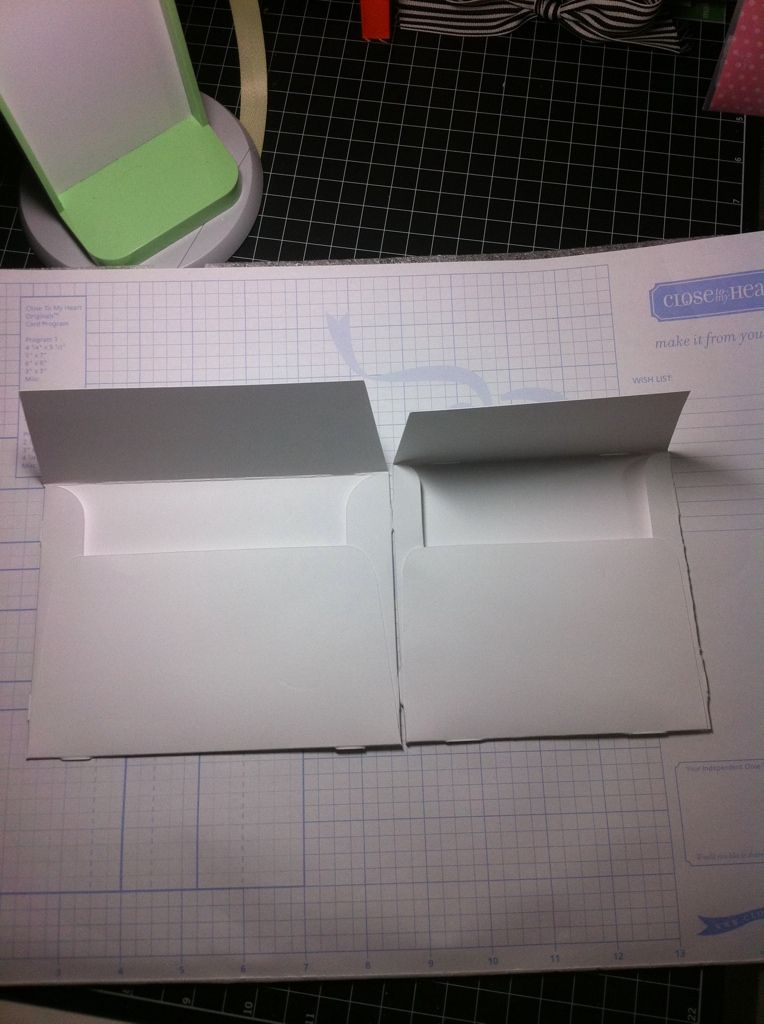
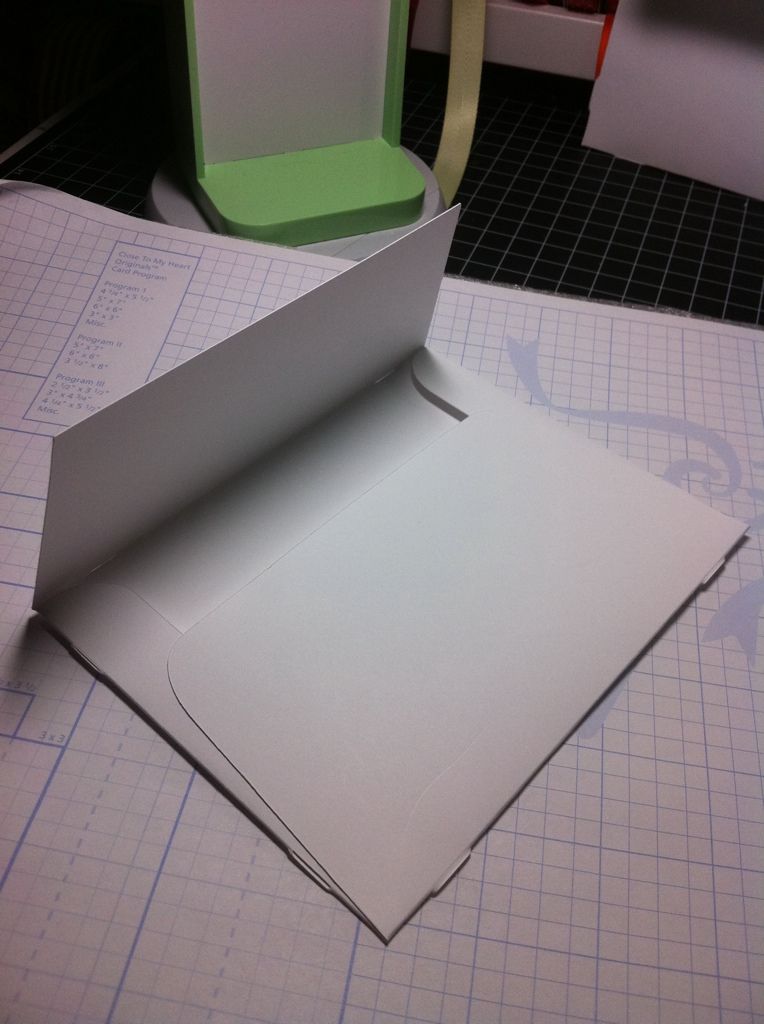
| This is what both of the envelopes look like when they are assembled. The one on the left is meant for rectangular A2 sized cards (cards that are 4 1/4" x 5 1/2") and the square envelope will house a card that is 4 3/4" x 4 3/4". I actually prefer envelopes that will hold a 5" x 5", so when I cut this envelope for my own use I will use a 12" x 24" mat and the portrait function on my Expression. |
 |
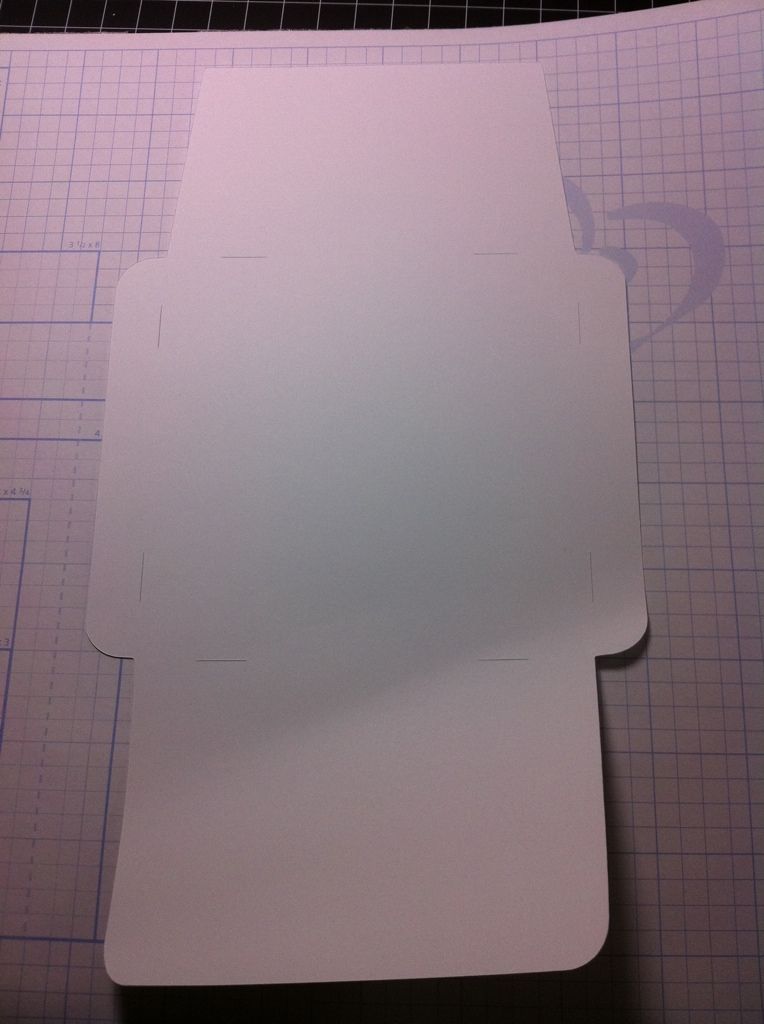
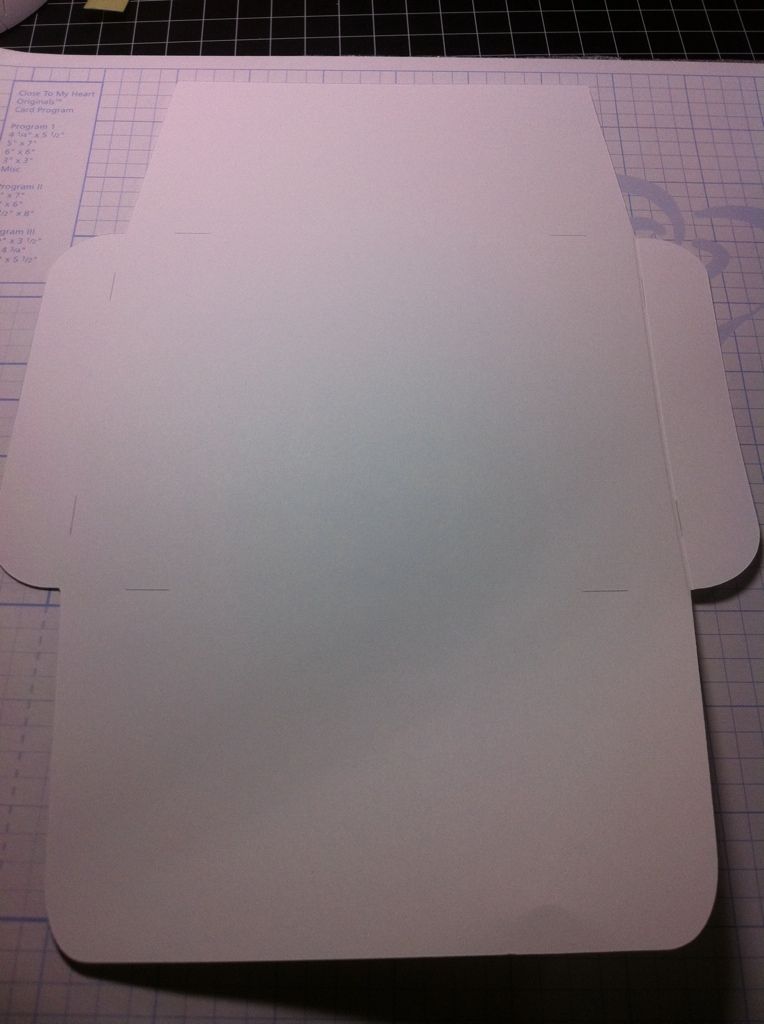
| I cut the square envelope out at 5" which is what you get when you choose the 'fit to page' option on your machine. Once assembled the envelope is 5" x 5". |
 |
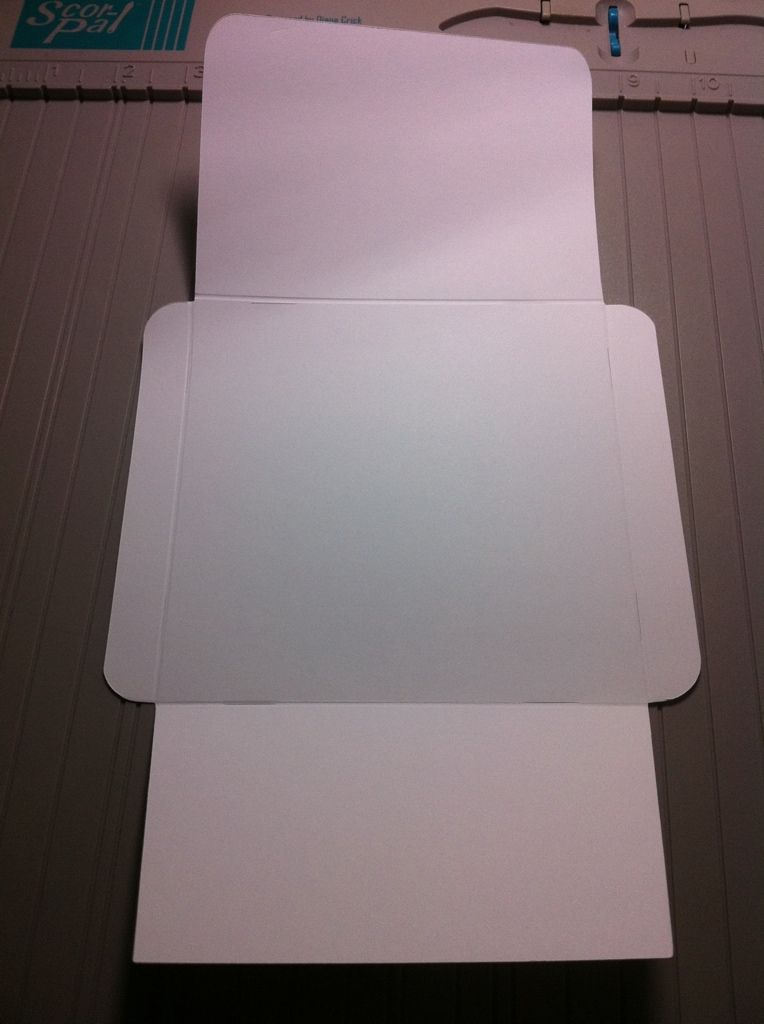
| I then scored it using my Score Pal. |
 |
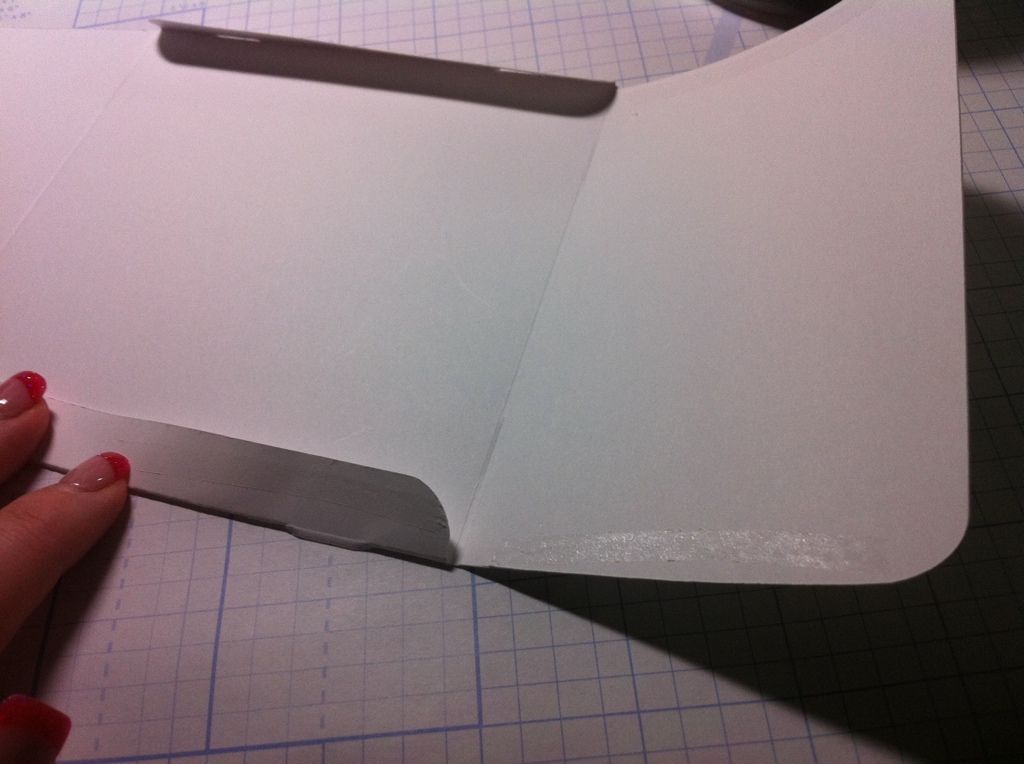
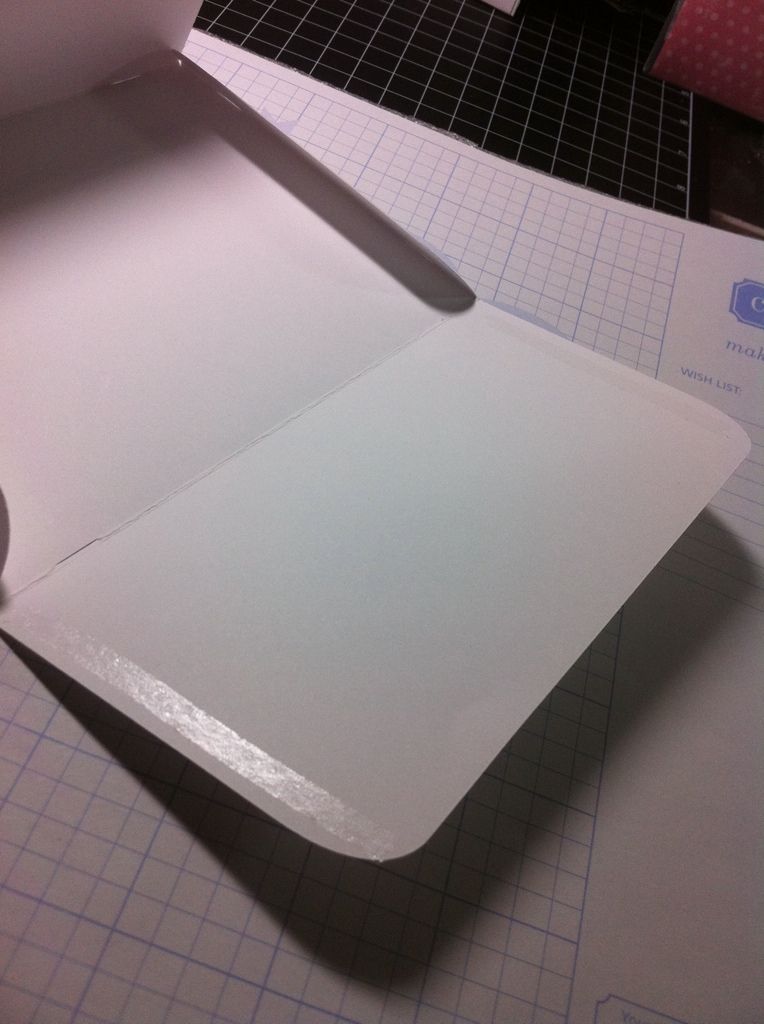
| When you add adhesive to your envelope, I recommend you add it the the bottom flap only. It just seems to work out better than way. I am not sure if you can see the shiny surface of the envelope, but that is the adhesive. |
 |
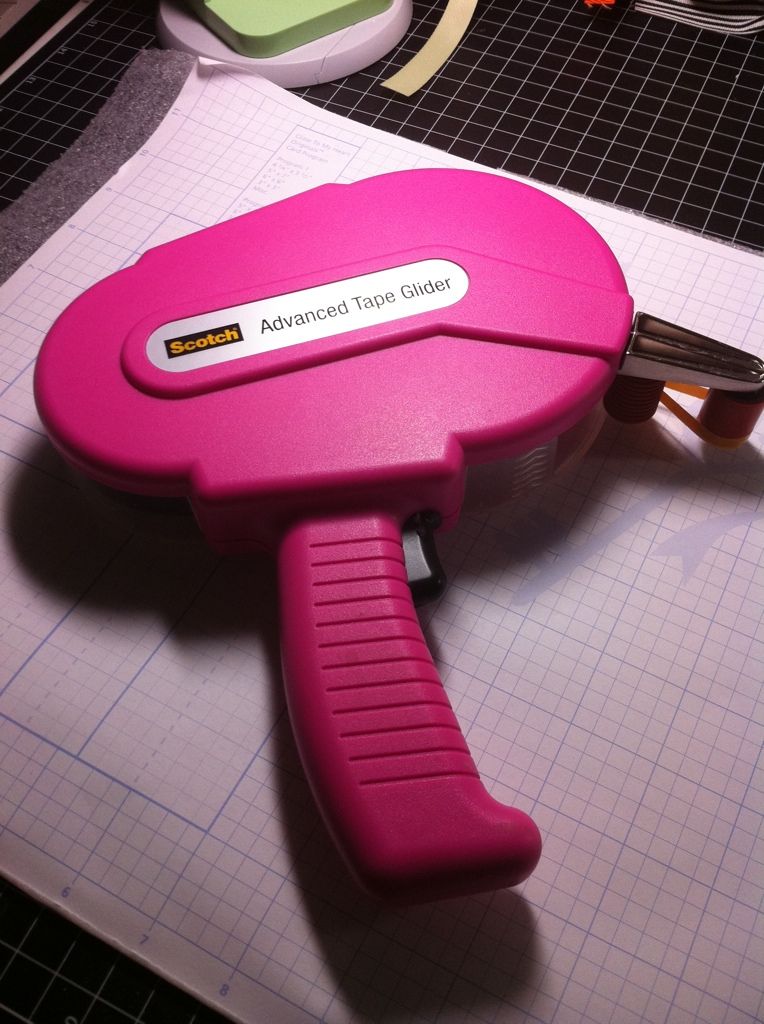
| For today's tutorial I used my ATG gun. |
 |
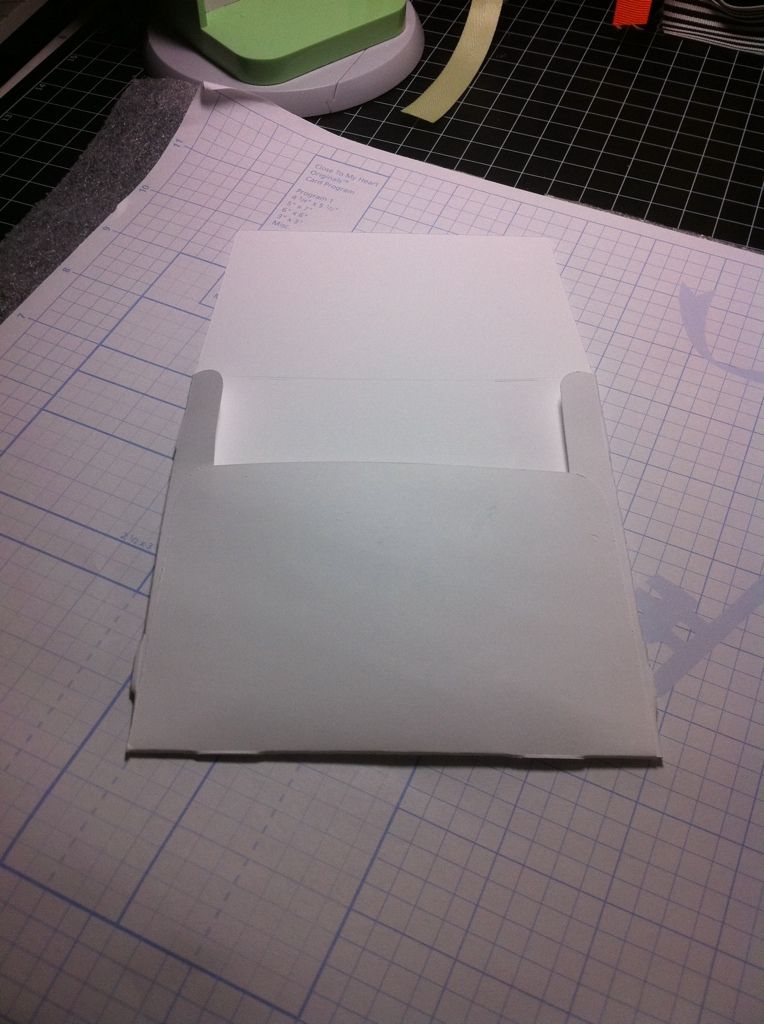
| The is the envelope after it has been assembled. |
 |
| I quite often dress up my envelopes. This particular envelope will have a Winter theme. |
 |
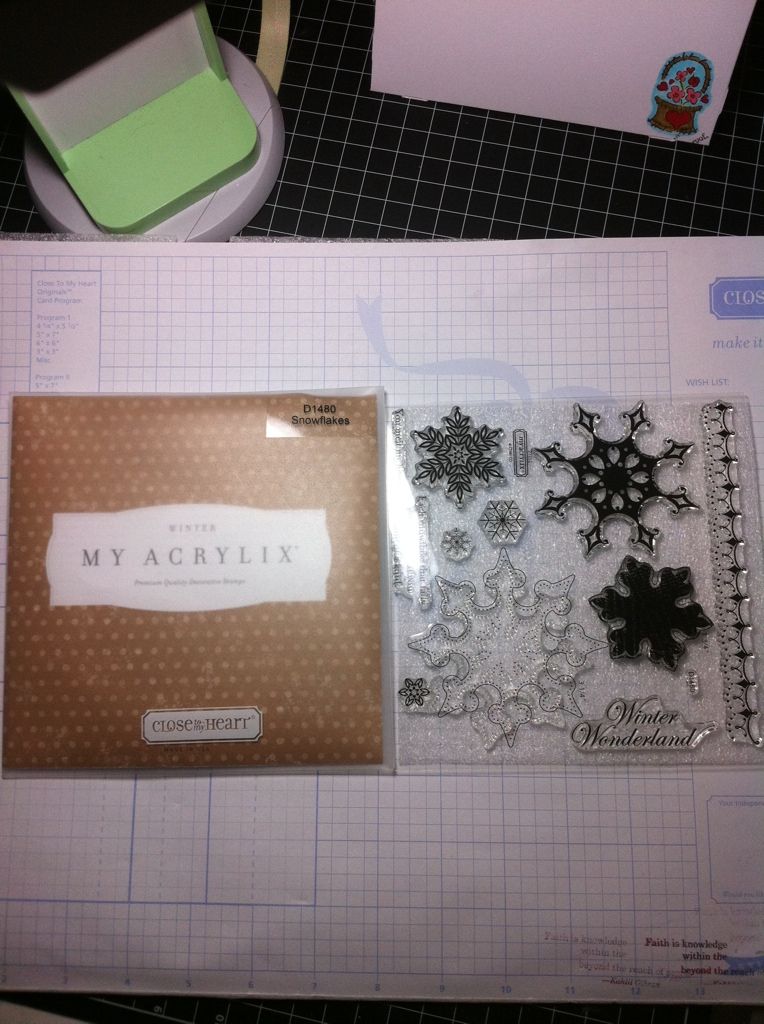
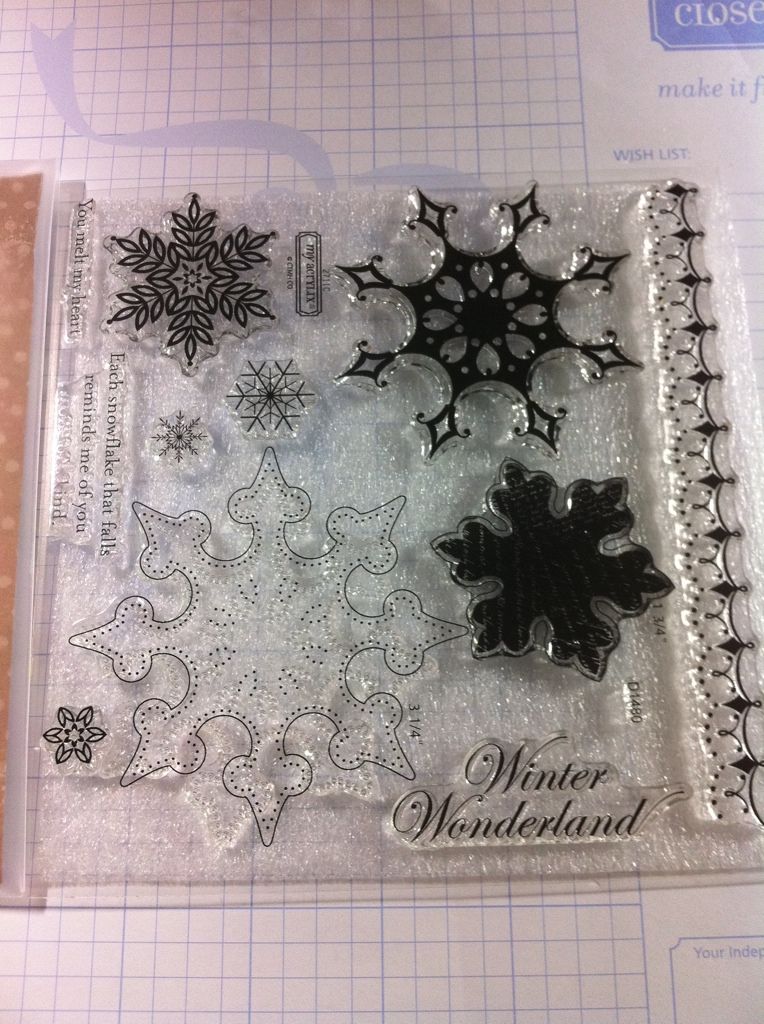
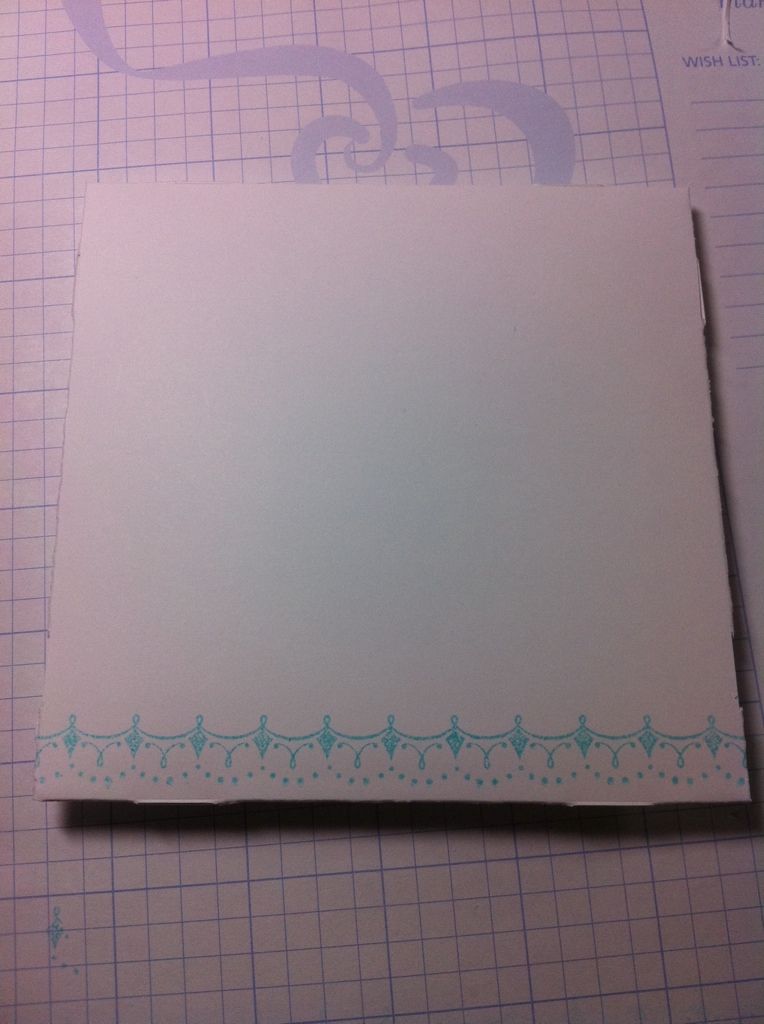
| I used this stamp set which coordinates with the Art Philosophy cartridge. It is called Snowflakes. |
 |
| I stamped the border across the bottom. |
 |
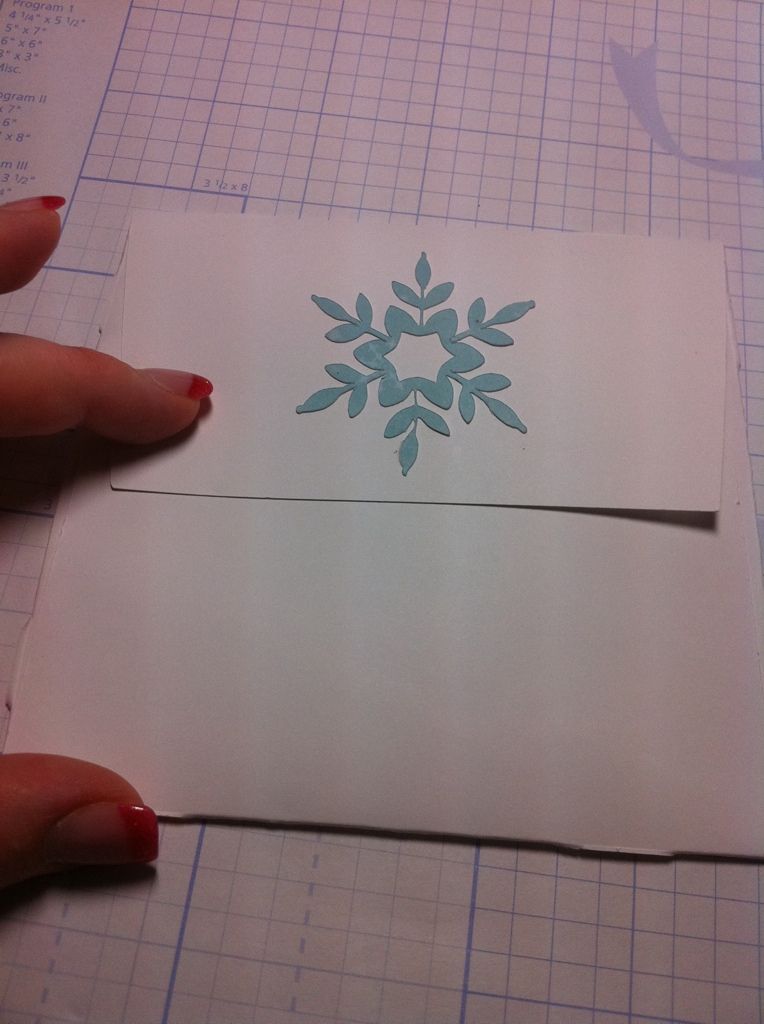
| Then I decided to add this snowflake which I cut using Art Philosophy at 2". |
 |
| Then I added it to the envelope's back flap. It just adds that little something. |
 |
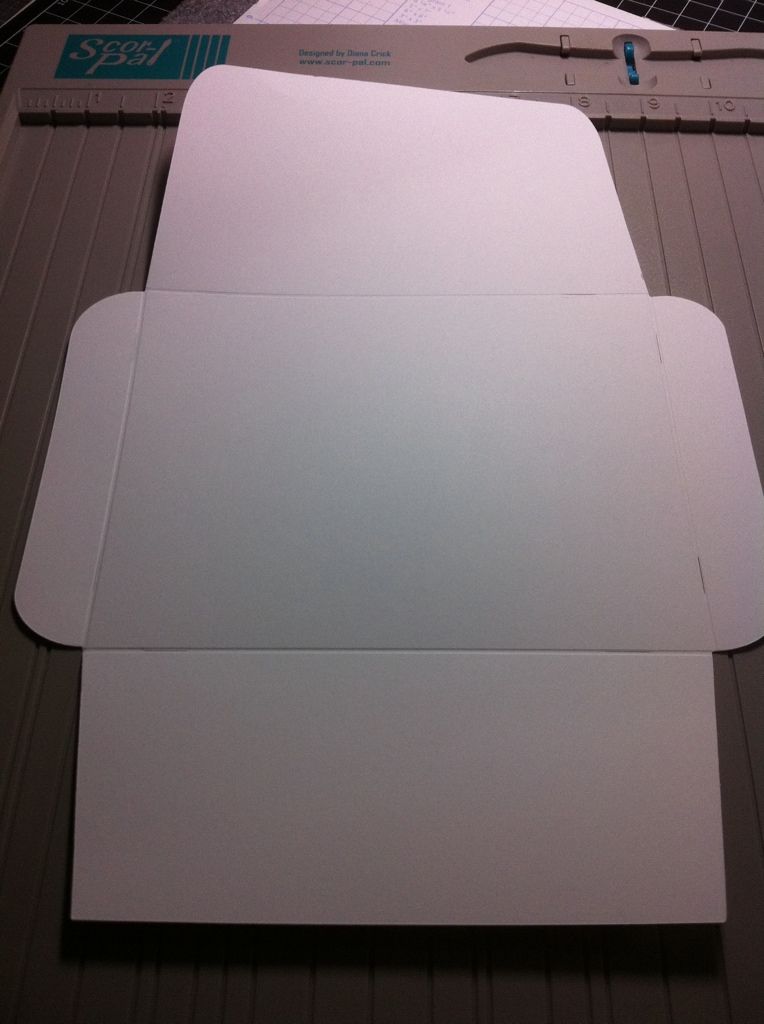
| The rectangular envelope cuts out at 6 1/2" when you use the 'fit to page' feature. When the envelope is assembled the dimentions are 6 1/4" x 4 3/4". |
 |
| I scored it using my Score Pal. |
 |
| Again I recommend adding the adhesive to the bottom flap as shown above using the ATG gun. |
 |
| This is the assembled envelope. |
 |
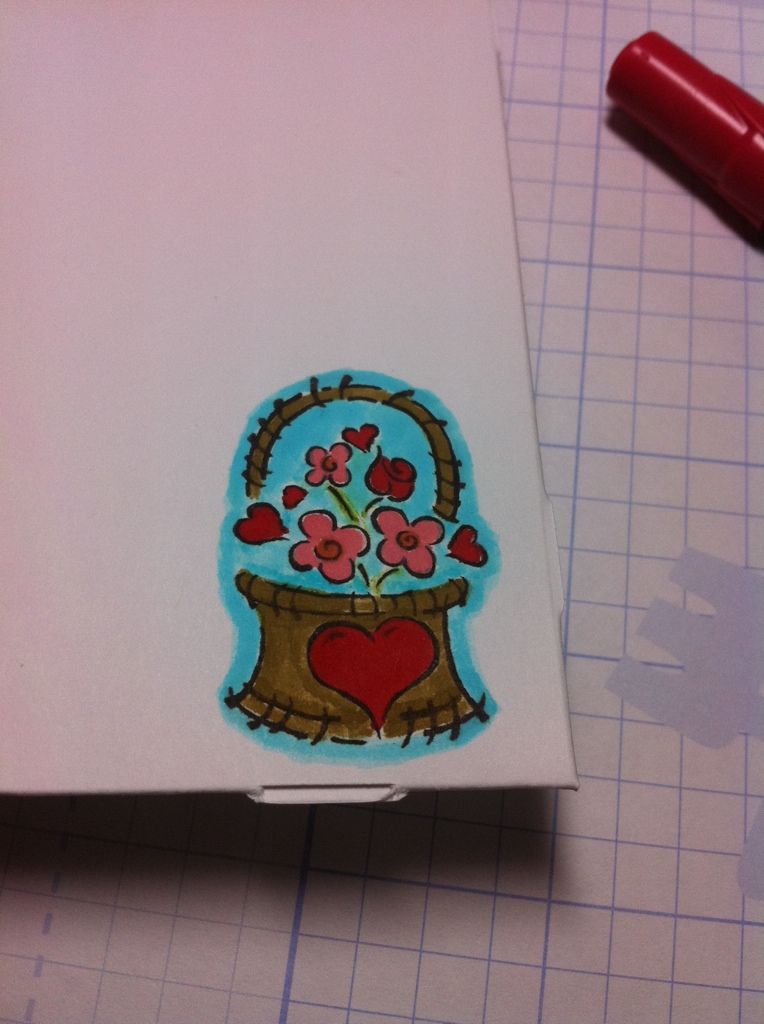
| To decorate this envelope, I used one the of the stamps from the Pair a Phrase stamp set. |
 |
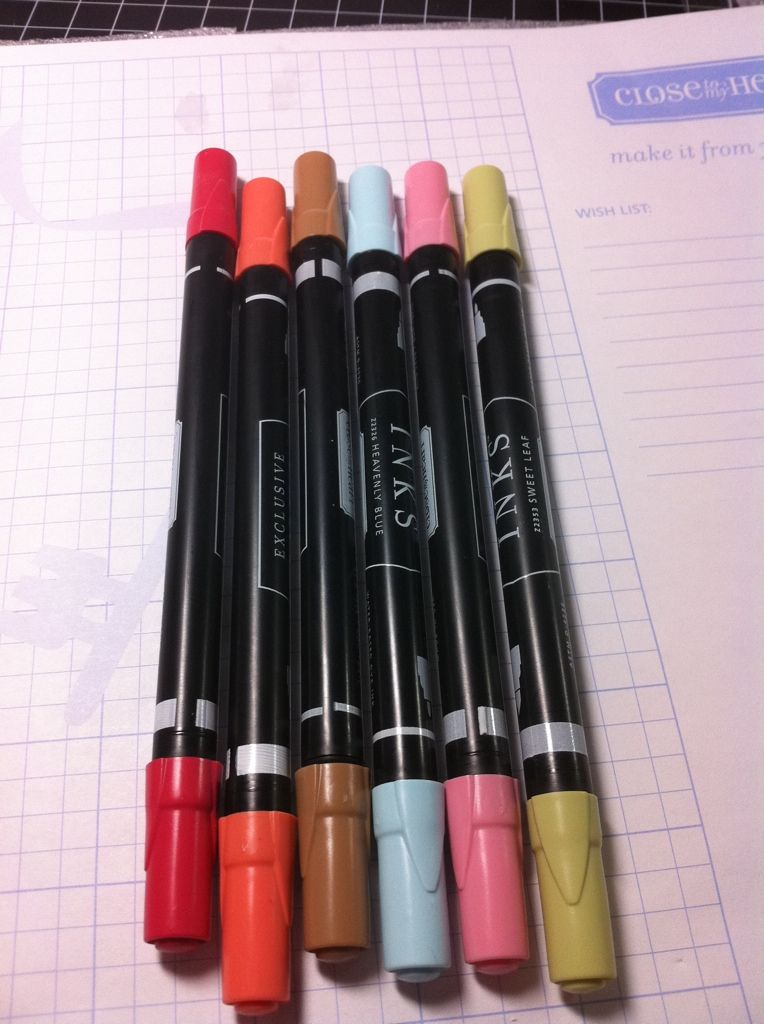
| I then colored the image with these markers. |
 |
| This was super fast to do and adds just a little bit of needed color and makes the envelope even more custom. |
You have 5 more days left to order the special
Close To My Heart promotion. For more details see below.
Not only will you get the stamp set shown above, but you will also get a Typeset stamp set for free if you purchase the Stamp of the Month for only $5.
To break it all down...
Between August 15-31, get your
Cricut Art Philosophy cartridge for $99.00.
The Cricut Art Philosophy bundle includes:
*
Cricut Art Philosophy Cartridge, Three Stamp Sets (retail value of $17.95 each), & Three Dimensional Element chipboard sets (retail value of $4.95 each)
- Because you spent over $50, you can now purchase the August Stamp of the Month for $5.00 a value of $17.95!
- Now you also qualify for the Typeface mini alphabet set a $6.95 value for FREE!
- Since you spent over $75, you’ll also get the
Pair-a-Phrase double D-size stamp set a $35.90 value for FREE!
YOU SAVE ==> $55.80
To order click here ==>
Melanie's Close To My Heart website
Have a GREAT weekend!
PEACE, LOVE, AND CRAFTS!
 Subscribe to Courtney Lane Designs by Email




 Subscribe to Courtney Lane Designs by Email
Thanks so-o-o-o-o-o-o-o much for showing us all these tutorials. I appreciate all the info so much. :)
ReplyDeleteThank you for the tutorial, look forward everyday to see what you have to show us
ReplyDeleteMelanie,
ReplyDeleteI was wondering, if you could do some beginner projects for someone like me. I have a Cricut expression but I haven't used it yet because I'm a little nervous (believe it or not) on getting started.
I'm not really sure what to purchase for a first card project. I would like to make beautiful (but simple) thank you cards for all the people that gave me gifts for my triplets.
If you aren't able to, would you refer me to some beginner tutorials? I really appreciate it.
Thanks for all the wonderful ideas for the Art Philosophy cart. I would like to see each cart done in this same manner, usually we only see two or three items and not so completely explained, I think you have now set a new challenge for yourself. Thanks, I love your work.
ReplyDeleteDonna C.
goCricutgo
Melanie, Your tutorials have been great. Who wouldn't want this cartridge now with all the great ideas?? I am hoping mine comes today as I can't wait to play. More ideas from this cartridge would be great. Many thanks!heminatt
ReplyDeleteThanks SO much for showing envelopes, I needed this info! I agree, that I like the indepth exploring of the different features on one particular cart at a time!
ReplyDeleteThis is a great tutorial. I am wondering what is the best paper to use for and envelope? Some is too heavy and some to light, like computer paper. What is best?
ReplyDeleteThanks,
Linda
Thanks so much for the tutorial. It's always so hard for me to figure out what size to cut things at. This really helps. One question-on the 12x24 mat do you still use 12x12 paper to cut the envelope? I've never used the long mat before.
ReplyDeletelove your projects with the new cartridge.
ReplyDeleteI think I'm going to have to get the bigger mat for my expression now. I have been wrestling with how to get larger envelopes and your great tutorial explains it so well!
ReplyDeleteYou make EVERYTHING look sooo easy! Love coming to visit you!
ReplyDeleteSusanJ in Atlanta
Thanks for the tips. What paper do you like to use for envelopes? Love the border stamp design with the snowflake on the back.
ReplyDeleteHey, guys! I used Close To My Heart cardstock to make the envelopes. It is a sturdy cardstock with out being too stiff. It works really well!
ReplyDeleteThese tutorials are awesome! Thanks! I have one question though...what paper do you use for making envelopes? Is there any one brand you like over another? I would love to hear your comments on that!
ReplyDeleteAs for next week...
I really liked how you showed us the different functions in just ONE cartridge; maybe you could make more than a couple of projects with the next one?
The tutorials are such a great help. Thanks for the time that you put in to making them.
ReplyDeleteYour tutorials have been wonderful and very helpful especially for ideas. This envelope cut is such a great thing to have. Seams like you can never find just the right envelope so why not make them to suit your needs. Great feature on this wonderful cart.
ReplyDeleteMarcie
Thanks for taking the time to create your wonderful tutorials. I know I need lots of help both with ideas and how-to's!!
ReplyDeleteThank you for taking the time to make all these tutorials. I hope these will still be available on your site when I finally retire (soon) and have the time to do all this!
ReplyDeleteReally enjoyed all the tutorials this week!
ReplyDeleteThanks for sharing the envelope tutorial. Love seeing all the great things. I love to add a little extra to my envelopes when I make them.
ReplyDeleteAll I can say is WOW thanks for the lessons.
ReplyDeletepjlark@hotmail.com
I love this cartridge! Is dear to my heart the only place you can get it? I am not reallu into stamping, but I would love the cart.
ReplyDeleteI love this cart however a bit pricey for me now. The envelope was pretty sweet. I have a M.S. score board. I sure have trouble when I make a larger card. Maybe a tutorial on how to use the score board would be great.
ReplyDeleteThank you
Linda in Stanwood
So many awesome projects! I put this cart on my swish list!
ReplyDeleteTutorials are my favorite!!!!!!!
ReplyDeleteThanks so much for breaking it all down.
I would LOVE to see tutorials on Cricut Craft Room. I was just allowed access but don't know where to begin.
TFS
Thanks for the tutorials on envelopes - I hadn't thought about making my own, but now Iknow how.
ReplyDeleteI bought envelopes in bulk and feel I need to use them up BUT I really want to make coordinating envelopes with note cards I make. My sister mentioned last night she loved having my cards available. Guess that was a hint to get busy.
ReplyDeleteP.S. to last post.
ReplyDeleteI have LOVED all your tutorials with the Art Philosophy set. I get paid on 31st and you have convinced me I NEED it. LOL! Thanks again!
Thank you so much for the tutorials! I would love more tutorials on little projects to make for back to school. Thanks again! I look forward to reading your posts daily.
ReplyDeleteLove how you decorated the envelopes.
ReplyDeleteThanks for sharing the Art Philosophy cart!!
ReplyDeleteCarol
I'm getting this cart for the great tag shapes. Could you do some ideas for stacking shapes to make cool card toppers?
ReplyDeletethanks for all the great tutorials. I loved the flower one!
ReplyDeleteCan you do a video tutorial on how to make the flowers? I just can't get them right. Thanks soooooooooo much. Sandy C. sczcec@yahoo.com
ReplyDeleteAgain, thanks for the tutorials; they've been a great help.
ReplyDeleteThese envelopes are so pretty. I have yet to try making one. Thanks so much for the tutorial!
ReplyDeleteGreat tutorial, I don't mind what you make I love to watch/read any of your tutorials because I always learn something new.
ReplyDeleteKim xXx
Thanks for the tutorials this week. I have got this cartridge ordered so looking forward to putting some of them to use.--Ryansmaama
ReplyDeletegkburrow@cmaaccess.com
I have loved all these tutorials. Can't wait to try them out when I get my cart! Molly
ReplyDeleteSo how much would all that be if I wanted to order it. I am just dying for that cartridge. And the stamp sets are great.
ReplyDeleteI LOVE the tutorials Melanie. They give great instruction to the cartridges. Howeve, Please do NOT stop with your wonderful projects!! You and Joy are SO talentedand your projects so imaginative. SO--I guess that just means...more of everything!
ReplyDeleteI love your tutorials, learn a lot. I would love to see you make some flowers w/the Art Phil Cart! Woot-woot.
ReplyDeletevery informative ,,,thanks for all you do....
ReplyDeleteGot mine in the mail! Whoo-hoo! Great fast service! Thanks for the envelope tutorial! I want to make templates, then can just adapt them as needed. Thanks for the great idea!
ReplyDeletejdwlo
Super cute!
ReplyDeletelove your tutorials.
ReplyDeleteI just can't find the key for the envelope.
Are you only using the decorations from the cartridge?
Thanks for the help and all you do.