Today's tutorial I have decided to call CUT-STAMP-ELEVATE. You might wonder what in the world am I talking about. Well wonder no longer, faithful followers! I am about to show you exactly what I am talking about.
I do need to tell you guys something really quick though. This was going to be a tutorial where I showed you how to make these great embellishments. Then I would show you projects I made using these embellishments. I made the embellishments, but was not able to make the projects because I ended up having to get my eyes dilated. Long story short, crafting while your eyes are dilated is nearly IMPOSSIBLE! However, I am pressing on and showing you how to make the fabulous embellishments using the NEW CTMH Art Philosophy cartridge, stamps, and the chipboard that is included in the bundle.
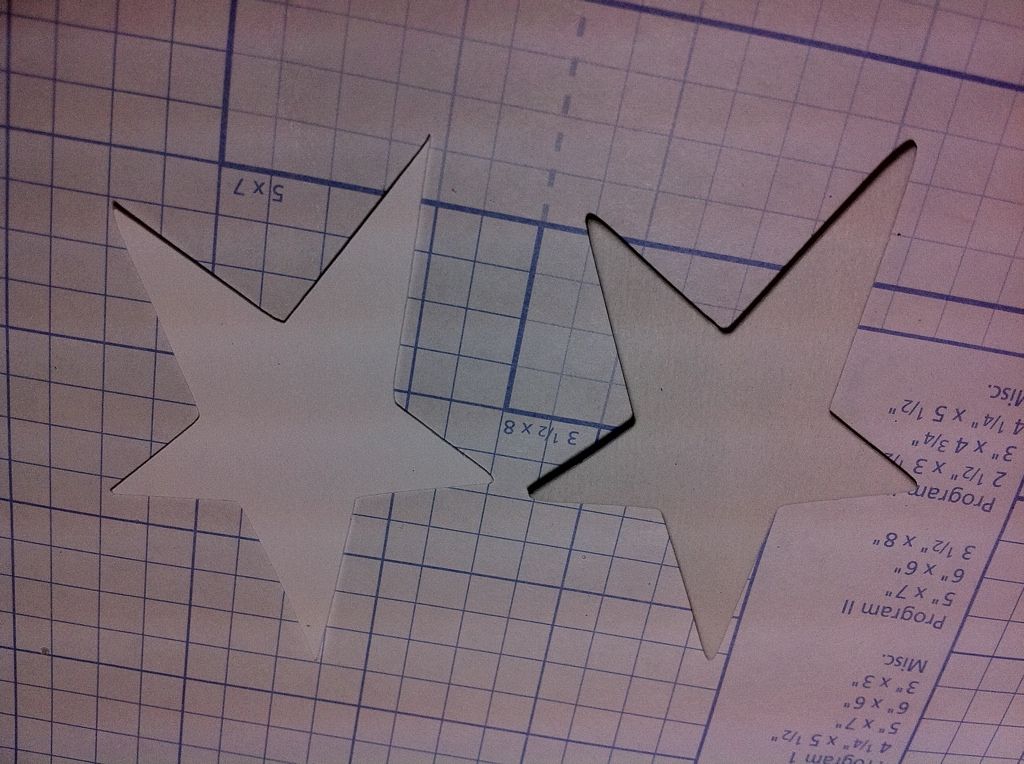
First, I want to show you the cut, stamp, and the chipboard piece (the elevate part). Now let me tell you something about this chipboard. It is super thick and would be tough to cut out using your cricut. I have cut this thickness before using the deep cut blade. My machine seriously struggled though and I never did it again. Luckily with these chipboard sheets, you don't have to cut thick chipboard! It is already done for you. FABULOUS! The top piece is the cut, the middle is the stamp itself, and the bottom piece is the chipboard.
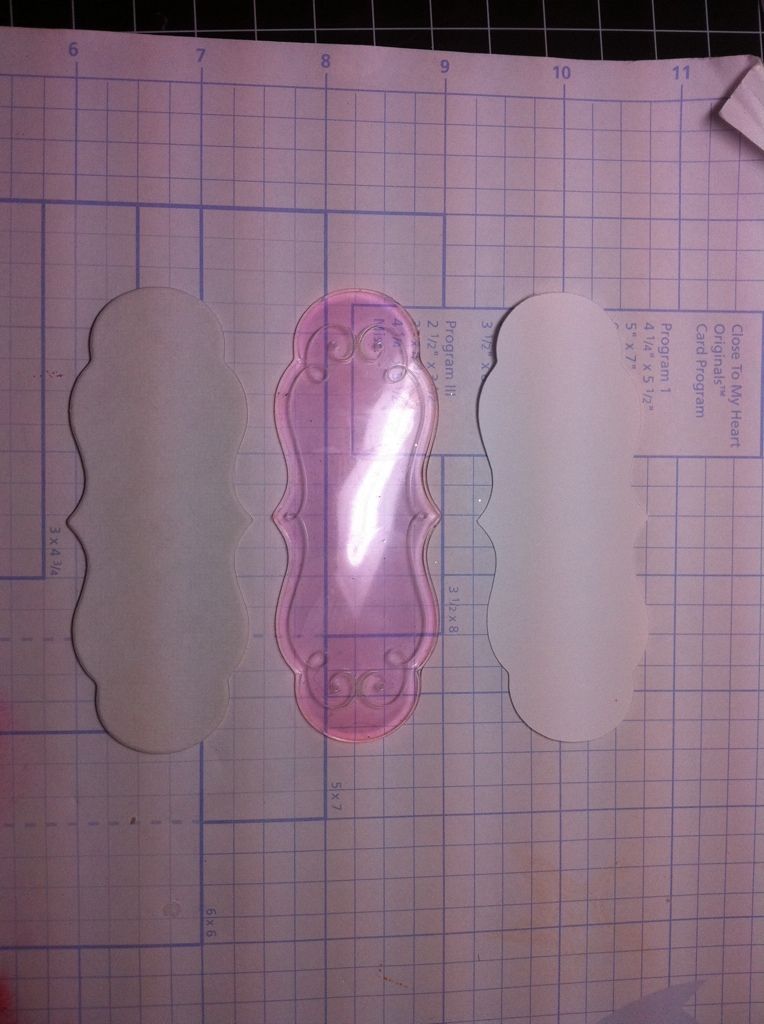
I stamped the cut out and then adhere it to the chipboard and got this:
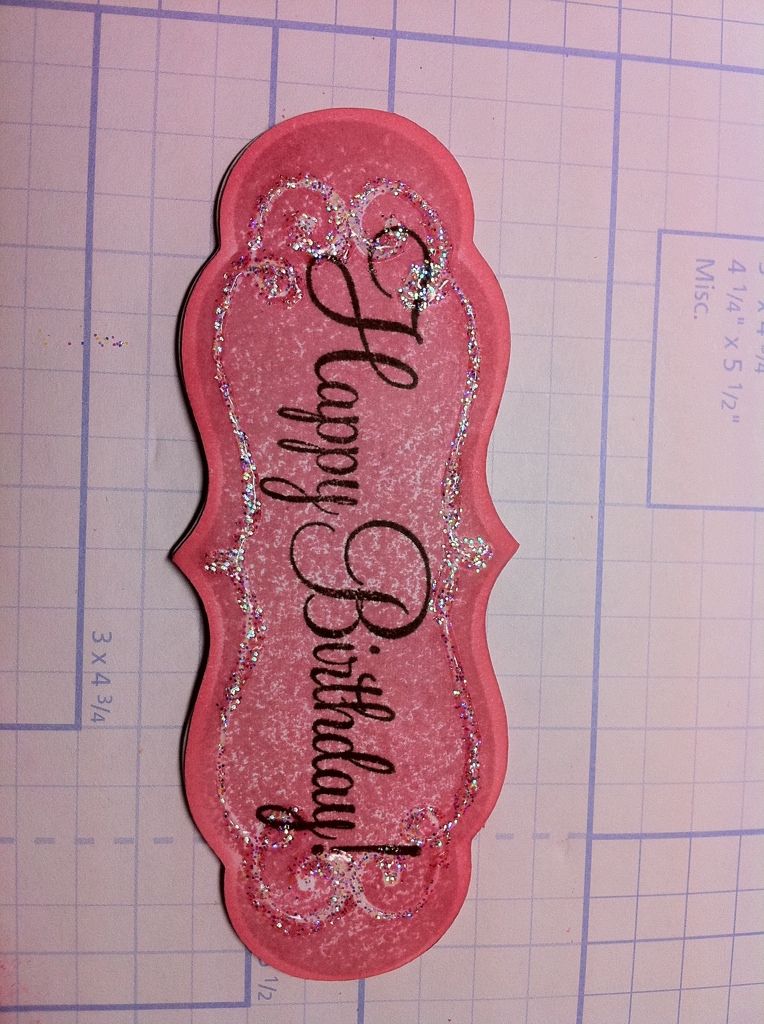
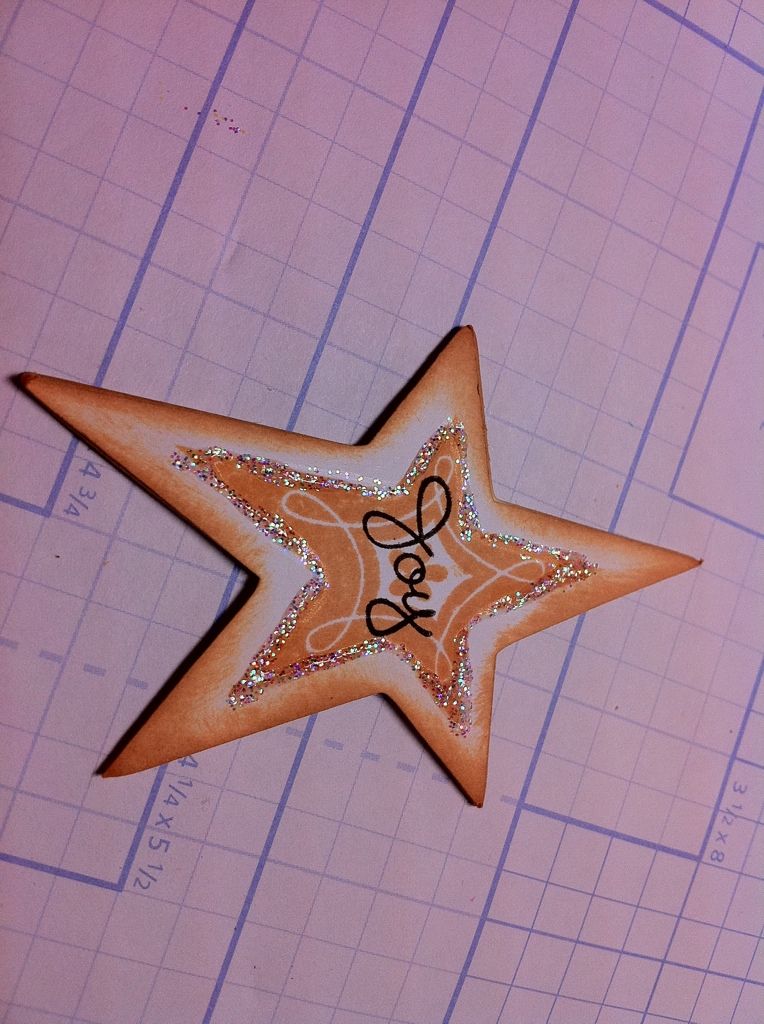
Now the second tutorial for the day is something similar, but it is made with other chipboard that you can buy. It coordinates with one of the stamp sets that you get with the cartridge bundle!
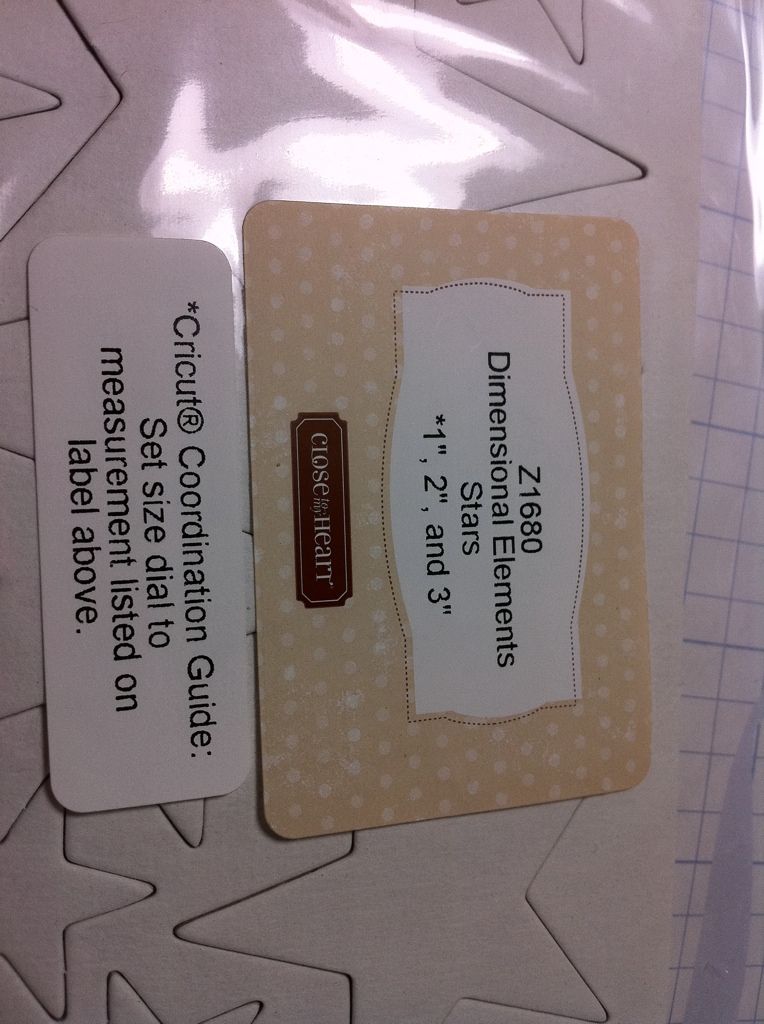
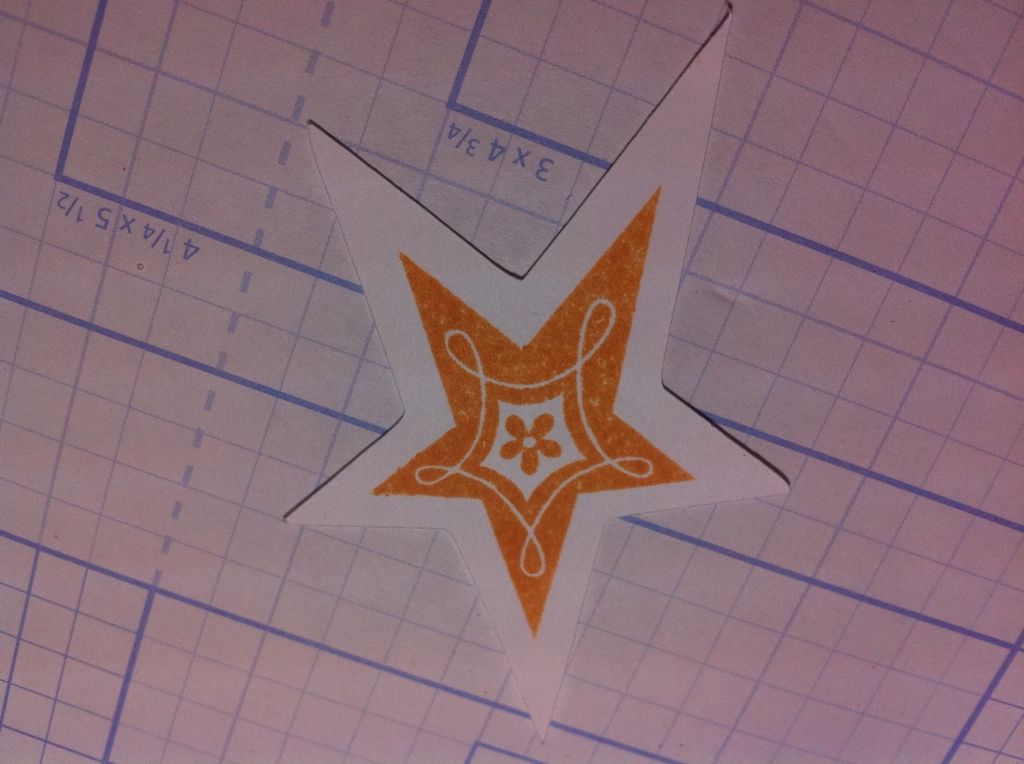
Then I stamped the star using the coordinating stamp set.
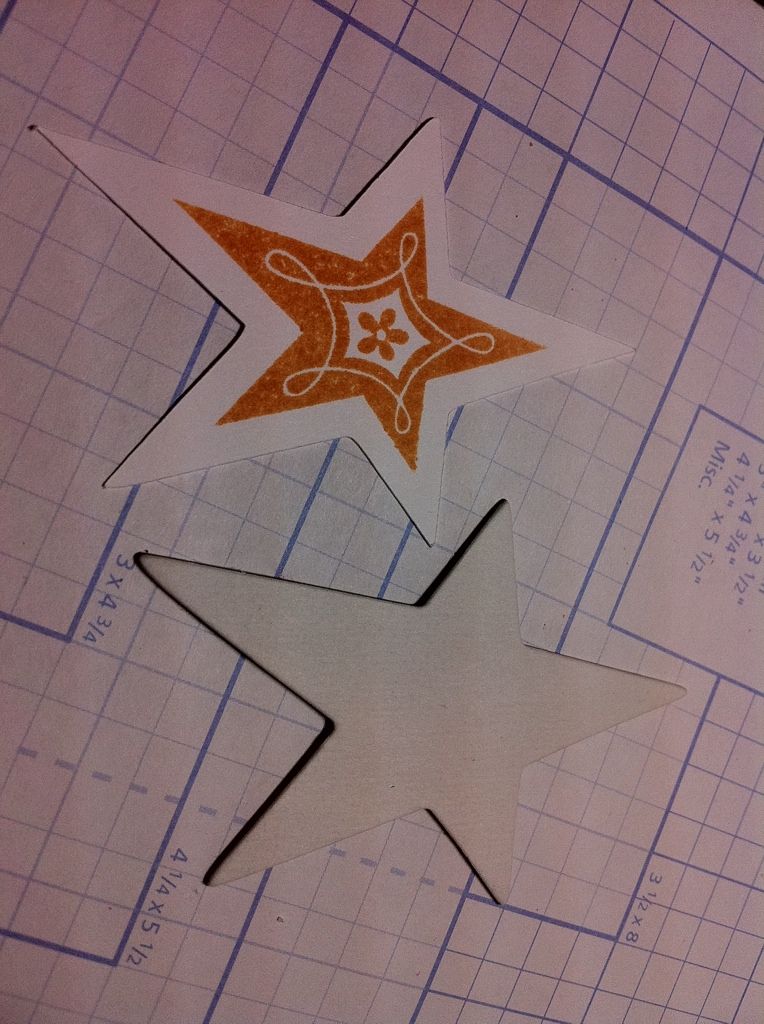
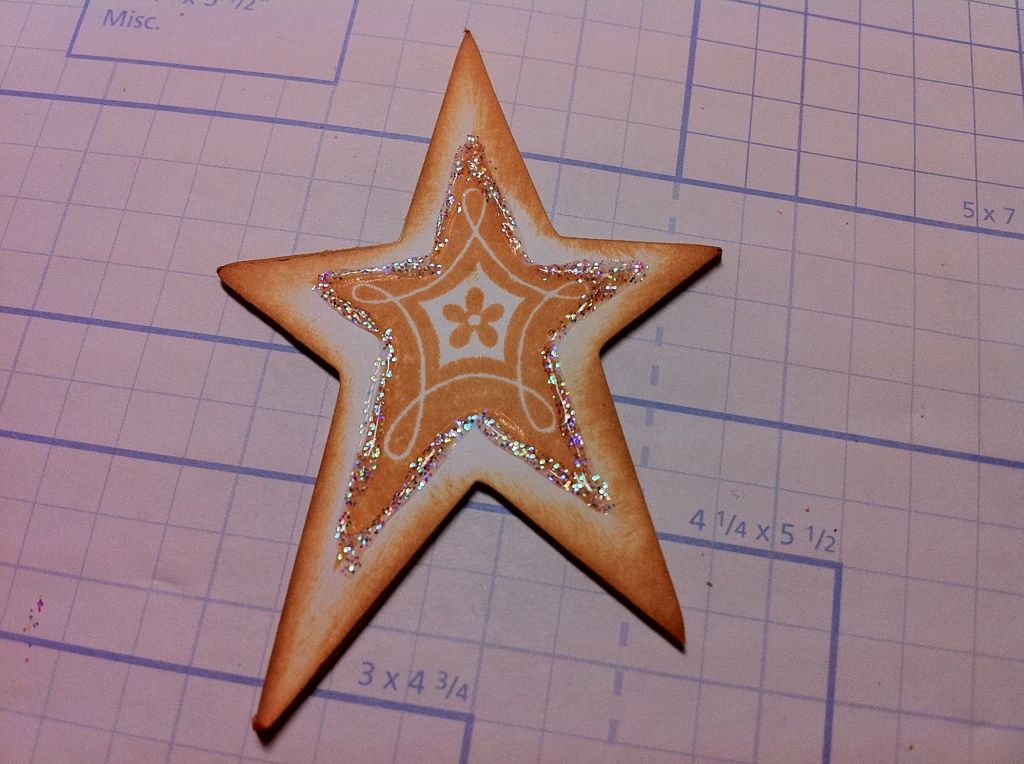
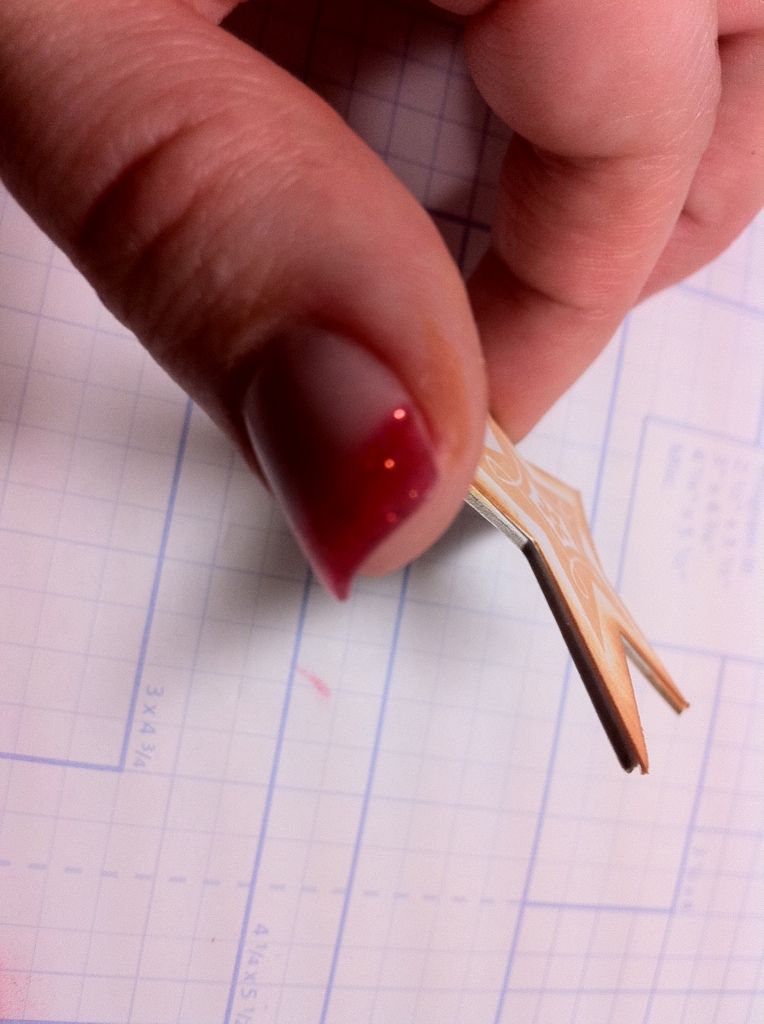
See how thick this chipboard is! AWESOME!!
Also, I had a few people inquire about and join my Close To My Heart team yesterday. I was pleasantly surprised by this. One of the sweet ladies felt she had to ask permission. So let it be known, if ANY of you are interested in joining my Close To My Heart team and be an independent consultant you are totally welcome to! If you have any questions about signing up please do not hesitate to ask!
Have a WONDERFUL Wednesday!
 Subscribe to Courtney Lane Designs by Email
Great tutorial....and always enjoy what you have to share.
ReplyDeleteHope your eyes are doing ok...and what a gal...I think there isn't anything you and Joy can't do or handle that is why you both are adored and cherished.
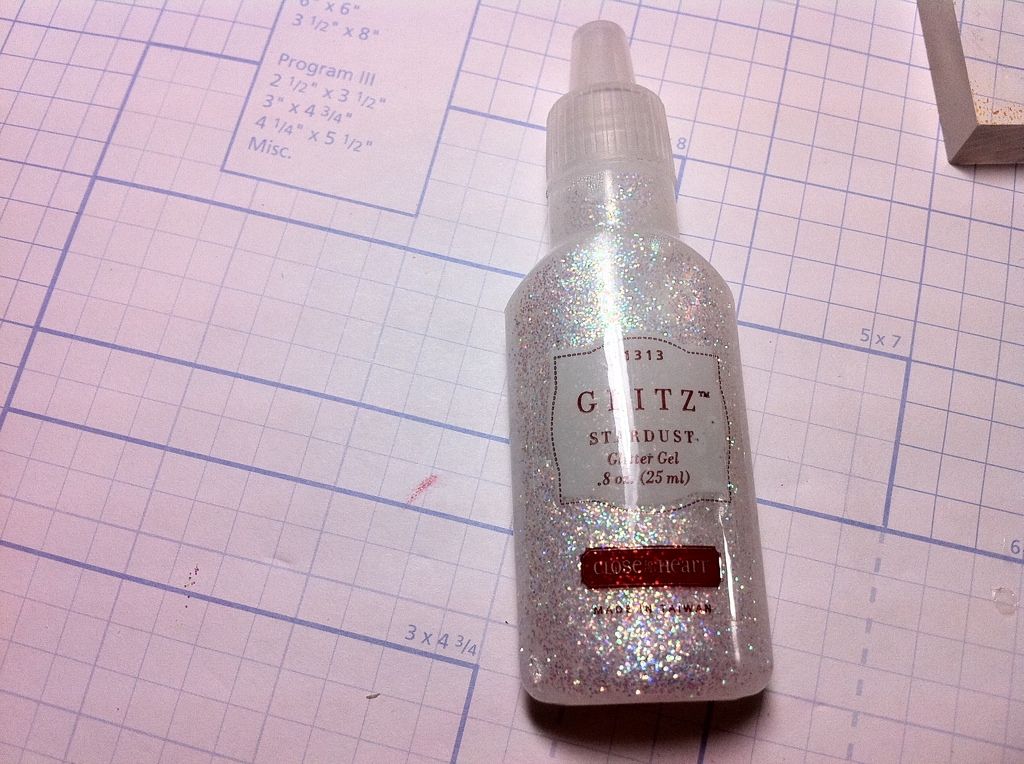
Hope your eyes are back to normal so you can see how cute your projects are! I like that glitz product!
ReplyDeleteOne of the things I have noticed is that the CMH stamps and chipboard tell you what size to cut at - no more guessing! These are great ideas, TFS with dialated eyes!
ReplyDeleteIn the first step what is the material the second cut is made from?
ReplyDeleteI love these tutorial posts. They really help to see HOW to do things. Any chance you can continue with such great details?
ReplyDeleteVery cute and ohhhhhh love your nails!
ReplyDeleteGorgeous!! I can't wait to get this cart!! :)
ReplyDeleteLoving these tutorials, I just placed my first CTMH order to get this cart and can't wait for it all to arrive. Had to add in a few extra goodies too, love the stamp of the month set and only $5, so excited! Thanks Melanie!!
ReplyDeleteKimberly
bsketmom at tampabay dot rr dot com
Thanks for the tutorial.
ReplyDeleteyou make this look so easy! Thanks!
ReplyDeleteNice tutorial, like the look of the star and will use this idea in my stamping just adds more to it! Thanks for sharing.
ReplyDeleteTina from PA
oooh, you got my creative juices flowing! Great idea!
ReplyDeleteIs there a list somewhere of the other stamp sets with coordinating stamps for the cartridge? I mean the ones not included in the cartridge package.
ReplyDeleteThe step-by-step instructions and product recommendations are very helpful. Thank you.
ReplyDeleteI really like how all the stamps coordinate! that makes life simple. Love your tutorials! thank you.
ReplyDeleteOkay, now this is just dangerous, showing us all of these coordinating stamps!!!
ReplyDeleteI love what you did with that star - the inking around the edge made such a difference. Beautiful!
Thanks for being such a trooper! I think I need to add this cartridge to my wish list!
ReplyDeleterissaflor atyahoo dotcom
Hope you dialated eyes are working again! Looks like they are, I just love those coordinating stamps! You make it look so easy!
ReplyDeleteThis shows that it will make life so much eaiser, doing things your way...lol
ReplyDeleteThanks for the great tutoriol.
great tutorial, love the stamps, thanks
ReplyDeleteGreat tutorial. Wow the possibilities are endless.
ReplyDeleteThank you for sharing with us.
Linda in Stanwood
Thanks so much for this tutorial. VERY glad you shared the coordinating stamp sets I was wondering that myself!!
ReplyDeleteBtw.... I'm in Canada and wondering about ordering/and maybe becoming a consultant and whether I can order through you (since I benefit so much from your blog posts) or would I be better off to find a local consultant??
Love the ideas. Love the Glitz. I will have to try some of it.
ReplyDeletegreat instructions thanks! I love CTMH and all the tricks!
ReplyDeleteAnother great tutorial. My cart is due to arrive today. I am so excited!!
ReplyDeleteMarcie
LOVE LOVE LOVE these tips!
ReplyDeleteGreat tutorial as always!!
ReplyDeleteCarol
Wow! Thanks for another great tute. I too have tried to cut thick chipboard and it just doesn't work. Nice to have the pre-cut pieces--TFS!
ReplyDeleteYour tutorials are great!
ReplyDeleteLove all of your tutorials. Awesome that the cartridge is compatible with so many of the CTMH stamp sets. I'm sooooo tempted to buy this cartridge bundle, hopefully it'll still be available when I have the funds. :)
ReplyDeletelflinesatcomcastdotnet
I will "wonder no longer" as a "faithful follower". lol I LOVE these tutorials. Thanks so much for taking your precious and limited time to demonstrate and educate us. I appreciate it so much!!!
ReplyDeleteThis is a great tutorial, I love how the pieces came out! Thank you!
ReplyDeleteGreat tutorial! Love my CTMH products.
ReplyDeleteLOVE those! TFS!
ReplyDeleteGreat tutorial!!!! Hope your eyes are doing better!
ReplyDeletechilindra at att dot net
Very Awsome!
ReplyDeleteGreat Job, I love the Happy Birthday Tag!
ReplyDeleteI love the Happy Birthday !!!
ReplyDeleteAnother great tutorial. I haven't been able to check them all out til today. Think I am caught up now. Love all the coordinating stamp sets.
ReplyDeleteFabulous post ~ love your tutorials. Will have to try!
ReplyDeletesusanJ in atlanta
Wow! Those stamps are very detailed and beautiful. I would love to try them out.
ReplyDeleteThanks for the tutorial! That is a super cute star!
ReplyDeleteGreat step-by-step tutorial! Amazing what a few products can accomplish; simple to eye-catching in no time.
ReplyDeletethanks for the tutorial. love it thanks again. you rock
ReplyDeleteI love these tutorial posts. They really help to see HOW to do things. thanks much
ReplyDelete