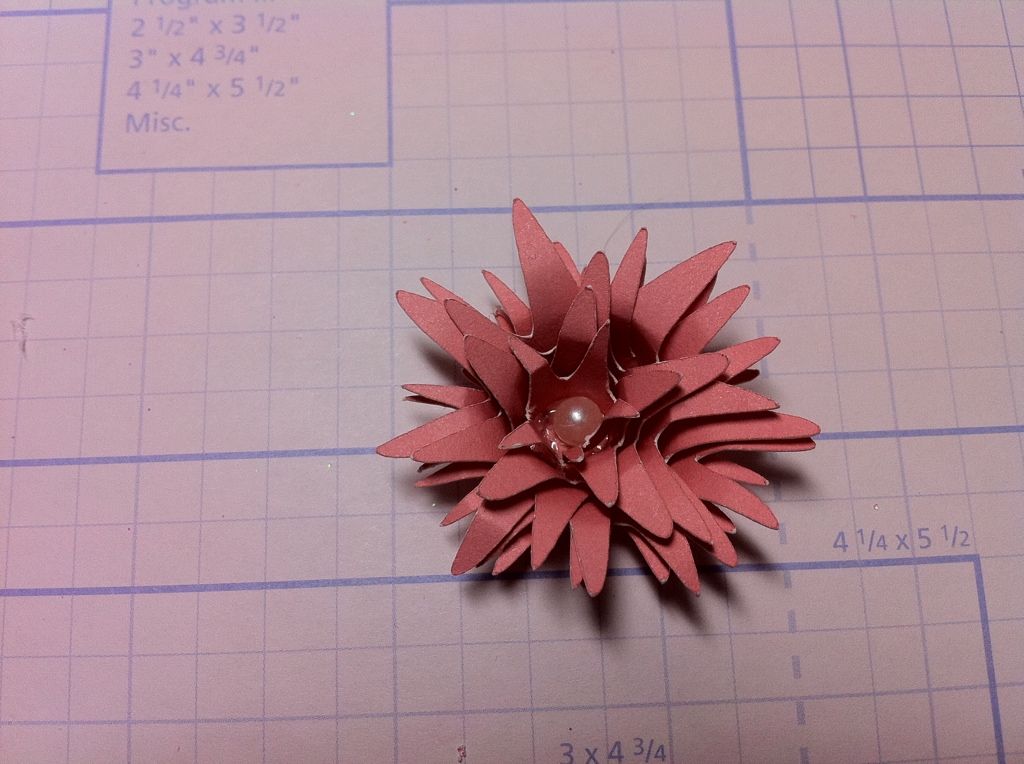
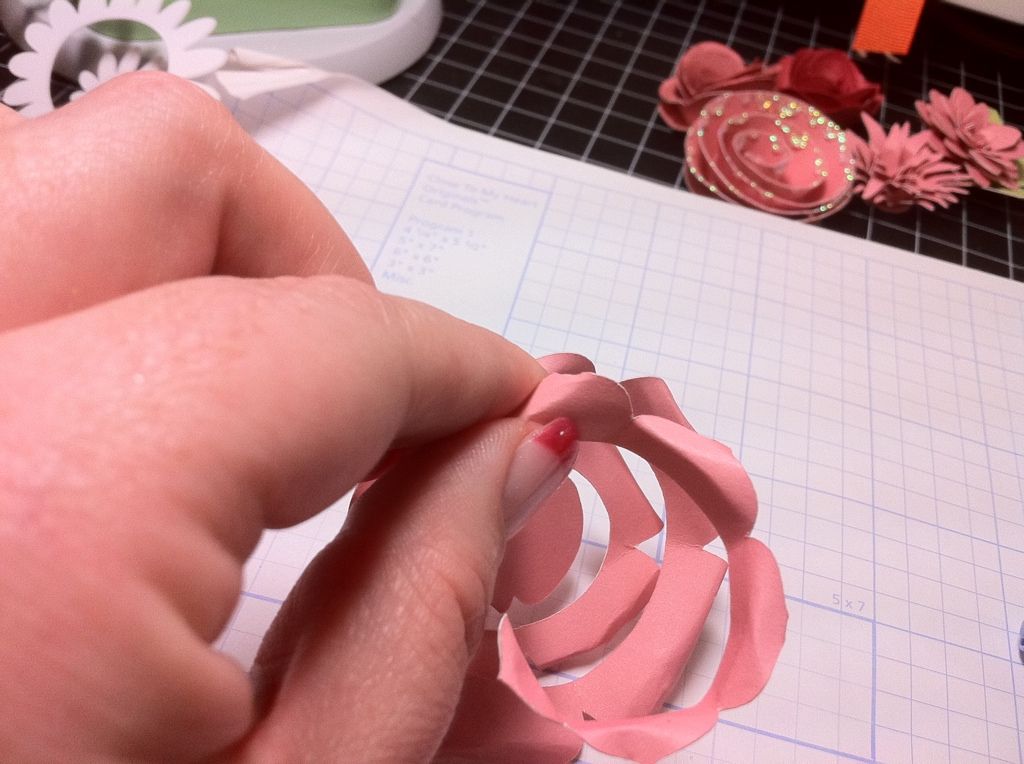
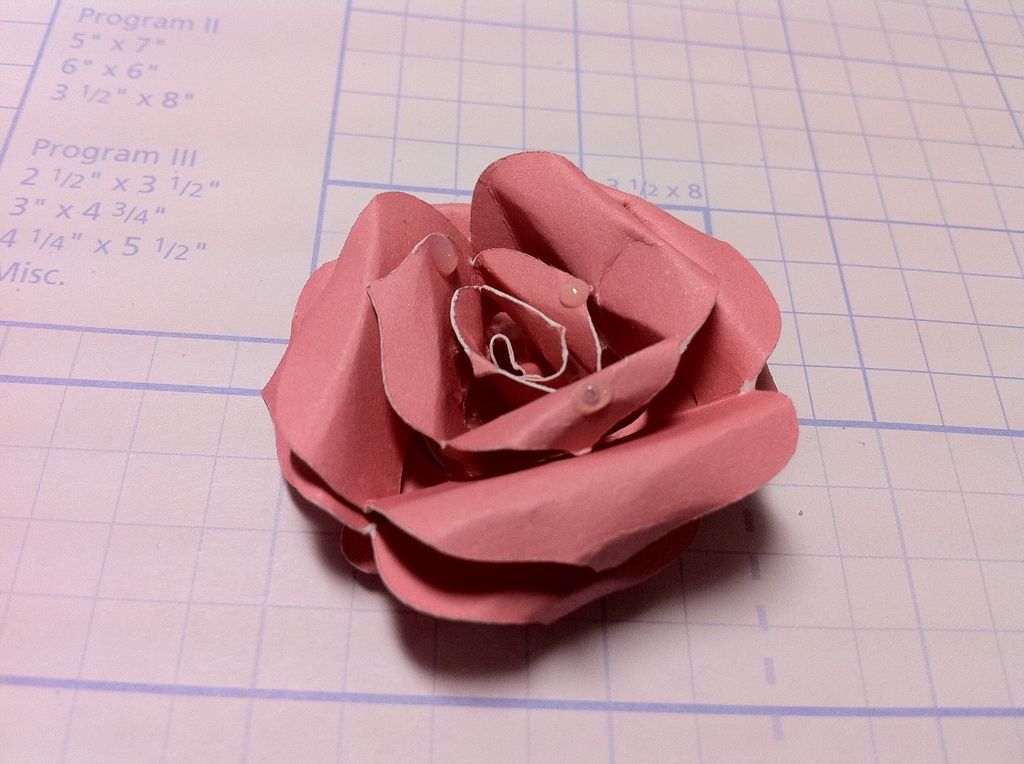
Today I have a tutorial on how to give your 3D flowers a WOW factor. There are several ways to do this and today I am going to show you 5. Now there is definitely lots more than 5, but this will give you a starting point.
All flowers used for this tutorial was cut out at 3 1/2" using the CTMH ART PHILOSOPHY cartridge. If you are interested in buying this FABULOUS cartridge click here==> Melanie's Close To My Heart site
I had a question yesterday about how long this cartridge will be priced at $99, so I thought I would address this at this time. I do not know of any sales on this cartridge or price change until the next catalog comes out. Now that does not mean a price change will occur then, but typically the prices in the catalog do not change until the new catalog comes out. To simplify, this is most likely the price for the next 6 months.
Now on to the tutorial...
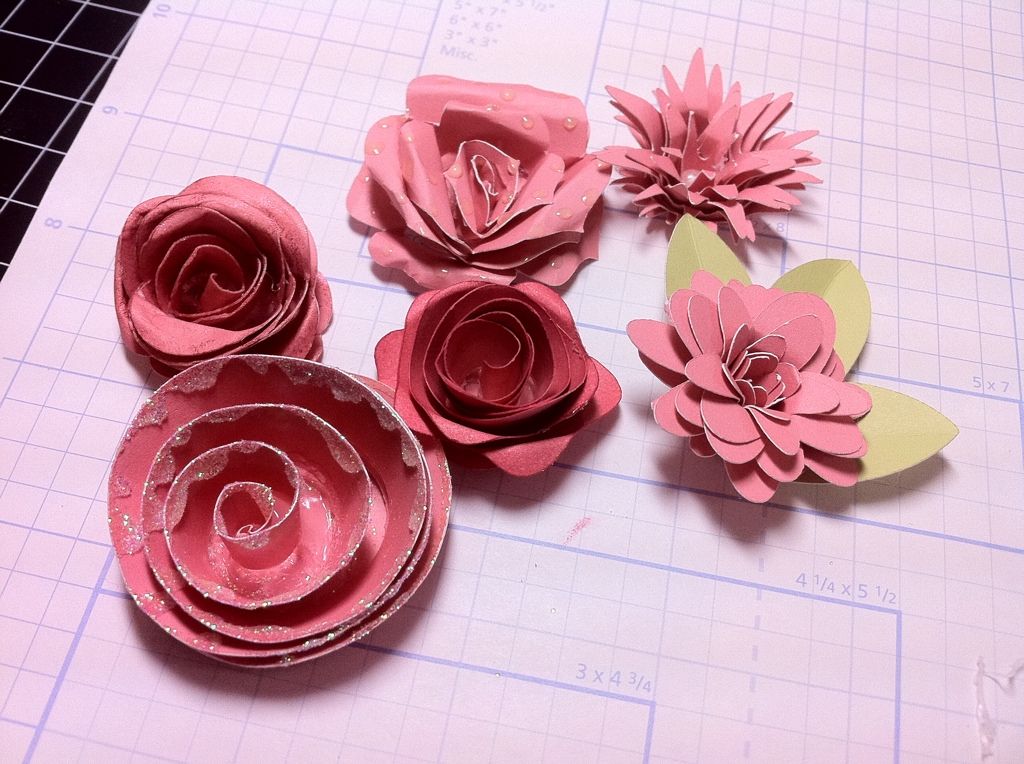
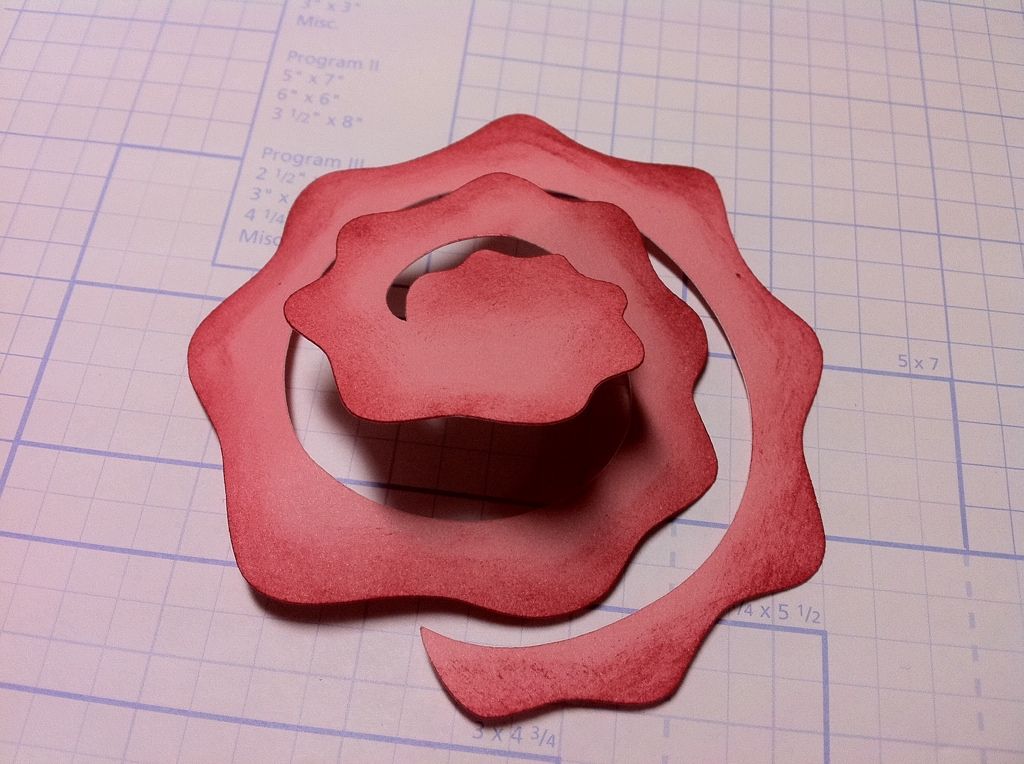
First lets talk about inking. I actually ink all of my flowers. I did not ink yesterday's because I wanted to make it as simple as possible. Inking gives the flower a more realistic look.
To ink you will need:
a sponge
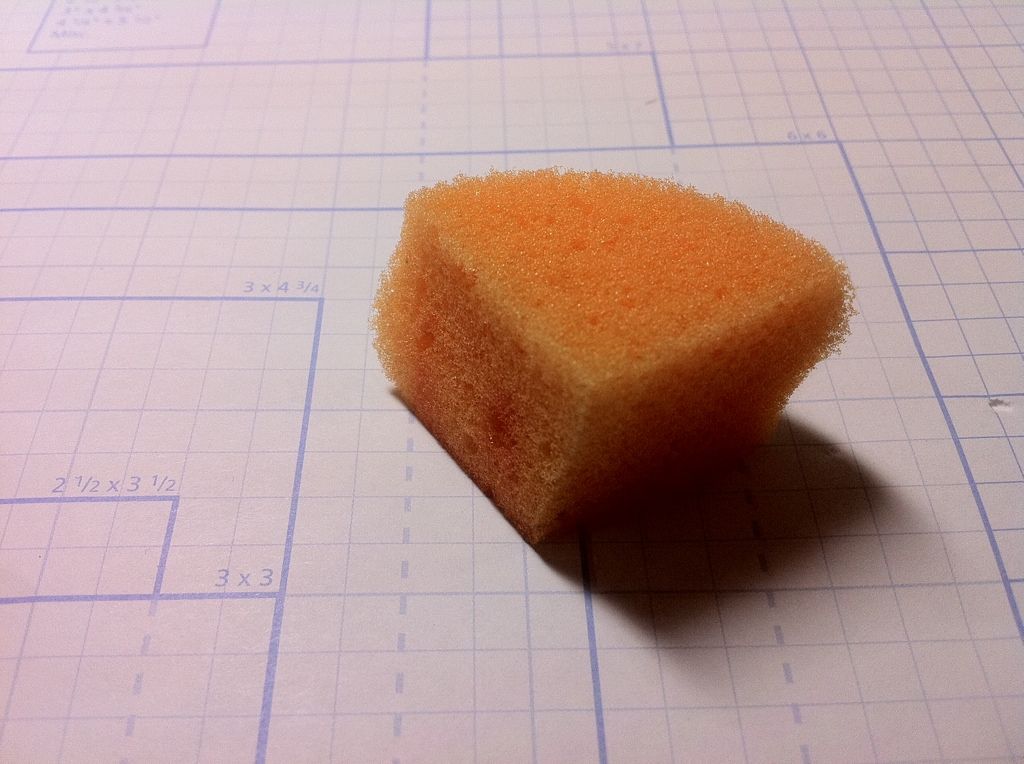
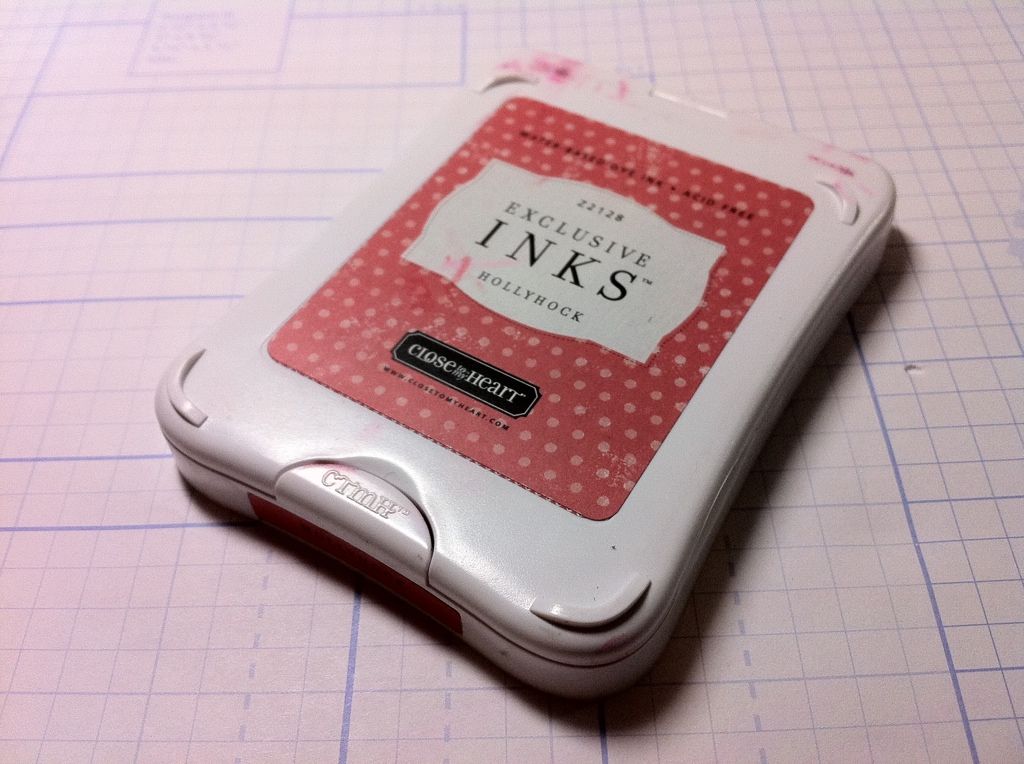
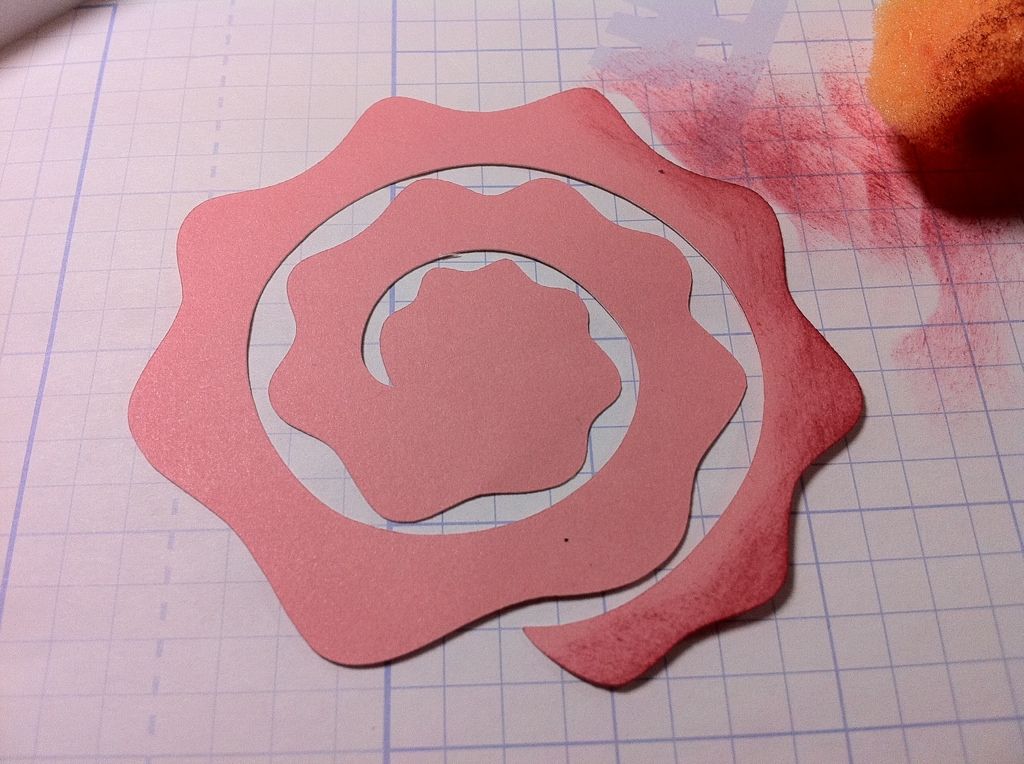
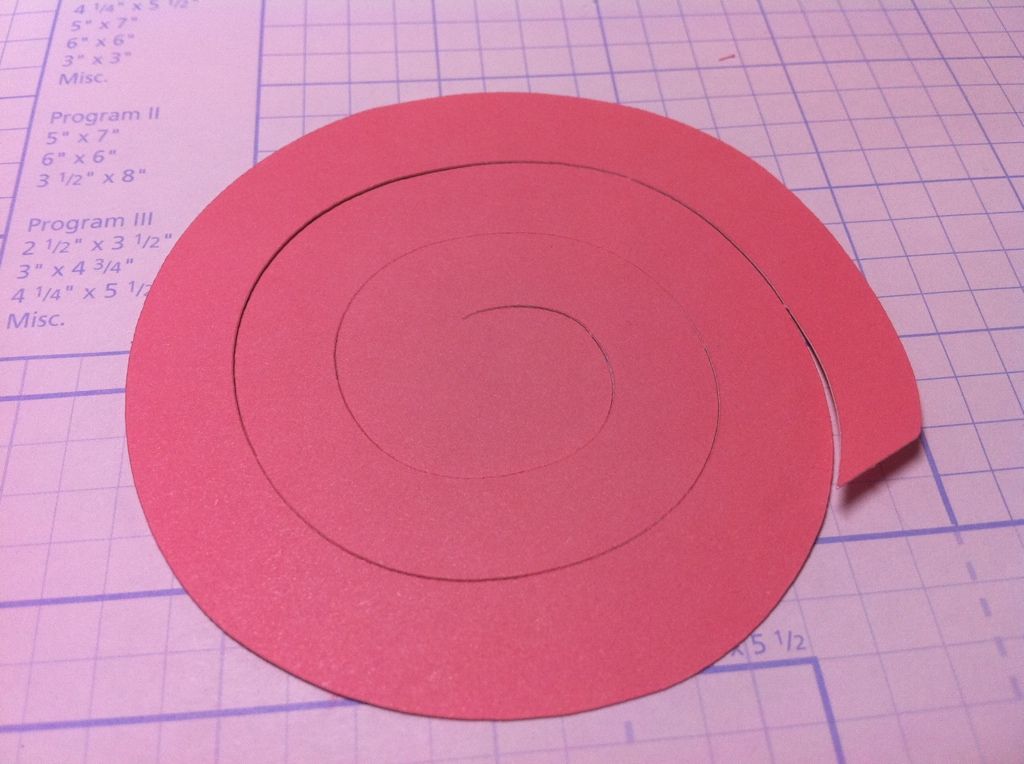
Then all you do is load up your sponge with the ink and darken the edges of the spiral before you roll it. I recommend inking both sides.
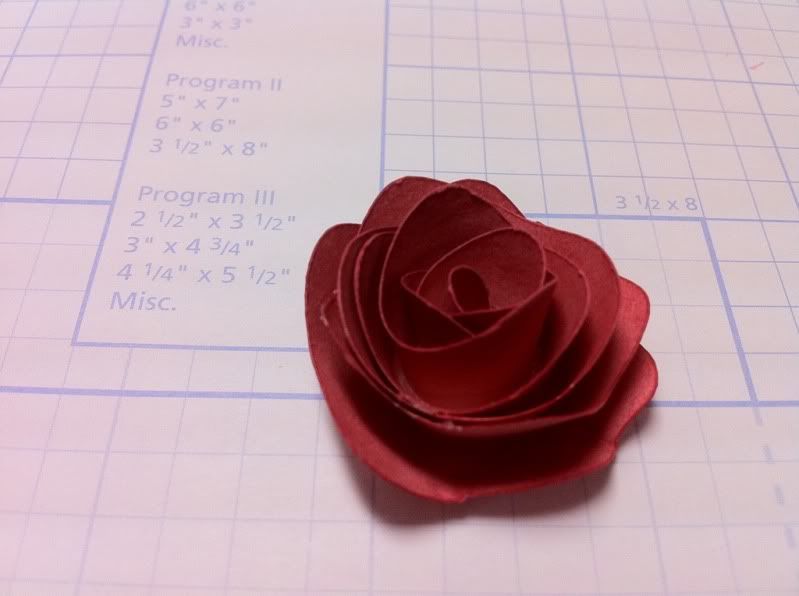
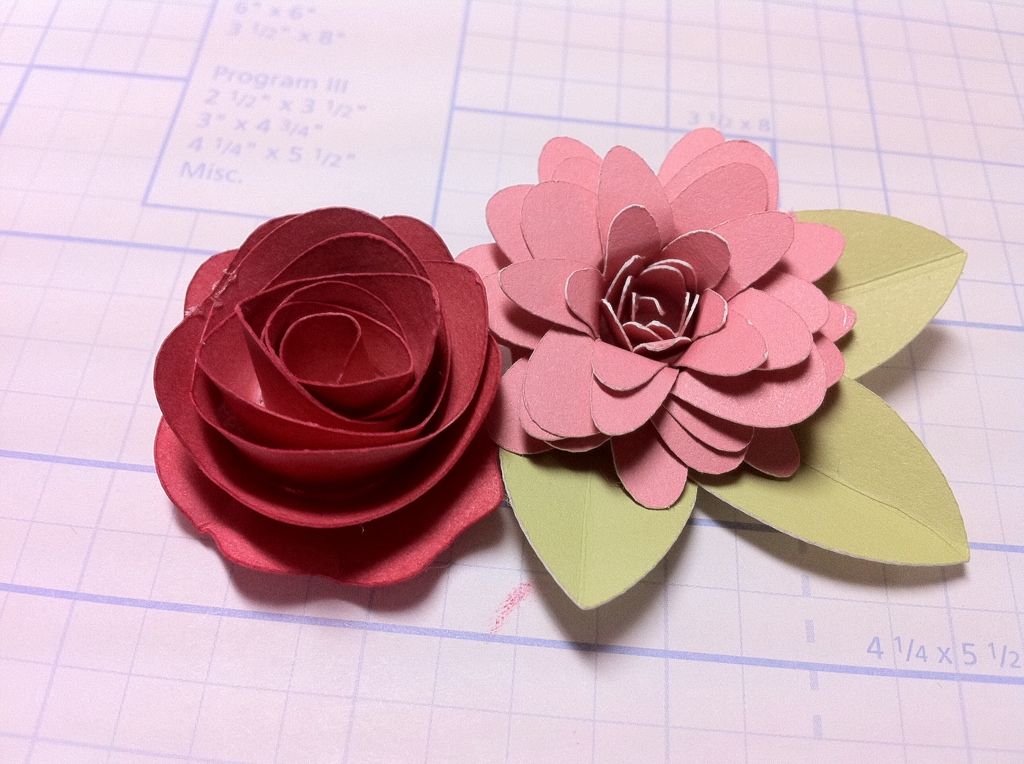
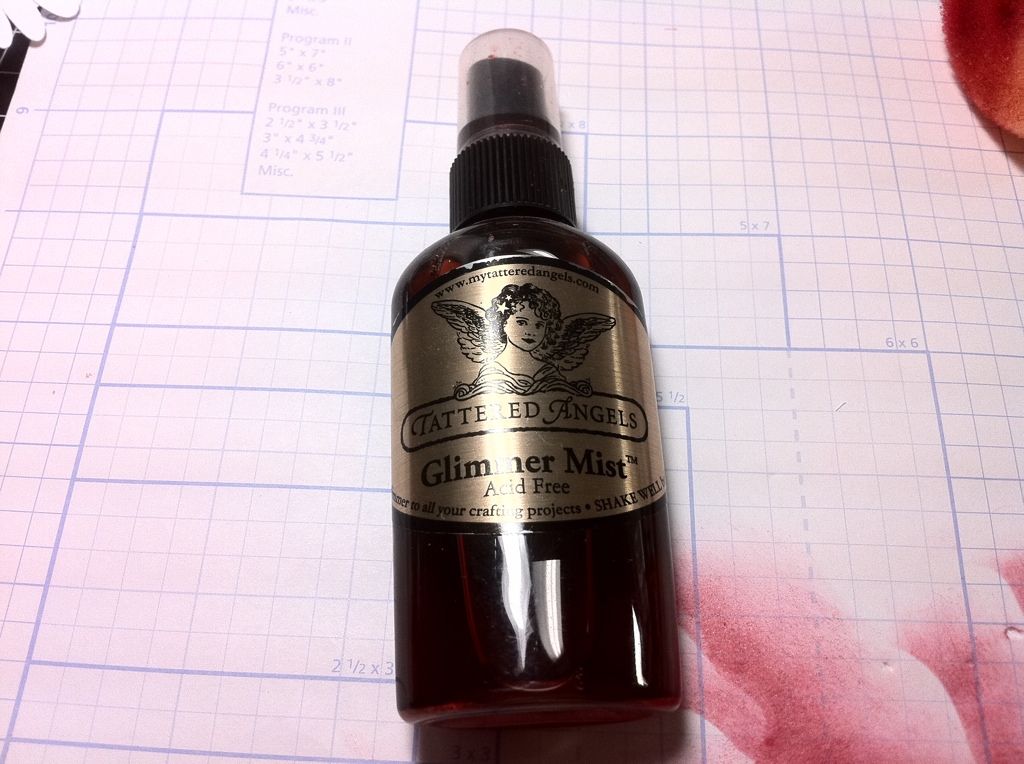
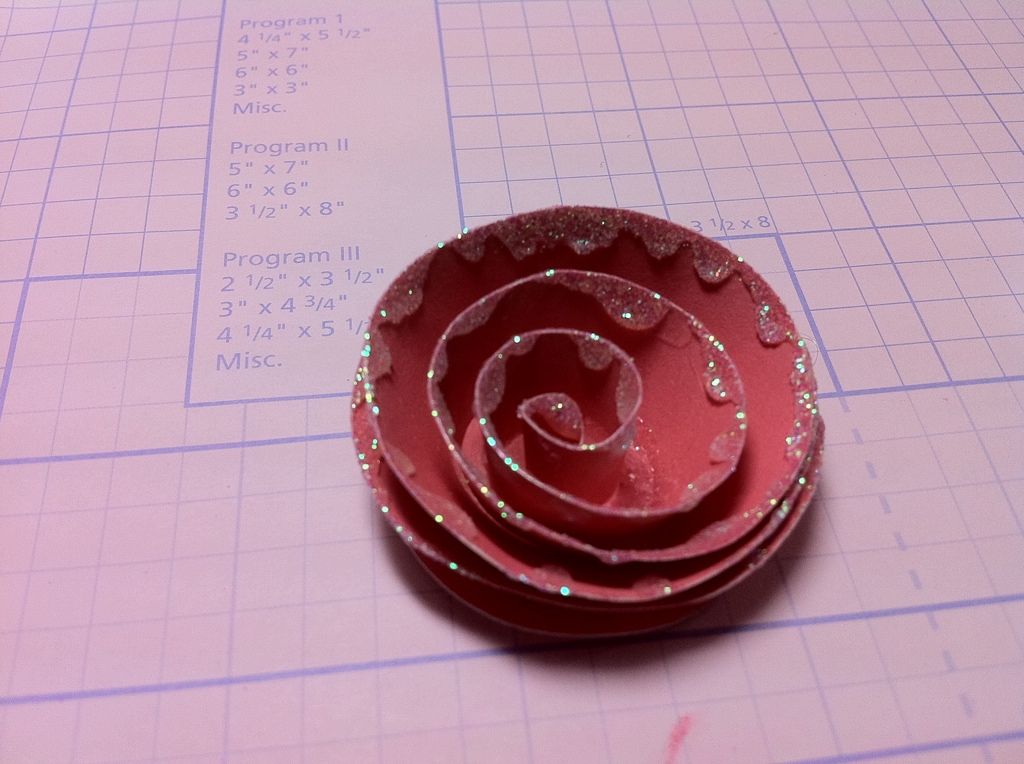
Your end result is a slightly glittered flower. The effect is very subtle, but beautiful!

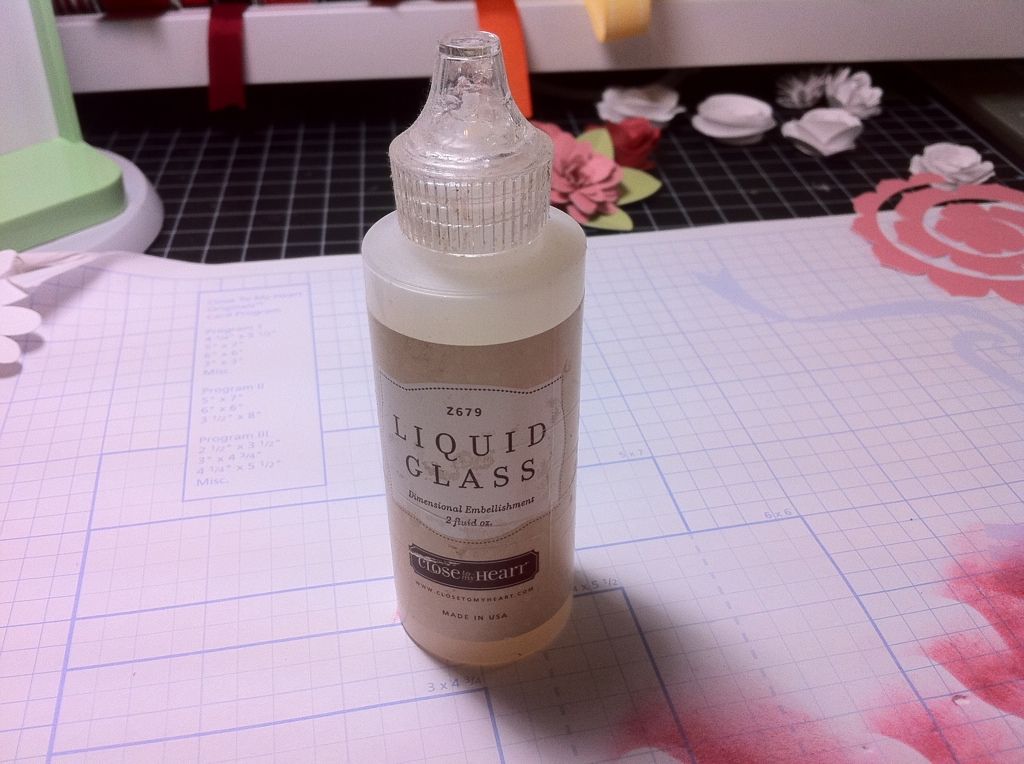
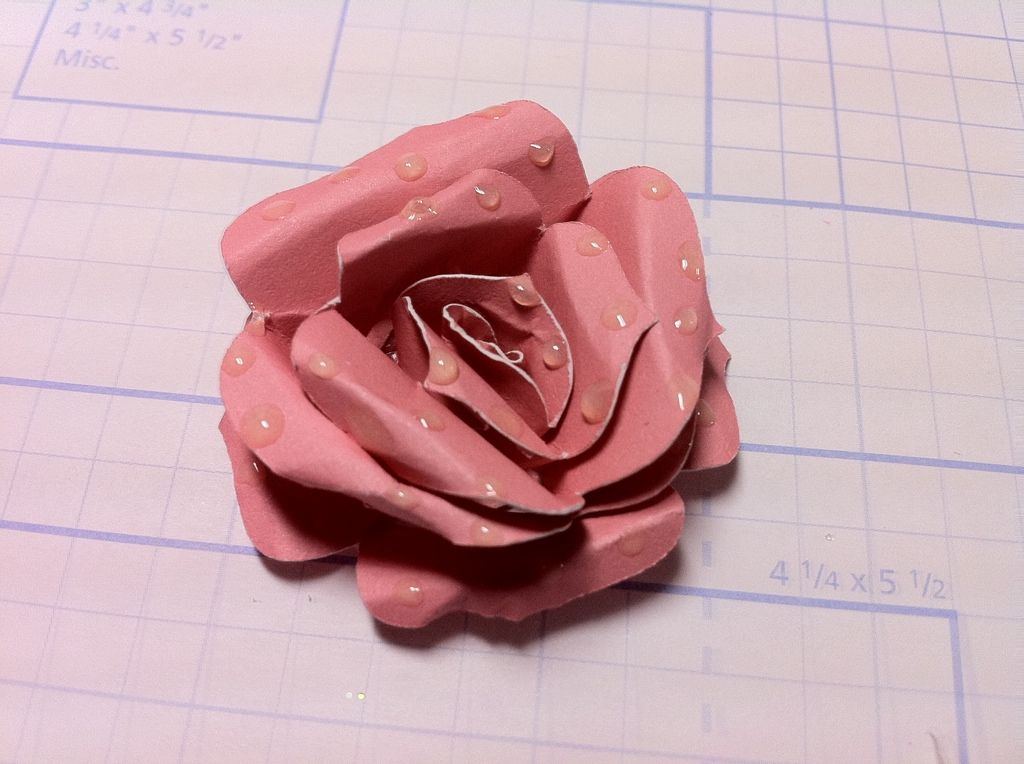
The next tutorial is glittering. Now this can be done many ways for many different types of effects. For this flower, I simply added liquid glass to the edges of the flower and then dipped it in glitter.
I look forward to seeing you all back here tomorrow!
Have a TREMENDOUS Tuesday!
 Subscribe to Courtney Lane Designs by Email
Thanks for all the info. I'm looking forward to this set, but I need school to start again first. I appreciate the tutorials. Keep 'em coming! :)
ReplyDeleteWow thanks for sharing how to add to the flowers, they all look great!!
ReplyDeleteKristan
Wow...once again great tutorial...love all the different techniques....thanks so much "OH GREAT ONE" !!!
ReplyDeleteThese are lovely! Thank you for all the ideas.
ReplyDeleteThese are all beautiful, Melanie. Thanks so much for taking the time to make these tutorials!
ReplyDeleteGreat tutorial, beautiful flowers, thanks for all the info!
ReplyDeleteIt's really nice seeing different variations of treatments/techniques on a basic element.
ReplyDeleteGreat tutorials! Thanks for sharing and inspiring!
ReplyDeleteThank you so much for the tutorials! I love flowers, but mine never look this good!
ReplyDeleteThanks for the tutorials!
ReplyDeletewow stunning thankyou for sharing x
ReplyDeleteThank you for the tutorial, all the flowers are so beautiful
ReplyDeleteThanks for sharing.
ReplyDeleteThanks so much for the great tutorials. I am glad the price will remain the same for a while (I was hoping it wasn't a one-month introductory thingy or something like that). I truly love your blog and all the inspiration you provide...I visit daily for a dose of your creativity! Thanks so much!
ReplyDeleteGreat ideas to spiff up the flowers!! Lee-Ann :)
ReplyDeleteThanks for all of the great ideas! Your flowers are gorgeous!
ReplyDeletethanks for the tutorial. The flowers are so pretty.
ReplyDeleteThese flowers are fabulous. Definitely going to try these tricks when my cartridge arrives!
ReplyDeleteThank you for sharing all the info. I love all the different ideas to use on the flowers! They are beautiful! Have a wonderful day! lindagk23
ReplyDeleteThank you for taking the time to show us the step-by-step directions! They are awesome, and the flowers look beautiful!
ReplyDeleteMan...thanks to you I broke down and bought the cartridge...lol. Hopefully I can hide the purchase from my husband. He really doesn't like all the enablers out there...making me spend money...lol!
ReplyDeleteThanks for all the tips! I finally broke down and ordered the cartridge today. Visa thanks you as well!!
ReplyDeleteI'm definitely bookmarking these tutorials! It's so much easier to actually see step-by-step pictures of something rather than trying to read instructions. Thanks!
ReplyDeleteThanks for this tutorial, it has helped me alot! Now do a tutorial on how we can all afford all these great cartridges! lol!
ReplyDeletesurfnfroggie
Thank you so much for the great posts. I am loving this cartridge and can't wait to get mine!
ReplyDeleteThese are so pretty! One of my favorite things about this cart is these flowers!
ReplyDeletegreat tutorial thx. Kim
ReplyDeleteGreat tutorial. Thanks so much. Your flowers are sensational and now we can make them! Woo Hoo!
ReplyDeleteLOVE these tips! Thanks so much for taking the time to do this!
ReplyDeleteIt is great to see all the different ways to make and decorate the flowers. Thank you for the instructions.
ReplyDeleteGreat job on the flowers. So many ideas to try now.
ReplyDeleteThank you so much for taking the time to show how you make your beautiful flowers. The knowledge helps make my projects that much better looking.
ReplyDeleteKathleen (jbaugh1481@aol.com)
These flowers are absolutely beautiful! Thanks for showing us how it's done! ♥
ReplyDeleteAll of the flowers are great. Wish I had that Cartridge. Thanks for Sharing! :0)
ReplyDeleteYou're really making it hard for me not to buy this! lol I was kind of hoping they'd release just the cart eventually....
ReplyDeletegreat idea! as a bow for a package!
ReplyDeleteI am lov'en these daily tutorials, tips and techniques. Thank you for doing this. Your flowers are wonderful and it is going to be fun to practice these techniques once we have our cartridges.
ReplyDeleteMarcie
Great flowers!
ReplyDeleteThank you for all the great tips and techniques!!!
ReplyDeleteCarol
This is such a great tutorial!! I learned alot!! The flowers look amazing! Can't wait to see more projects and try it out!!
ReplyDeletechilindra at att dot net
Thanks for showing us how to make such beautiful paper flowers, Melanie!
ReplyDeletenice! The tutorial is great! Thanks.
ReplyDeleteWay to go Melaine the feature w/Cricut! Awesome job. Love flowers! You make it look easy.
ReplyDeletefabulous cant wait for this cartridge. Glad someone is showing us the 3d elements. TFS
ReplyDeleteThanks for these great tips. These little additions really gave your flowers pop power.
ReplyDeleteI Love the inking and the glitz on your flowers. TFS
ReplyDeleteLuria
Thanks for the tutorials. PC needs to hire you!
ReplyDeleteKaren L 1020 at gmail dot com
Thanks again for another tutorial! Don't know if I can wait 6 months for the price of this cart to go down. ;)
ReplyDeleteMelanie,
ReplyDeleteI am loving your tutorial this week. I never know how to use different products so this is great! Thank you so much for sharing!
Thanks for all the tips. Even though I don't have this cartridge, I can still use your ideas on other projects
ReplyDeleteThanks so much for the tutorial!
ReplyDeleteThanks for the tutorials. I guess we can use the same ideas for the Flower Shoppe cart.
ReplyDeleteStunning. Thanks for the tutorials.
ReplyDeleteThanks Melanie! So very helpful!!
ReplyDeleteReally appreciate all of the tutorials. Please keep 'em coming!
ReplyDeleteShellee
What great tips! You make a little thing make a big difference!
ReplyDeleteoooh, you got my creative juices flowing! Great ideas!
ReplyDeleteYay, been having trouble making comments! I so love flowers, those are fabulous - all those cricut cartridges get more and more get-able daily. thanks.
ReplyDeleteGreat ideas, makes buying the cartridge a must.
ReplyDeleteGreat tutorial, love all your suggestions for accessorizing your flowers. Love that liquid glass for dew drops!
ReplyDeletelflinesatcomcastdotnet
I LOVE these!! Thanks for showing how they work and your creative tips.. Your tutorial has really made me decide I need to get this cartridge set! Love it!
ReplyDeleteThank you!!
I am loving the tutorials Melanie!! Thank you so much for all the great ideas. I can't wait to give these techniques a try. :)
ReplyDeleteLori
All the flowers look wonderful. Thanks for the tutorial. I love paper flowers and you have showed me great ways to make them look even better.
ReplyDeleteWhat amazing results! Thanks so much for sharing.
ReplyDeleteSusanJ in Atlanta
Amazing results, love how the different effects look.
ReplyDeleteKim xXx
Flowers, flowers, flowers, these are so much fun. Thanks for the tips on the finishing touch.
ReplyDeleteAmazing! They look so real. Thank you so much for all the info.
ReplyDelete