This week I am doing CTMH ART PHILOSOPHY tutorials. Don't worry if you don't have this cartridge yet or do not plan on getting it. Things I will be showing you this week can be implemented using other cartridges. However, if what I show you this week pushes you over the edge, by all means order this FABULOUS cartridge! No judgment here *wink*
Now just in case, you missed the Hello Thursday release and you do not know what Art Philosophy is let me explain. It is a NEW cartridge that will be sold exclusively by Close To My Heart. This cartridge includes bags, 3D flowers, borders, cards, fancy shapes, and a beautiful font. To purchase this MUST HAVE cartridge click here ==> My Close To My Heart Website
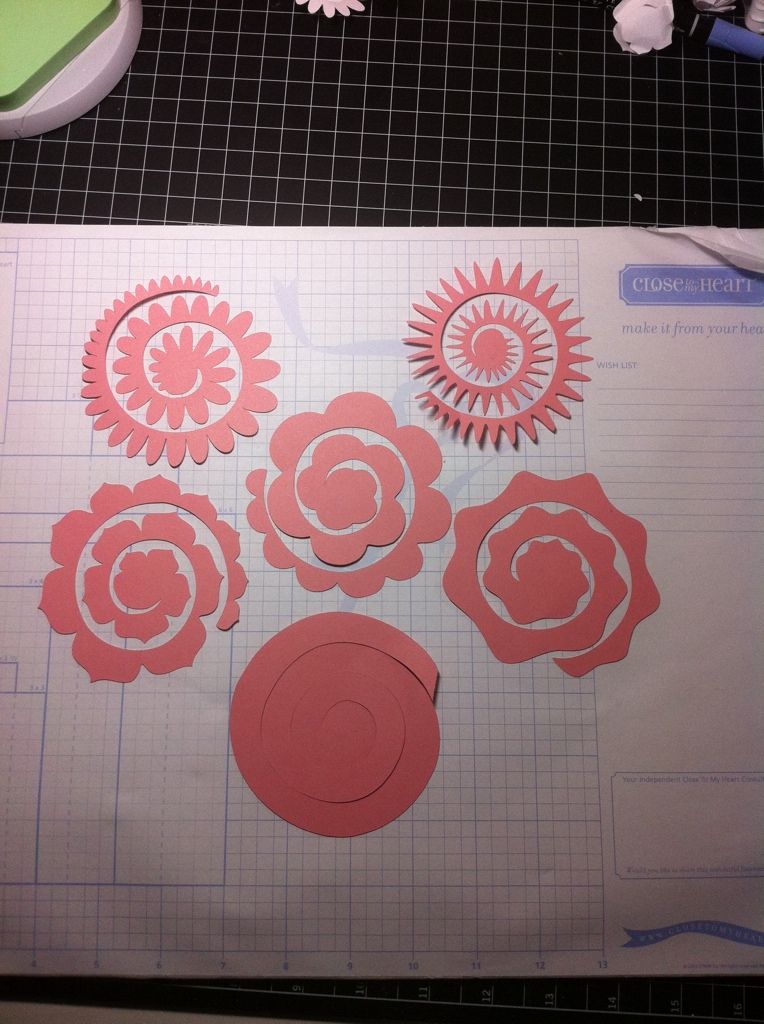
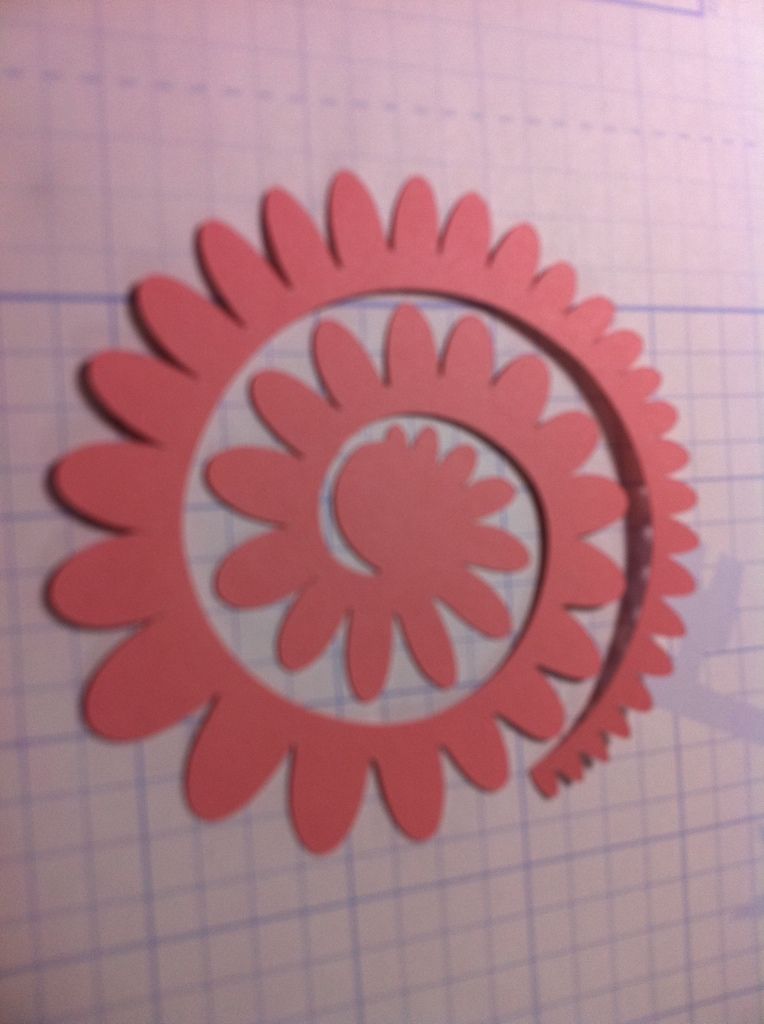
Now to the tutorial. Today I am showing you how to make the beautiful 3D flowers. It is very simple once you know how and you will have no problems whipping up bunches of these beauties once you look through this tutorial.
Supplies: You need the ART PHILOSOPHY cartridge.
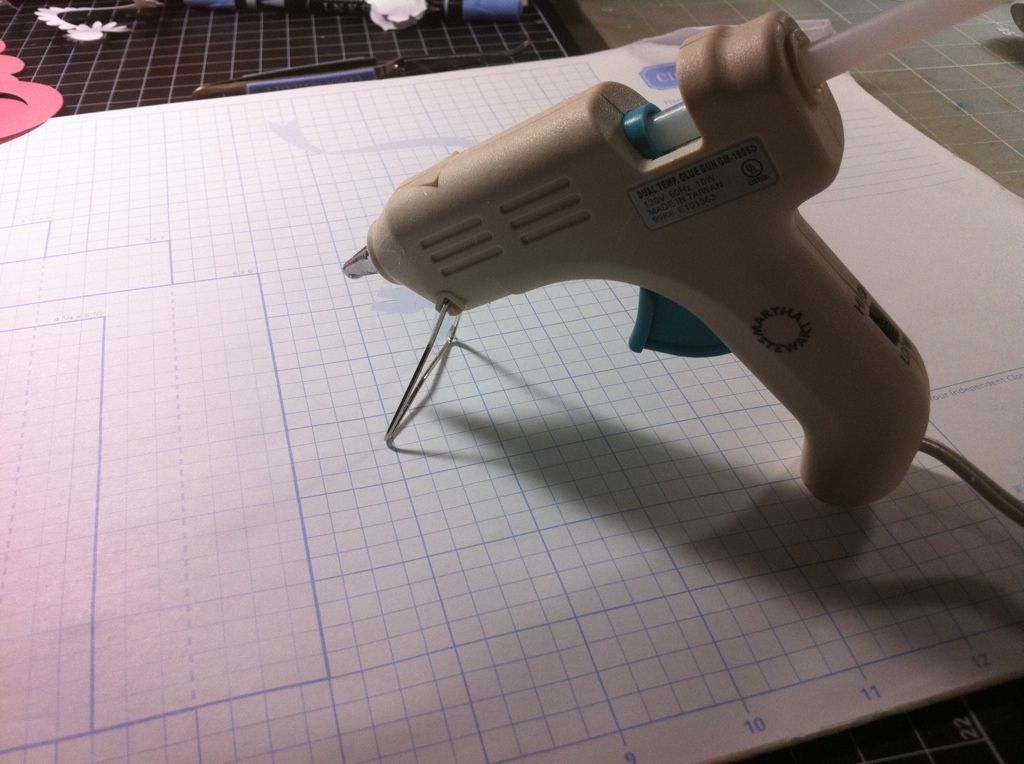
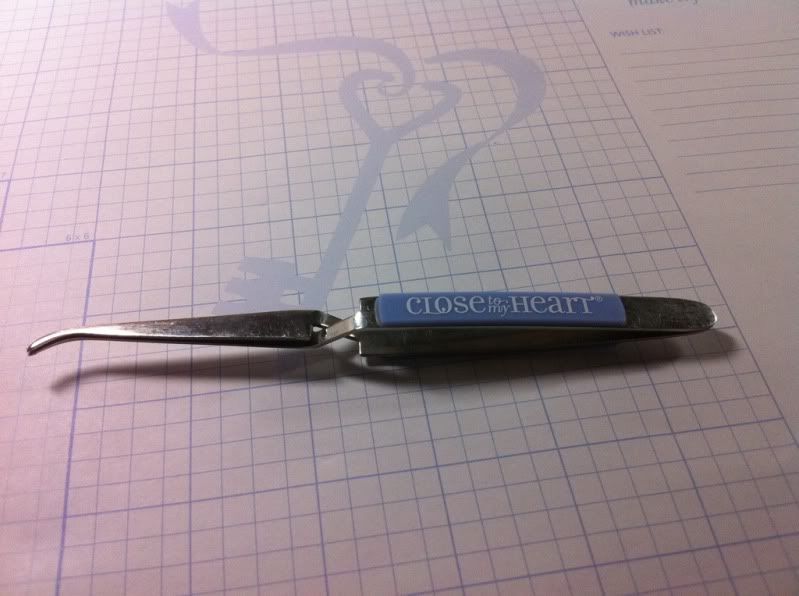
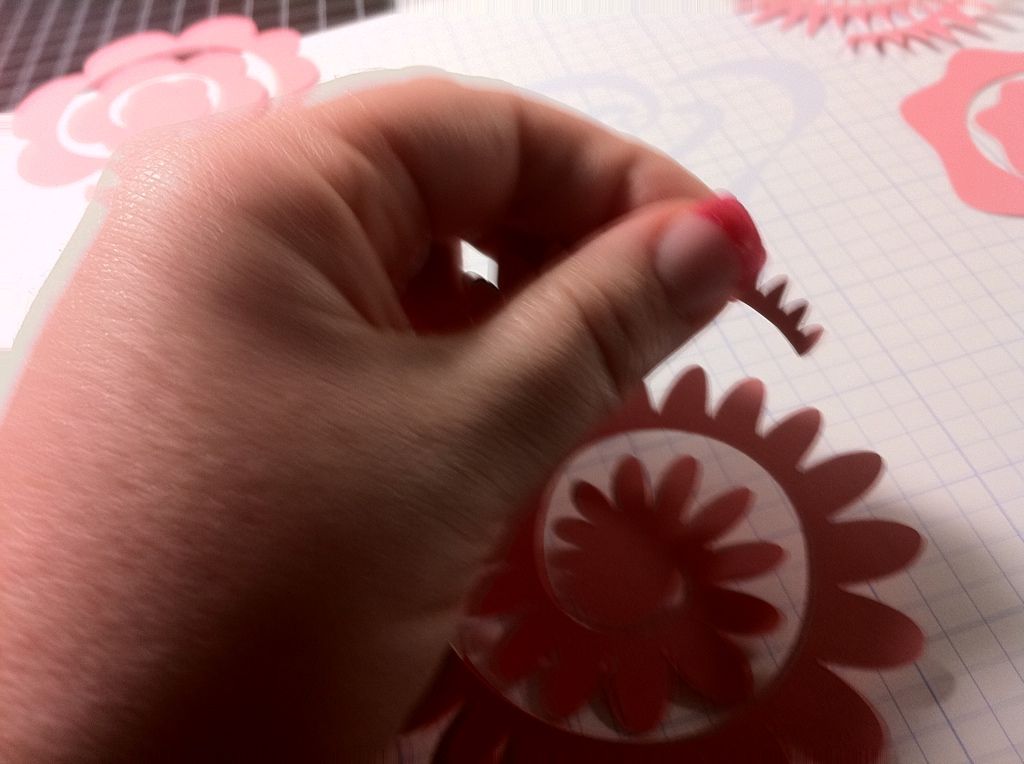
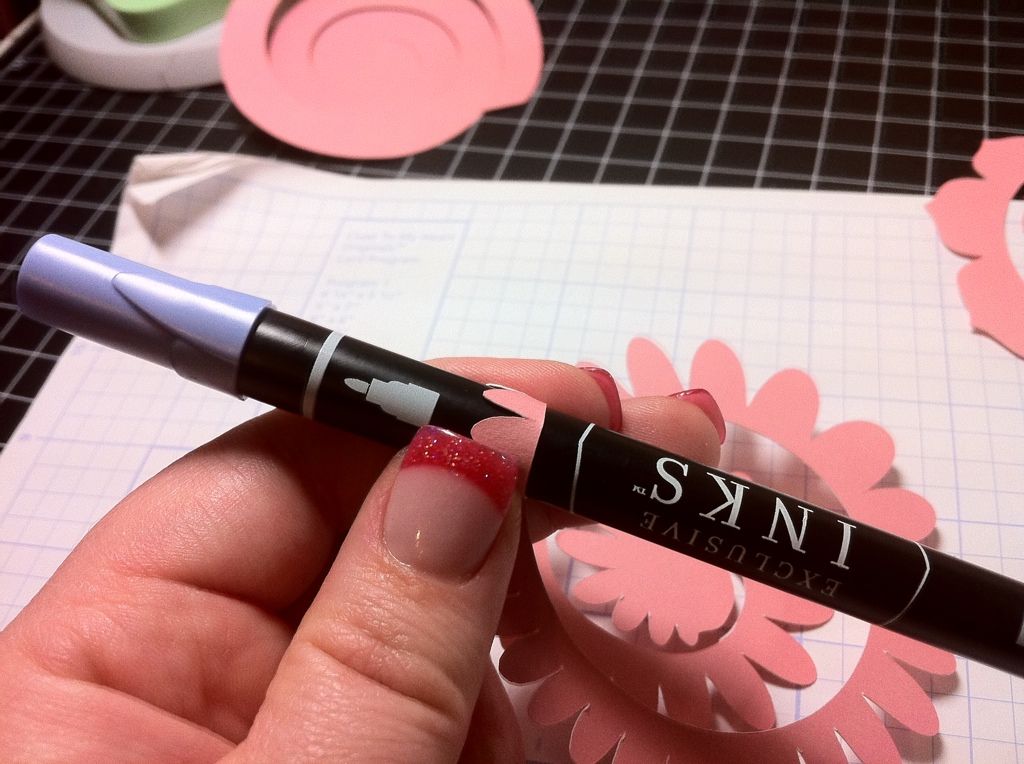
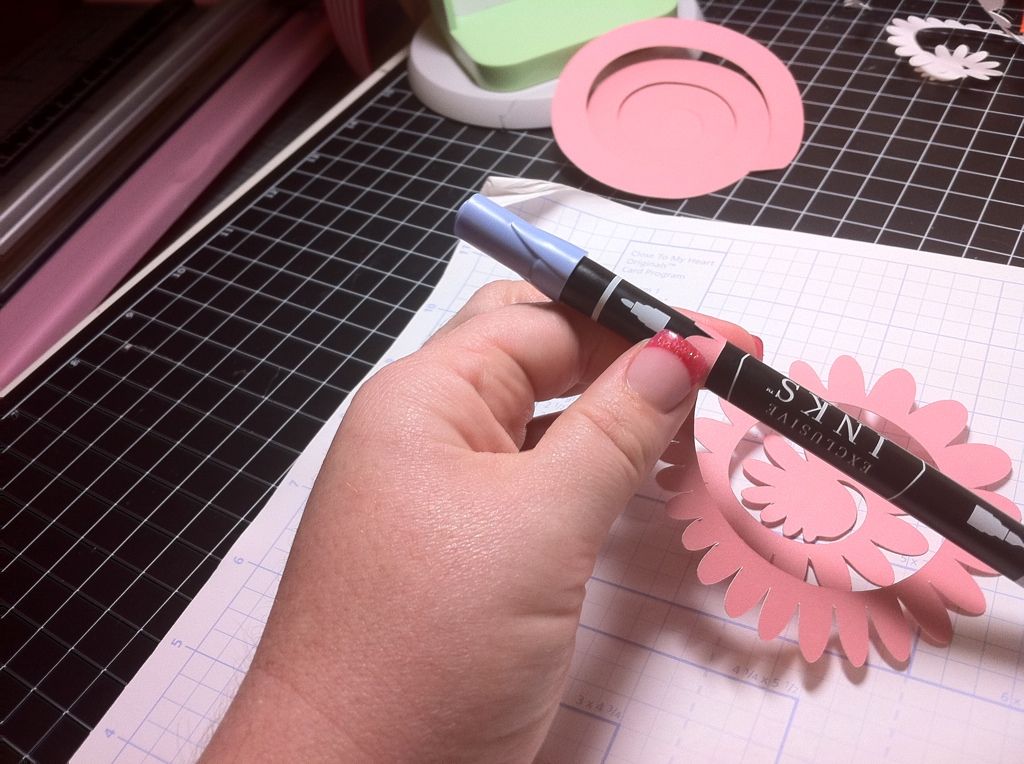
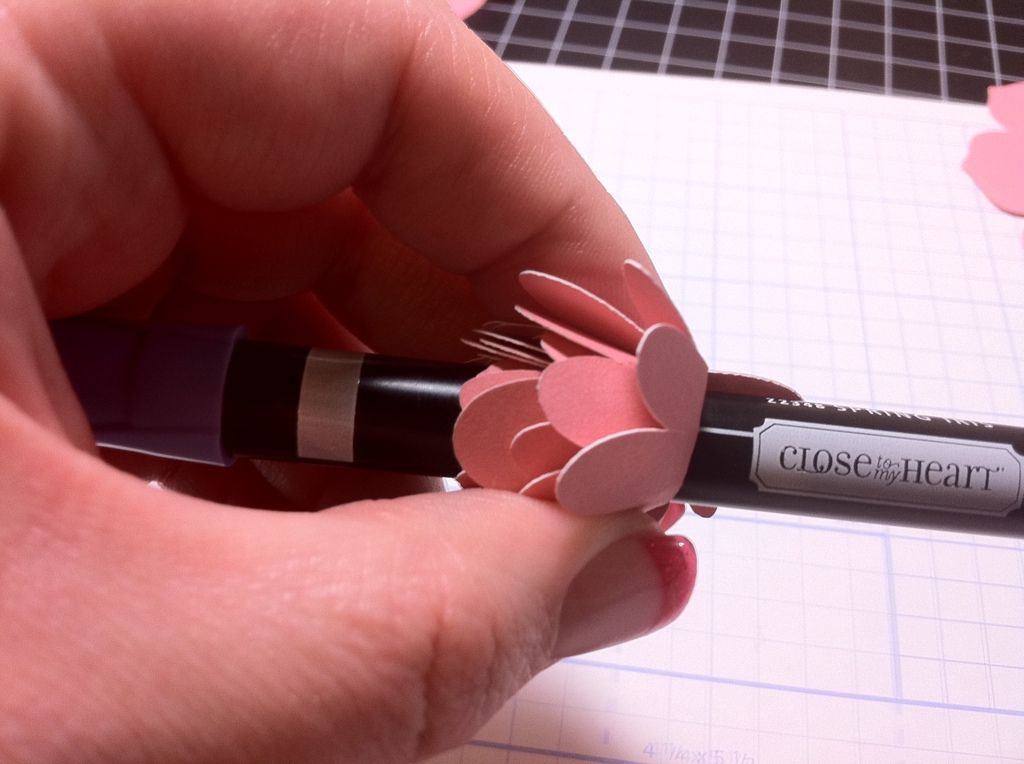
After it has been wrapped completely slip it off of the marker barrel and grab your tweezers. Grab the center part of the flower with your tweezers and start twirling. This tightens up your flower, so you can make it as tight or as loose as you like.

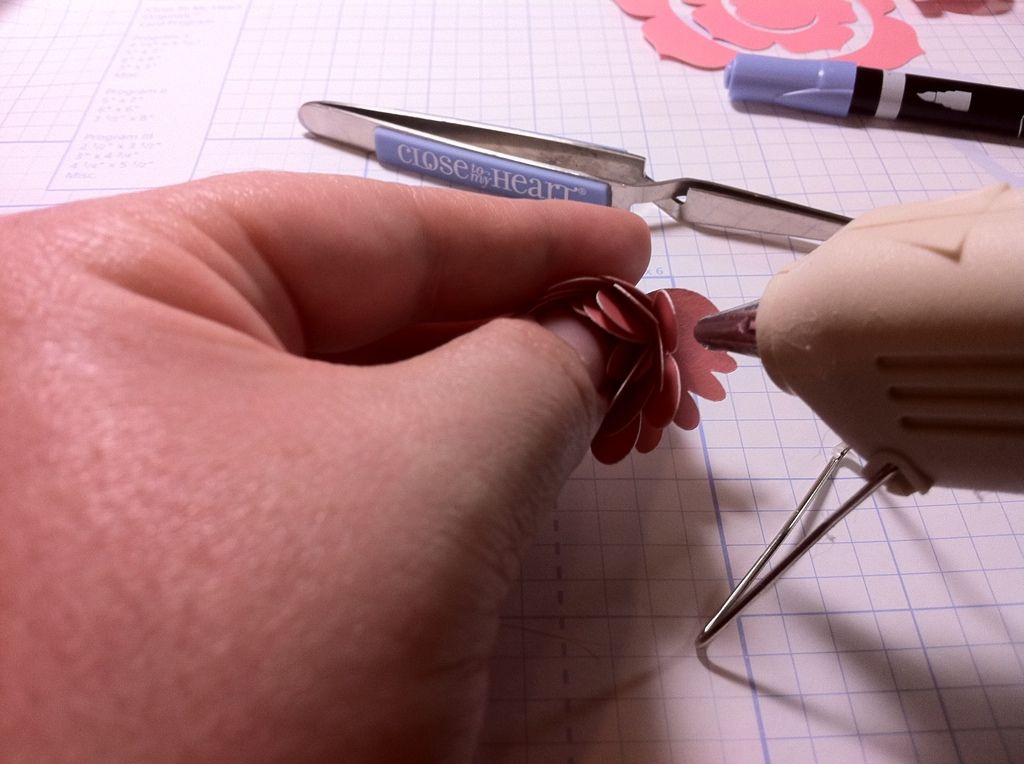
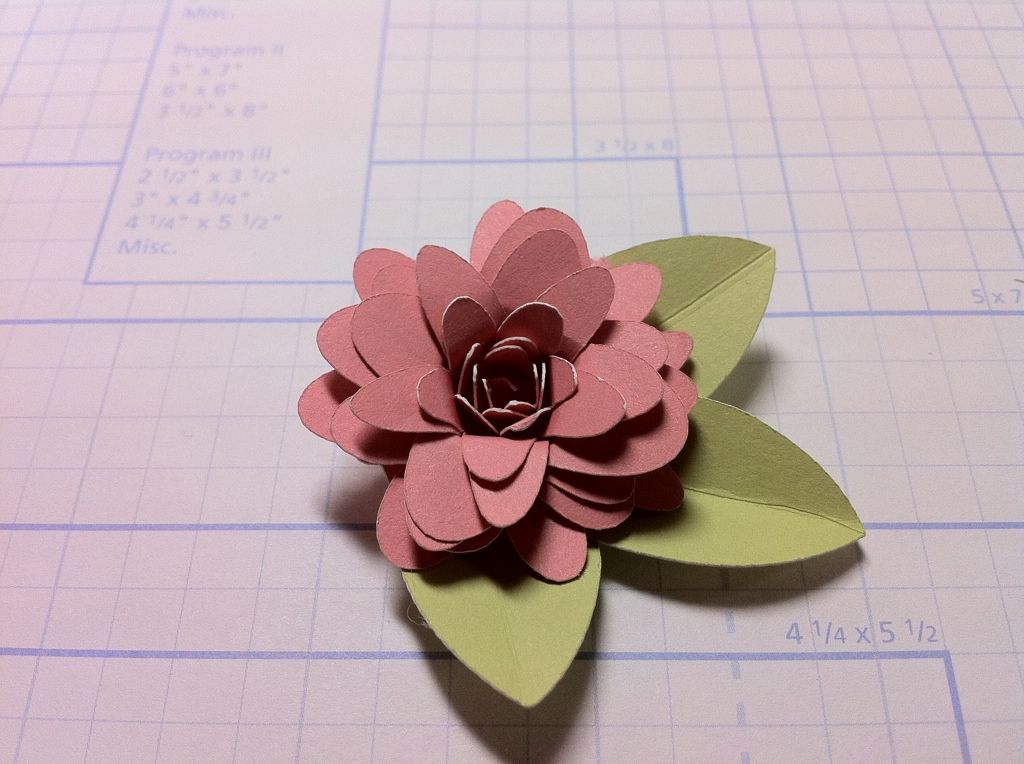
You are left with this little flower. It is pretty and you can left it just as it is or you can tweak it just a little.
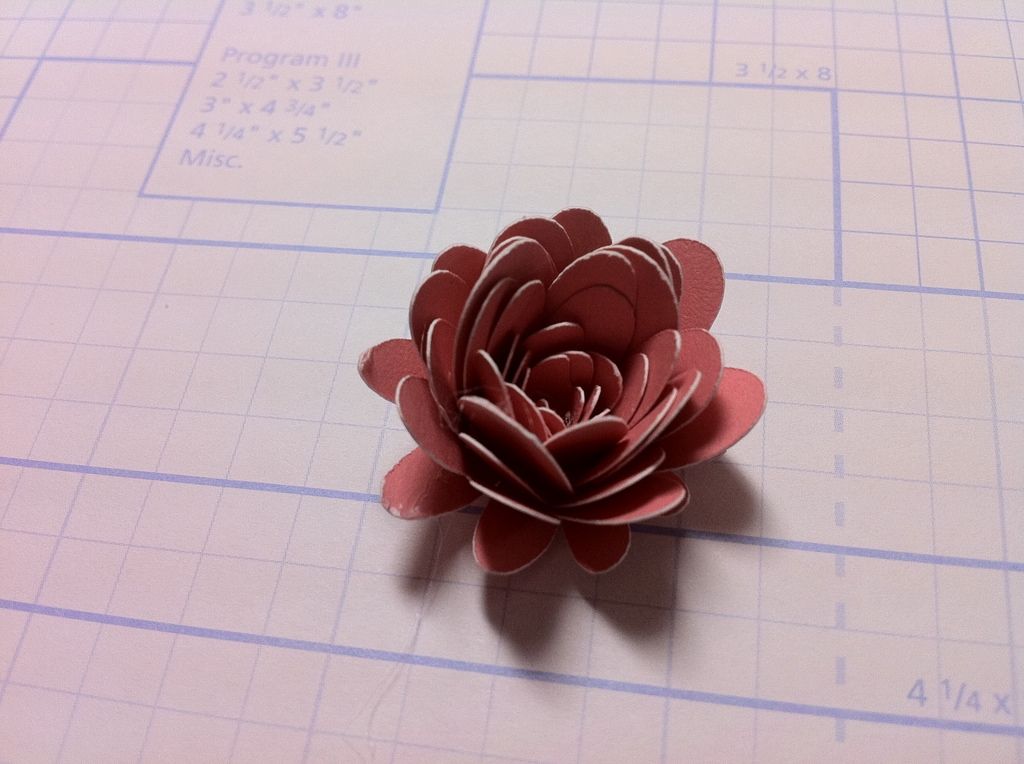
I like to gently bend back the petals. This opens the flower up and give it just a little more life.
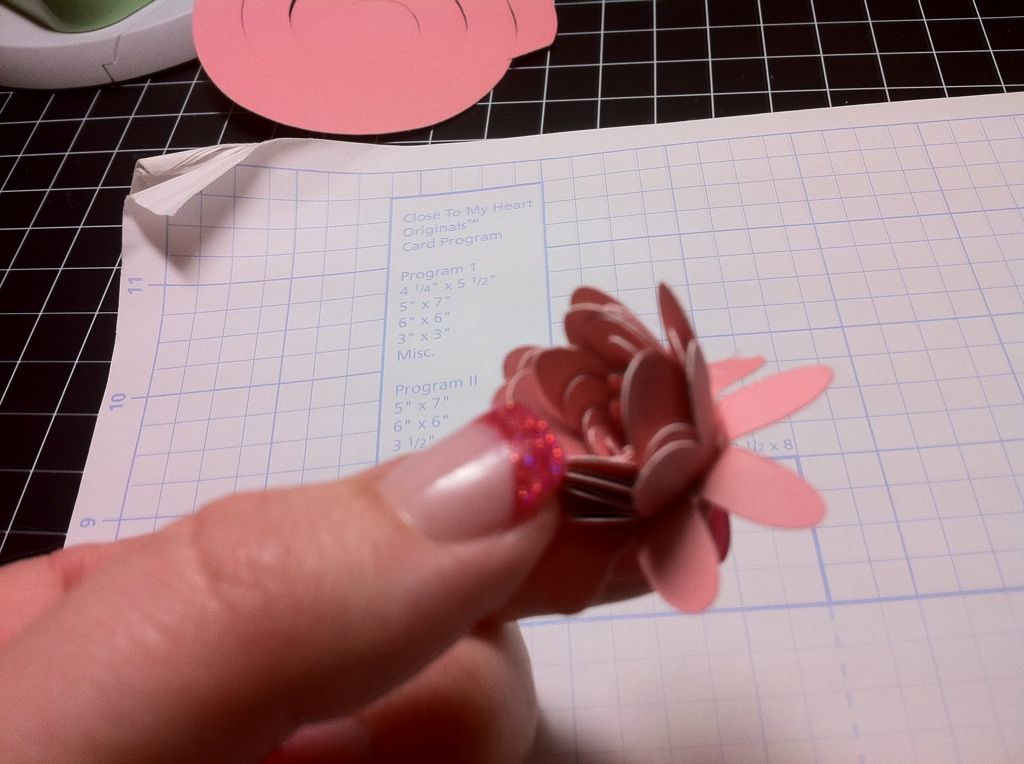
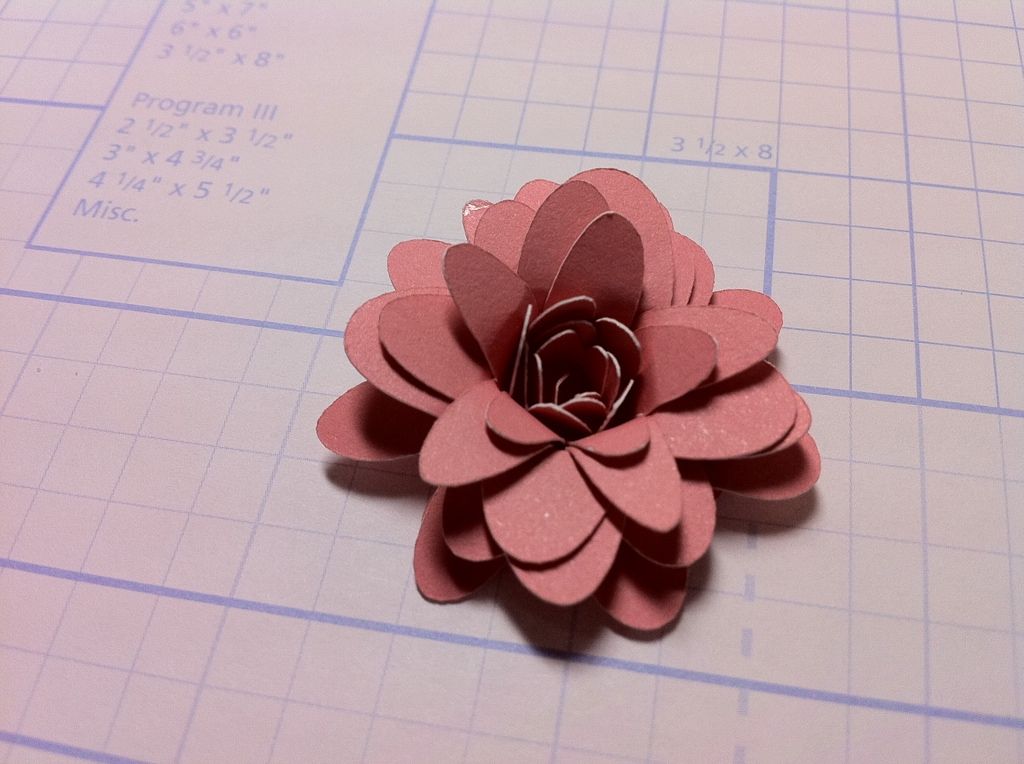
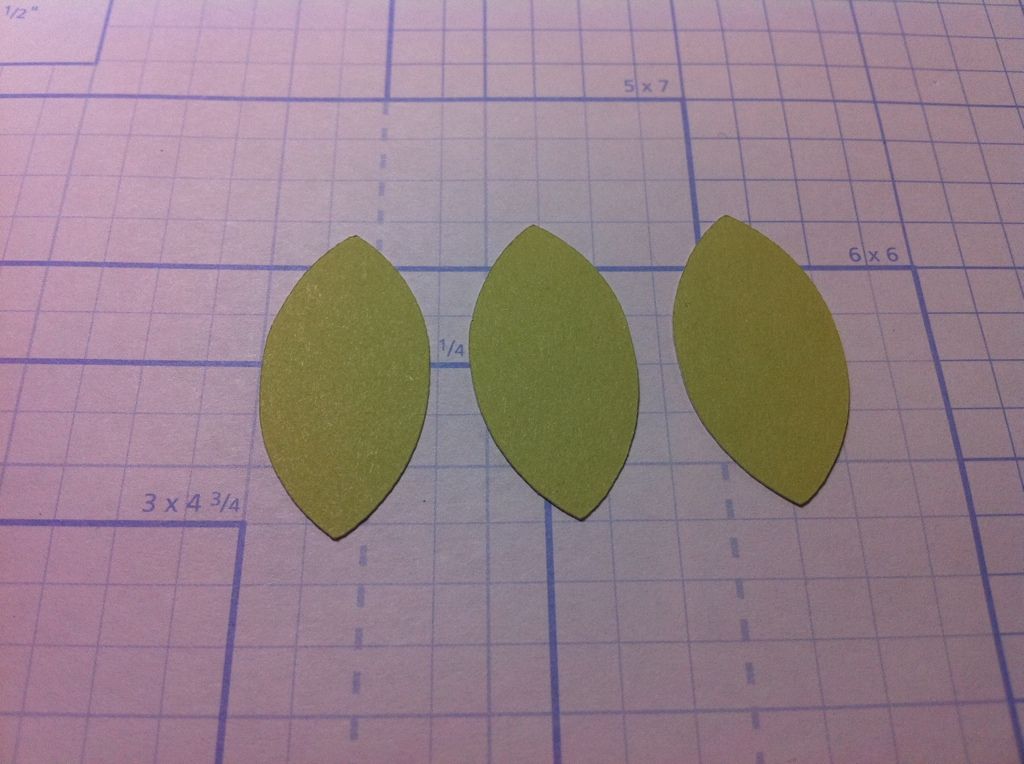
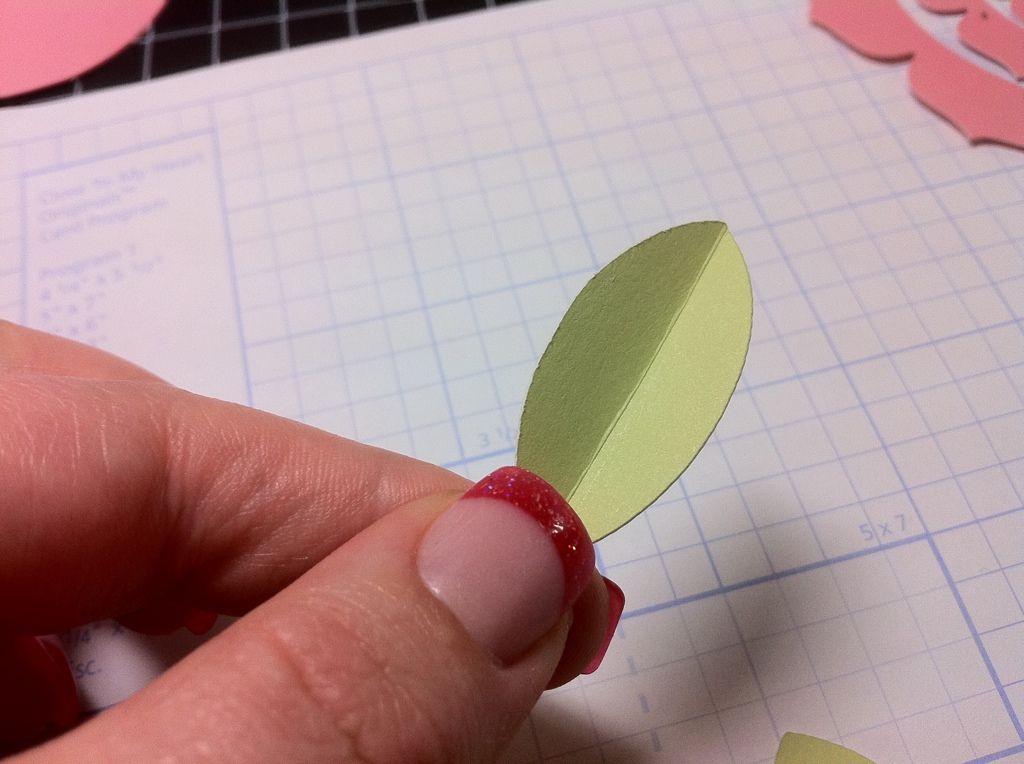
I cut the leaves at 1 1/2". Again, these are ok how they are, but with just one little things turn from good to great!
Here is a video of other flowers you can make using this new cartridge!
Well, be sure to check back in with me tomorrow because I will have my PART 2 FLOWER TUTORIAL.
Have a MAGICAL Monday!
 Subscribe to Courtney Lane Designs by Email
Thanks for the tutorial on the Art Philosophy cart. The cuts look awesome!!!
ReplyDeleteCarol
Great tutorial...the flower is beautiful and I agree the cuts look awesome.
ReplyDeletethose flowers ar so pretty thanks for sharing how to make them!!
ReplyDeleteKristan
Thank you for the tutorial! I just got the flower shoppe cartridge and I think this decoded these flowers for me as well..
ReplyDeletethank you for the tutorial. I needed to see one made to really comprehend.
ReplyDeleteI never would have figured this out on my own. Thanks so much for the great and simple tutorial!
ReplyDeleteGreat looking flower and thanks so much for the tutuorial!
ReplyDeleteYou are awesome! Thanks for this tutorial; I'm looking forward to the rest. My cartridge is scheduled to be delivered tomorrow and I'm so excited! :)
ReplyDeleteThanks for another great tutorial, what a great cartridge and beautiful flower selection.
ReplyDeleteAwesome tutorial...I really want this cartridge. Do you
ReplyDeletethink this price will still be available next month...I have to save for it... Thanks for the inspiration (love your blog)!
Thanks Melanie for the tutorial!
ReplyDeleteLove all the flower combos this cart has to offer. Great tutorial. I have been practicing with flower shoppe cart and am ready to try these. Great tutorial. Looking forward to more this week.
ReplyDeleteMarcie
I love your flowers. Thanks for telling us easy it is to make. I will have to check this cartridge out.
ReplyDeleteThank you Melanie, I don't have the CTMH Art Philossophy cart, but I do have the Flower Shoppe, and was a bit fustrated, cause I couldn't get them right. Now I see how easy you make it look. Thanks again....can't wait for the next tutorial. :) Happy Flower making.....
ReplyDeleteGORGEOUS, Melanie! I just might need to make some flowers today!
ReplyDeleteVery simple process for beautiful results! Can't wait for tomorrow's tutorial. Thanks :o)
ReplyDeleteThanks for the tutorial! Love the dimension on the end result.
ReplyDeletewow these are beautiful thanks for sharing with us xx
ReplyDeleteThanks for the tutorial. You make it look so easy. I seem to be all thumbs when it comes to small delicate things.
ReplyDeleteTHANKS for all the tips! Spent the weekend w/floral shoppe. My 13 year old daughter & her friend are addicted too! They made flower pencils. The flowers came off, knew I should have take out my hot glue gun....
ReplyDeleteugh!! i want these cartridges!! love them! the flowers are beautiful. tfs detailed instructions!!
ReplyDeleteparkernana5@cox.net
Great tutorial. These flowers are just gorgeous! Thanks
ReplyDeleteThank you for the tutorial, beautiful flower
ReplyDeleteGreat tutorial...I can't wait to get this cart!! Lee-Ann :)
ReplyDeleteok...quit making me want this cartridge. My husband won't allow any more purchases...lol. Do you have CTMH have a payment plan...small enough payments and my husband might not even notice...lol.
ReplyDeleteVery pretty flowers!
ReplyDeleteThese flowers are the first thing that attracted me to this cartridge. Thank you for providing instructions, and for sharing your ideas!
ReplyDeleteThanks for sharing. That is completely different than I thought they were made.
ReplyDeleteAwesome - thank you so much for the tutorial and the video!
ReplyDeleteThanks for a great tutorial...so nice that you can ink/chalk the edges BEFORE you roll it up...so much easier....
ReplyDeleteGreat tutorial Melanie! I didn't know for sure how to make the rolled flowers & you gave some good hints. I also appreciate the pic tutorial because I don't have time to watch all the long videos everyone makes.
ReplyDeleteI just love these flowers. They are so easy yet the finished product looks so hard. Thank you so much for tutorial #1. I'm looking forward to the rest of the week.
ReplyDeleteThanks for the lesson, I'm really looking forward to this week's tutorials!
ReplyDeleteThanks so much this is great. I have to tell you something funny. I have Flower Shoppe which is the same principal for making flowers, well I have been winding them up backwards LOL from the center out! Can't wait to get in my room and try it the right way
ReplyDeleteThank you so much for this tutorial! I cannot wait for the others. That is so sweet of you to do this!
ReplyDeleteLoved the tutorial. Also the step by step for the flowers which should work with the Flower Shoppe flowers as well. I just got it and cut some out but have not arranged them as yet. TFS.
ReplyDeleteMstgane
Ann
well that was easy to follow and appears rather to do--we'll see when i try it on my own. tx for sharing--looking forward to part 2.
ReplyDeleteThanks for the tutorial.I appreciate it.
ReplyDeleteThanks for the tutorial. Is the current price of $99 for this set of cartridge and stamps etc. the price it will always be or is this a promotional price?
ReplyDeleteThank you do much for the tutorial!!! The cuts and flowers look amazing and super fun!!!
ReplyDeletechilindra at att dot net
I am SOOOOOOO excited to get this cartridge! It's scheduled to arrive on Wednesday ~ Yippeeeee! Thanks for the flower tutorial - keep 'em coming!
ReplyDeleteI love flowers and this is very pretty, thanks!
ReplyDeleteThank you, thank you for this great tutorial! I am so looking forward to seeing all you have in store for us this week. :)
ReplyDeleteLori
Now these tutorials are right dfown this Master Gardener's alley. Thanks for shareing. Beautiful flower.
ReplyDeleteThank you for the tutorial. I really want this cart! TFS.
ReplyDeleteKris
dietzrobles at yahoo dot com
Looks like an awesome cart!! Thanks for the tute!
ReplyDeleteThanks for the tips. Sounds like it would be fun to create such a beautiful flower.
ReplyDeleteVOILA(is right)!!!Thanks for the Tutorial...You are right "SUPER SIMPLE" WOW!!!............Can"t wait until tomorrow for part 2 flower tutorial!!!!
ReplyDelete<<>>
Thanks so much for the tutorial! This cart. makes beautiful flowers!
ReplyDeleteThanks Melanie!
Your extra touches make them ART! Lovely!
ReplyDeleteLoved todays tutorial. Oh how I need to save my money. Want this cart.
ReplyDeletethank you
Linda in Stanwood
love love the flowers! I do NEED that cartridge! Great layout.
ReplyDeleteoooh now I NEED this cart. Time to save up my moola!
ReplyDeleteThe flower came out so pretty! TFS the tutorial :-)
ReplyDelete-Sam :-)
SamanthaJDesigns @ hotmail.com
Very nice tutorial. Would love to win the cartridge.Peggie
ReplyDeletebarker944 at msndotcom
Thanks for the great tutorial, you are so clear in how to do the adorable flowers!
ReplyDeleteJanette S.
Great tutorial. Love the flower cuts with the coordinating stamp, which I already have...tee hee. Now just to get the cartridge!
ReplyDeleteoooh, you got my creative juices flowing! Great ideas!
ReplyDeleteLove them all!! You make great tutorials and are so creative! Thanks for sharing your creative genius!
ReplyDeleteYou make everything look so easy ~ we need to give it a try!
ReplyDeletesusanJ in Atlanta
Awesome tutorial! I JUST bought a Cricut Expression after I attended my first all day crop. THen I just had to have the Art Philosphy cartridge! My husband hunts and fishes, so my purchases are nothing compared to what he spends (thank God)! I've always loved card making, but put it on the back burner - I'm happy to say I'm a full-fledged crafter again!
ReplyDeletethanks for sharing the flower tutorial, and for a chance to win a great prize.
ReplyDeleteDawn RI
abosoffit@hotmail.com
Such a super easy way to create a detailed flower!
ReplyDeleteI don't think I would have thought to use the hot glue, but it really keeps it all together!
Thank you!
This master gardener loves these flowers.
ReplyDeleteI've been playing with the flowers on this cartridge, but mine were coming out too tight because I was using a quilling tool. Thanks for the idea - and the demo on the layered flower. I find your videos very easy to watch, and I learn sooo much!
ReplyDeleteThe Art Philosophy cart has been a workhorse for me, but had never tried the flowers. Can't wait to get at it. Thanks for the great tutorial. Looking forward to tomorrow.
ReplyDelete